

You’ve scrubbed and sprayed, but that cloudy film on your beautiful shower door just won’t budge. It’s a frustratingly common problem. That haze isn't just leftover soap scum; it’s a stubborn buildup of hard water minerals. As each water droplet evaporates, it leaves behind bits of calcium and magnesium that actually bond with the glass, which is why your go-to bathroom cleaner barely makes a dent. You need a dedicated water spot remover for shower doors to truly restore that crystal-clear shine.
Why Your Shower Glass Looks Permanently Foggy
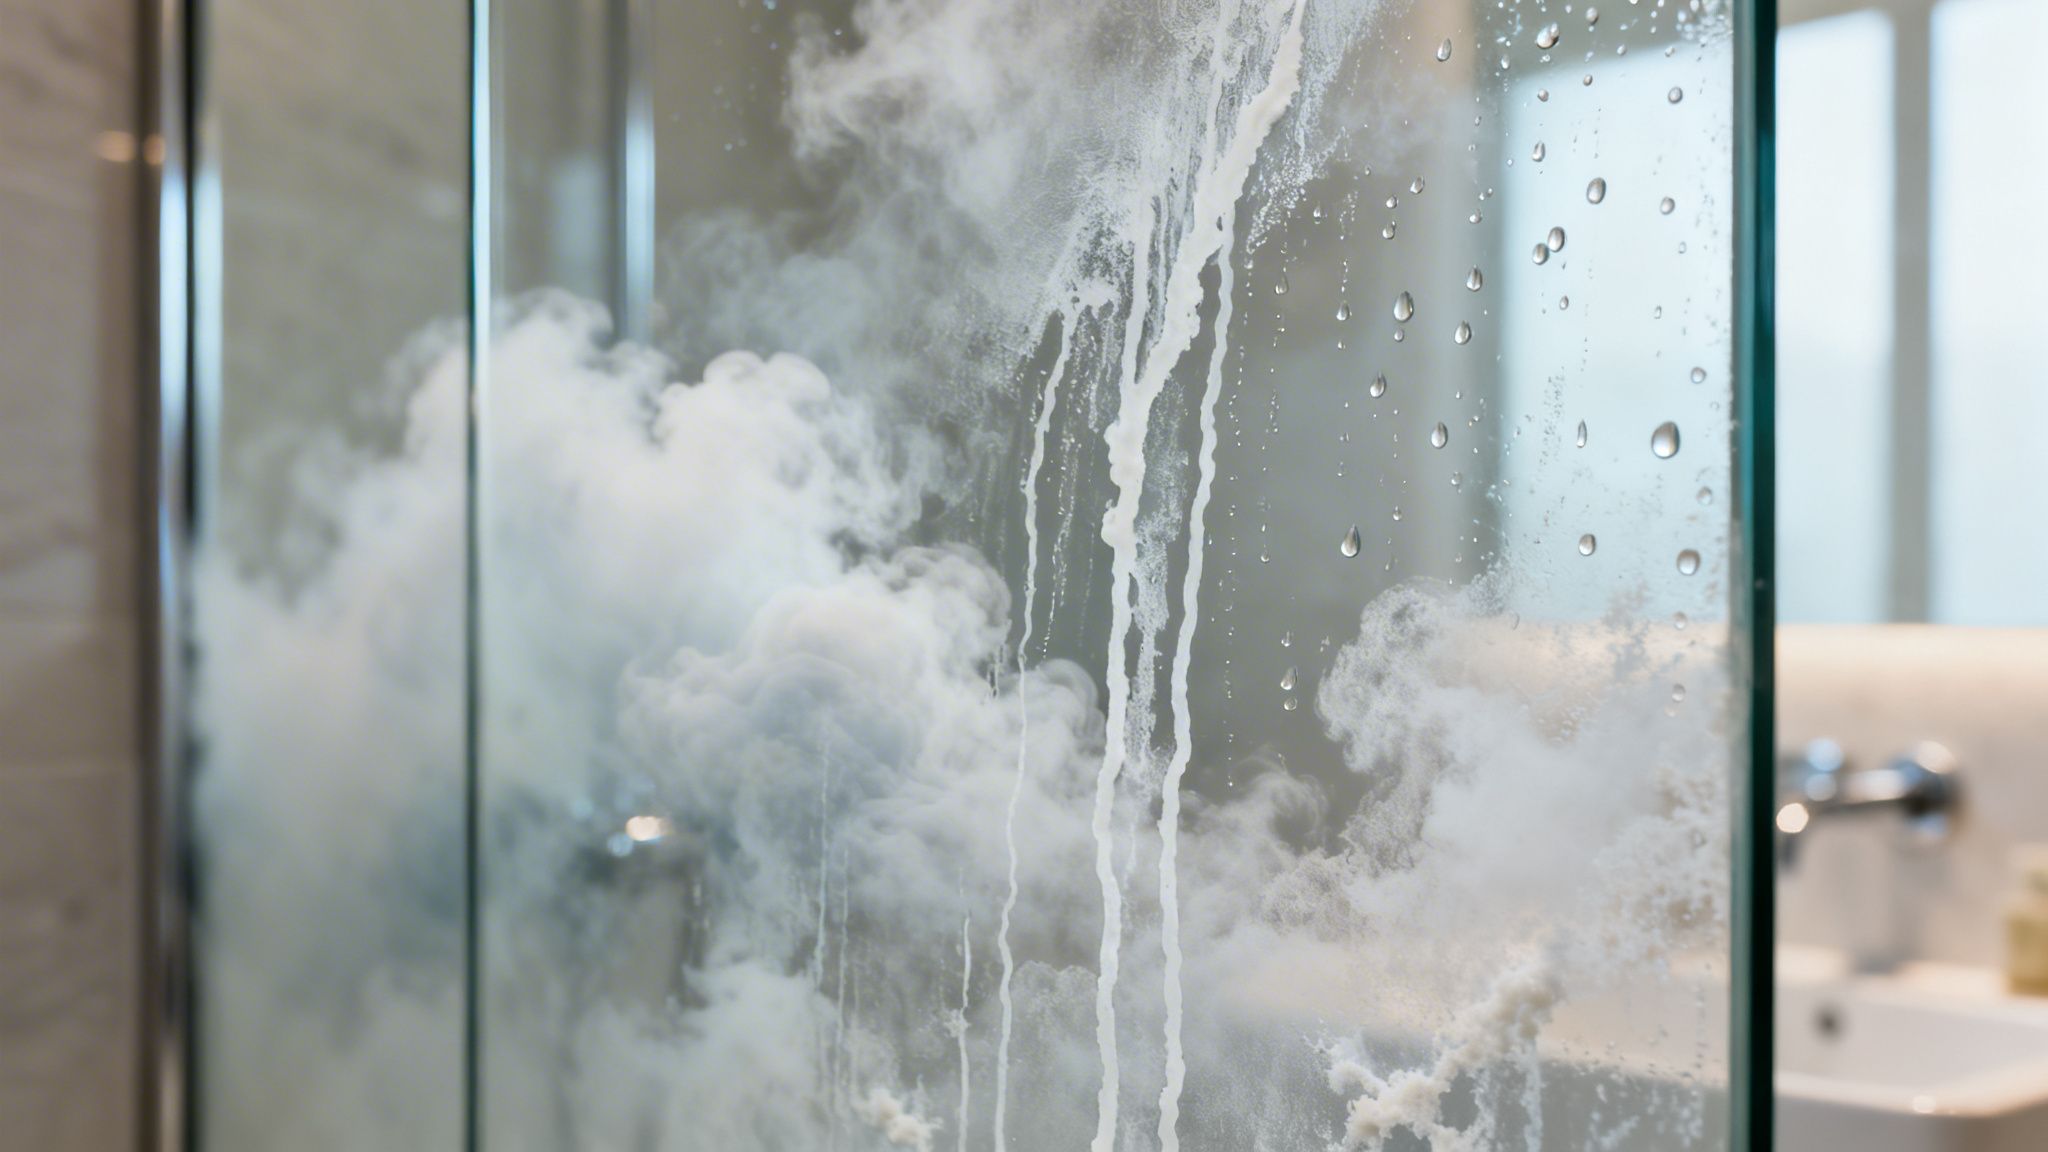
If you’ve invested in a gorgeous frameless shower, seeing it look perpetually foggy is maddening. But I can tell you from experience, this has less to do with how well you clean and everything to do with chemistry. The minerals in hard water are alkaline, and over time, they can actually etch into the microscopic pores of the glass surface.
Think about what happens every single time someone takes a shower.
- First, water droplets loaded with calcium and magnesium cling to the glass.
- The warmth from the shower then speeds up evaporation, leaving those chalky mineral deposits behind.
- Finally, soap scum gets in on the action, mixing with the minerals to create a tough, layered film that’s nearly impossible to remove with a simple sponge.
The Science Behind the Stains
It helps to picture the glass itself. Even a perfectly smooth pane of glass is full of microscopic peaks and valleys. When mineral-rich water dries on the surface, those deposits settle deep into the valleys. Your all-purpose cleaner might wipe away the surface grime, but it doesn’t have the right ingredients to dissolve those tough mineral bonds.
The real secret to clean glass is breaking down the mineral bonds that have fused to the surface. If you don't dissolve the deposits, you're just polishing the top layer of grime and leaving the cloudiness behind.
This is exactly why so many people find themselves scrubbing endlessly with disappointing results. The fogginess starts to look like a permanent feature, completely ruining the sleek, transparent look you paid for. It's especially noticeable on high-quality glass where clarity is the main event. If you're curious about glass designed to resist this from the start, you can learn more about Ultra Clear glass options in our detailed guide.
Left unchecked, this mineral buildup can cause permanent etching—actual physical damage to the glass. So, using the right water spot remover isn't just for looks; it's about protecting your investment and preventing irreversible harm to your frameless shower. Now, let’s get into what really works.
Picking the Right Cleaner for Your Glass Shower
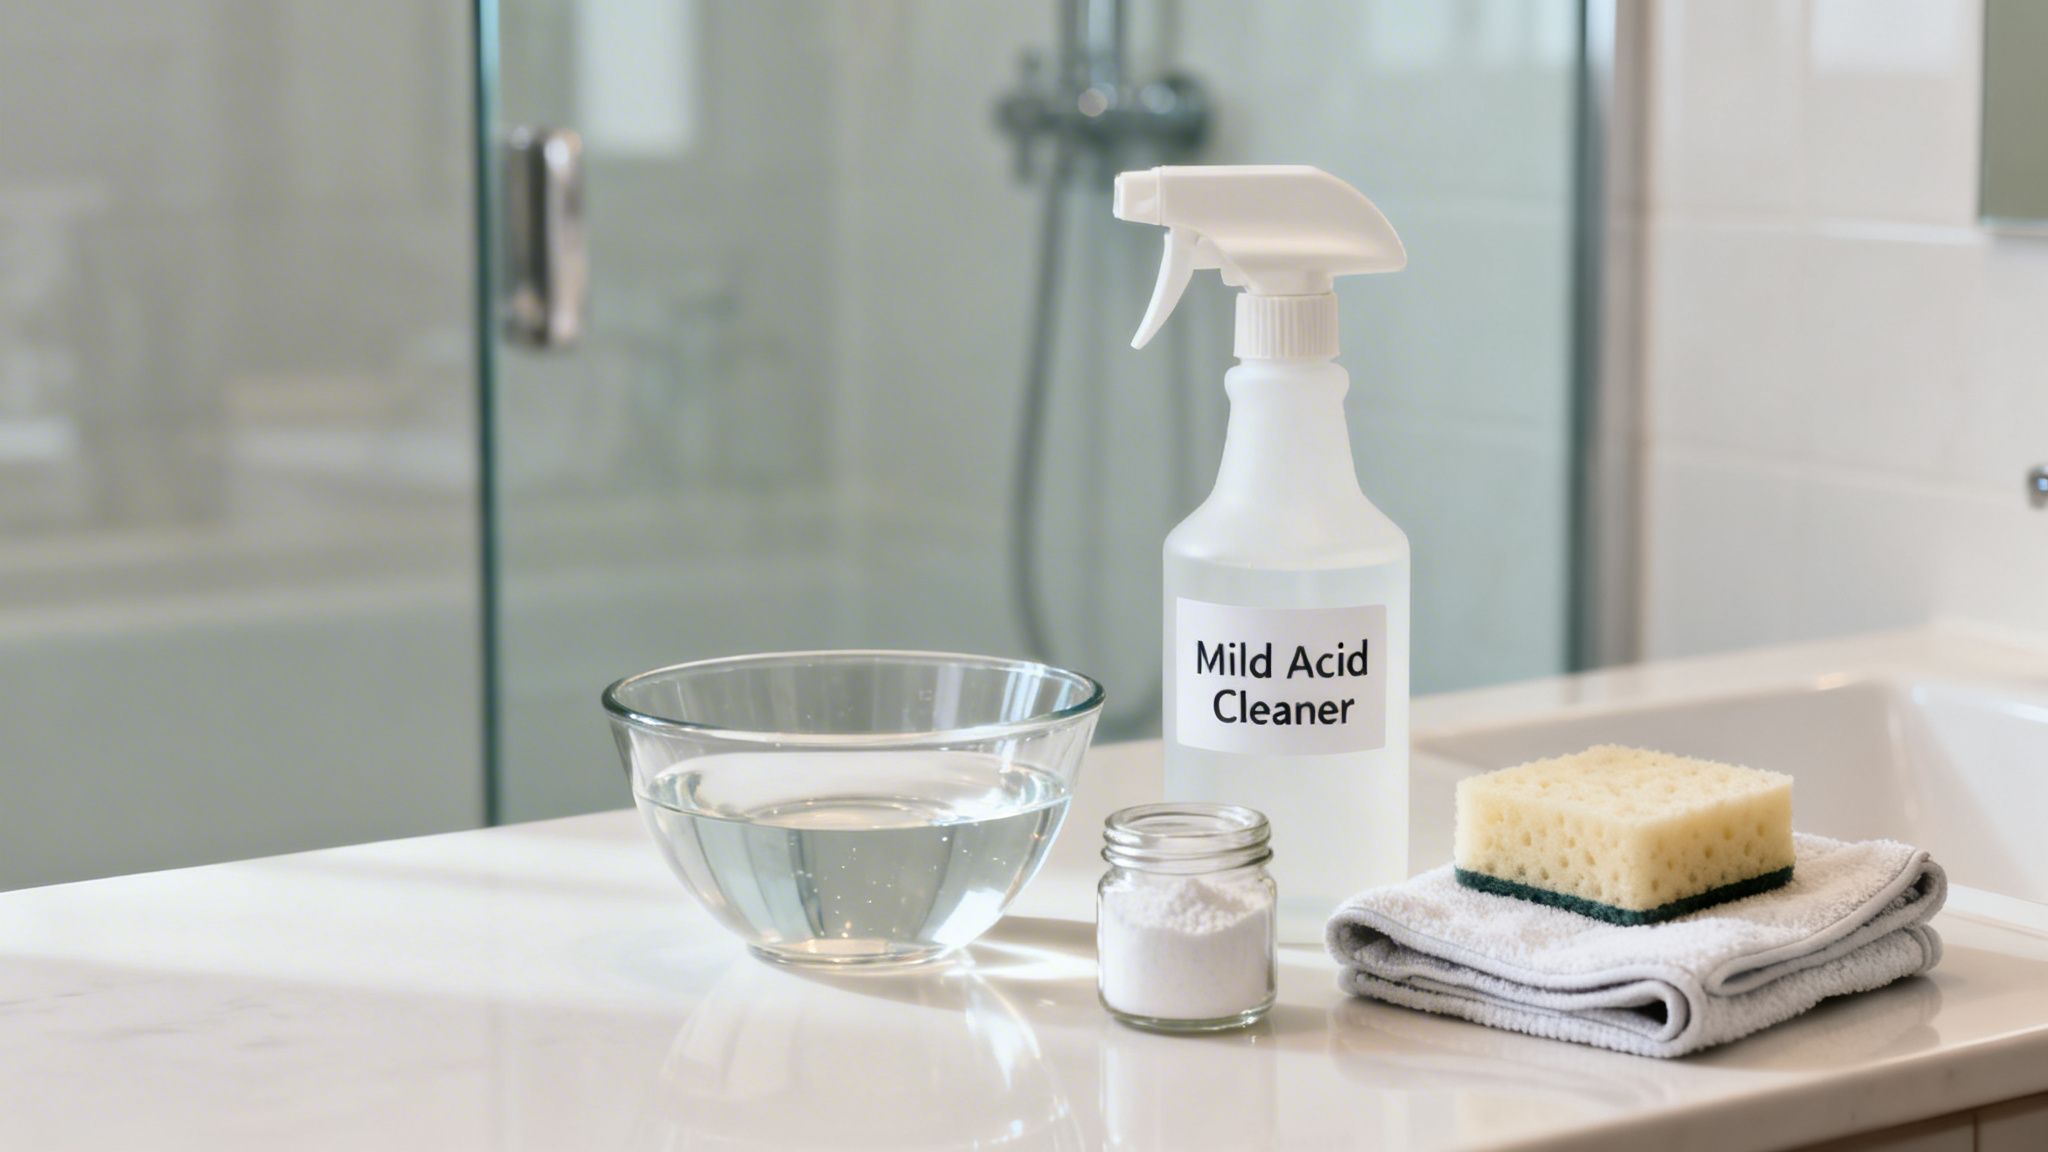
Walking down the cleaning aisle can be a headache. You’re bombarded with dozens of products, all screaming about a “streak-free shine.” But when it comes to those cloudy hard water spots on your beautiful glass shower, not all cleaners are up to the task. Picking the wrong one is a waste of time and money—or worse, it could permanently damage your glass.
The secret isn’t more elbow grease; it’s about chemistry. Those stubborn spots are alkaline mineral deposits, mostly calcium and magnesium left behind when water evaporates. To break them down, you need a mild acid. This is why your standard window cleaner just smears things around—it doesn't have the chemical muscle to dissolve the minerals at their source.
Commercial Cleaners vs. DIY Mixes
For really tough, layered-on water spots that have been building up for a while, a specialized commercial cleaner is usually your best bet. I recommend looking for a gel or foaming spray formula. These are designed to cling to the vertical glass surface, giving the active ingredients more time to work their magic.
On the other hand, if you're dealing with light spotting or just doing routine maintenance, a simple homemade solution works wonders and costs next to nothing.
- Vinegar & Water Spray: Just mix equal parts white vinegar and distilled water in a spray bottle. It's a classic for a reason. The acetic acid in the vinegar is perfect for cutting through most mineral buildup.
- Baking Soda Paste: Need a little more scrubbing power without the risk of scratching? Mix baking soda with a few drops of water to form a thick paste. Apply it directly to the spots, let it sit for a few minutes, and then gently scrub with a non-abrasive sponge.
I’ve seen it time and time again: clients are amazed when an acidic cleaner works where soap has failed. The difference is night and day. A quality remover with a citric acid or vinegar base can wipe out 95% of spots in a single application, whereas a basic soap wipe might only clear 40%. It’s this demand for low-maintenance beauty that’s fueling the U.S. glass shower door market, which is on track to grow from $3.1 billion in 2020 to an estimated $4.51 billion by 2026.
What You Should Never Use on Your Glass
Knowing what to use is only half the battle. Knowing what to avoid is just as critical.
Stay away from abrasive powders, steel wool, or any kind of stiff-bristled brush. These will absolutely create micro-scratches in your glass. You might not even see them at first, but these tiny imperfections give soap scum and future water spots the perfect place to grab onto, making your shower progressively harder to clean. Always start with the gentlest method first. If you want to explore more safe cleaning methods, this is a great professional guide on how to remove hard water stains from glass.
Whether you choose a DIY mix or a store-bought product, the goal is always the same: dissolve the minerals without harming the glass. And if you're planning a bathroom remodel, ask us about our advanced glass options designed to repel water from day one. You can explore our full range of custom shower door products to see how modern glass can make cleaning a thing of the past.
The Right Way to Erase Water Spots for Good
Alright, you've chosen your weapon against those stubborn water spots. Now it’s time to put it to work and bring back that brand-new, invisible glass look. This is where the magic happens, but it hinges on one thing most people get wrong: patience.
Rushing the process is the single biggest reason people get frustrated and give up. The mild acids in your cleaning solution, whether it's a store-bought formula or your own vinegar mix, need time to dissolve the mineral bonds chemically. Think of it as letting a marinade do its job—you can't rush it.
Apply Your Solution and Let It Sit
First things first, get that cleaner onto the glass. If you're using a spray, go to town. You want the entire surface to be visibly wet and fully saturated, not just lightly misted. For thicker gels or pastes, grab a non-abrasive sponge or cloth and spread an even, consistent layer over the whole door.
Now for the crucial part: walk away. You have to let the solution dwell on the glass and do its thing.
- For a simple vinegar spray on light spotting, give it 5-10 minutes.
- For heavy-duty commercial cleaners or thick pastes on serious buildup, you’ll want to let it sit for 15-20 minutes.
This "dwell time" isn't just a waiting game. It's an active chemical battle. Right now, your cleaner is working hard to break down and lift away those chalky calcium and magnesium deposits that have been clouding up your view.
I see this all the time, especially in a guest bathroom shower that hasn't seen much attention. Someone will try a quick spray-and-wipe, and absolutely nothing happens. But when you let a good quality gel sit for a solid 20 minutes, it melts through months of buildup. The scrubbing part becomes almost effortless.
Scrub Away the Grime—Without Scratches
Once the cleaner has had time to work, you can start scrubbing. The goal here is to agitate and remove the loosened minerals without creating new problems. Your best friends for this job are a microfiber cloth or a dedicated non-abrasive scrubbing pad. Whatever you do, never reach for steel wool, green kitchen scour pads, or anything harsh. They will carve tiny scratches into the glass, making it look permanently cloudy and giving new spots even more places to grab onto.
Work in small circles with firm, steady pressure. You'll actually feel the surface change from gritty and resistant to slick and smooth under your cloth. Don’t forget to give some extra love to the bottom of the door and the corners, as that’s where water and soap scum love to hang out. If you're curious to learn more from the pros, exploring professional glass cleaning methods can give you even more techniques for that perfect finish.
The Final Rinse and Dry: Don't Skip This Part!
After you’ve scrubbed the entire surface, it's time to rinse everything away with warm water. Be thorough. You need to wash off every last bit of cleaning solution and the gunk it lifted. If you leave any cleaner behind, it'll just dry into new streaks and you’ll be right back where you started.
And now, for the step that truly delivers that satisfying sparkle: dry the glass completely. Use a clean, dry microfiber towel or a good-quality squeegee to remove every last drop of water. This is non-negotiable. Not only does it prevent streaks, but it also stops the water-spotting cycle from beginning again just moments after you’ve finished.
Following this process doesn’t just get your glass clean for today; it sets you up for easier cleaning in the future. For more on keeping it that way, our guide on proper shower door maintenance is packed with tips.
How to Clean Coated and Specialty Shower Glass
So, you’ve invested in a beautiful shower with specialty glass—maybe it has a protective coating like Diamond-Fusion. That’s a smart move. But here’s something a lot of people don't realize: you have to clean it differently. These surfaces are engineered to be incredibly low-maintenance, but using the wrong water spot remover can strip that protective magic right off.
Think of it this way: harsh, abrasive cleaners or acidic DIY solutions (like that popular vinegar mix) are the sworn enemies of coated glass. They can slowly eat away at the finish, completely undoing the very feature you paid extra for. You need a gentler touch.
The Right Tools for a Delicate Job
When it comes to coated glass, less is more. Honestly, the best approach is almost always the one the manufacturer recommends. This usually means sticking to pH-neutral cleaners and soft, non-abrasive tools that won't compromise the surface.
Your new cleaning arsenal should be simple:
- A high-quality microfiber cloth is non-negotiable. Anything else risks tiny scratches.
- A pH-neutral cleaner is gentle enough that it won't react with the coating.
- A squeegee for a quick wipe-down after each shower is your best friend for preventing buildup in the first place.
That coating is like a shield. Your job is to clean the shield, not attack it. Aggressive scrubbing or chemical warfare will only weaken its defenses, and before you know it, minerals will start bonding directly with the glass again. We've seen all kinds of beautiful, enhanced surfaces that can transform a bathroom; you can explore some of them in our gallery of mirrors and specialty glass styles.
The number one mistake we see homeowners make with coated glass is treating it like it's a standard, uncoated panel. They reach for the heavy-duty chemicals, thinking they're doing a deep clean, but they're actually just destroying the protective sealant, one cleaning at a time.
This simple flowchart breaks down the basic, safe process that works for any shower door, but it’s especially crucial for coated ones.
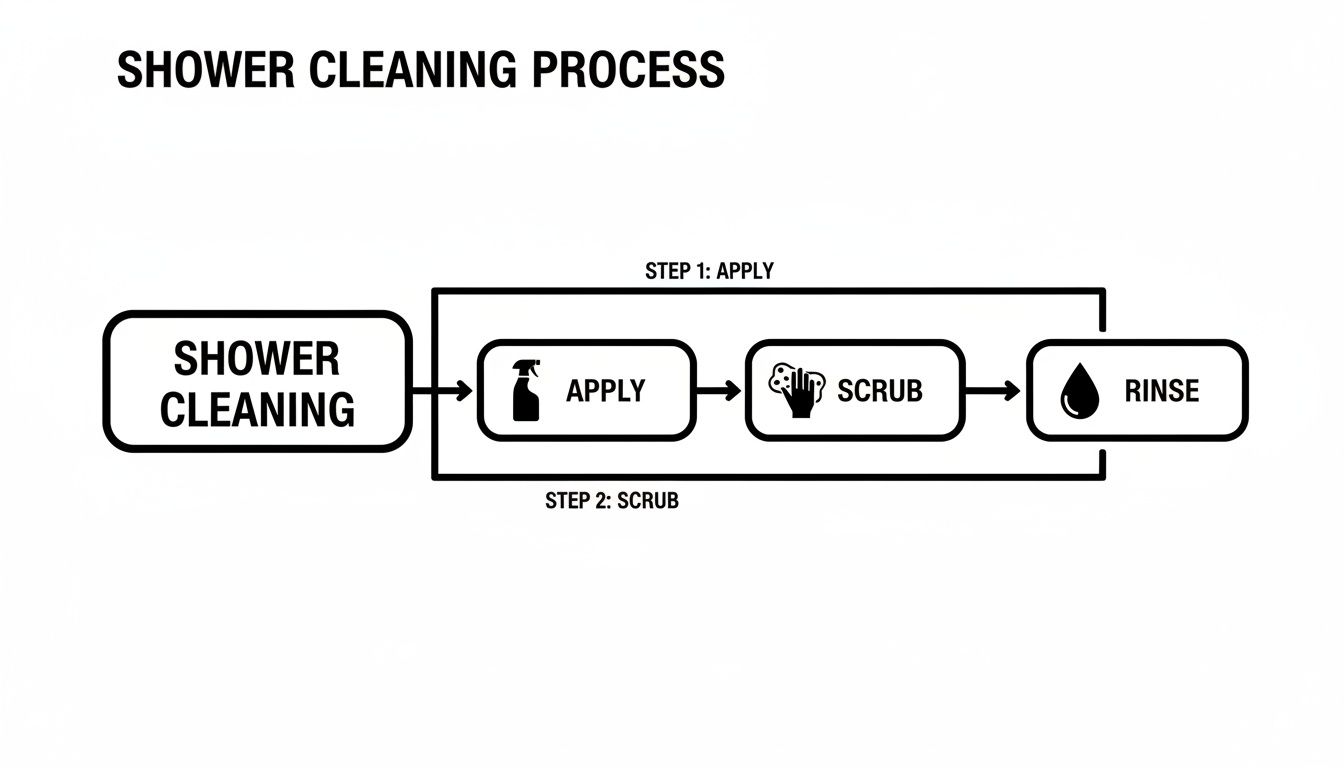
The core idea—apply, scrub gently, and rinse thoroughly—is universal. The key is using the right products and tools during that "scrub" phase to protect your investment.
To make it even clearer, let's compare the cleaning requirements side-by-side.
Cleaning Coated vs. Uncoated Shower Glass
| Feature | Uncoated Glass | Diamond-Fusion Coated Glass |
|---|---|---|
| Approved Cleaners | Wider range, including mild acids (vinegar/lemon) and commercial cleaners. | pH-neutral cleaners only. Soapy water or manufacturer-approved products. |
| Scrubbing Tools | Non-abrasive sponges, microfiber cloths. | Soft microfiber cloths only. Avoid anything with a scrubbing surface. |
| Frequency | Needs frequent, often vigorous, scrubbing to remove mineral buildup. | Requires far less cleaning; a quick squeegee and occasional wipe-down suffice. |
| Maintenance | Prone to heavy spotting and soap scum that bonds directly to the glass. | Water beads up and rolls off, drastically reducing spots and buildup. |
The takeaway is simple: while uncoated glass can handle a more aggressive approach out of necessity, coated glass thrives on a gentle, consistent routine.
Why Protecting Your Investment Pays Off
Sticking to this gentle routine isn't just about preserving the coating—it pays huge dividends in time and effort. In fact, combining a protective treatment like Diamond-Fusion with the right maintenance plan can slash your cleaning time by up to 90%.
Independent testing confirms it: untreated shower glass needs scrubbing 80% more often than its coated equivalent. By following the correct procedure, you're not just cleaning your shower; you're ensuring it stays effortlessly beautiful and crystal-clear for years to come.
Keep Water Spots from Ever Coming Back
So, you’ve put in the hard work and your shower glass is finally sparkling. The last thing you want is for those stubborn, cloudy spots to make a comeback. Now, the goal is to shift from a deep-cleaning mindset to one of simple prevention. Trust me, keeping your glass clear is a whole lot easier than scrubbing it.
The secret isn’t some magic spray or complicated tool. It’s all about creating a simple habit that stops mineral deposits before they even have a chance to form. With the right routine, you can make that heavy-duty scrubbing session a distant memory instead of a weekly chore.
The Single Most Effective Habit
Your best defense against water spots is a simple squeegee. Seriously. Wiping down the glass after the last shower of the day takes less than 30 seconds, and it’s an absolute game-changer. This one move physically pulls the water droplets off the glass before they can evaporate and leave behind minerals like calcium and magnesium.
No water left behind means no spots. It’s that straightforward. When you make this part of your daily routine, you’re preventing nearly all new mineral buildup from ever getting a foothold.
After years of installing and servicing shower doors, I can tell you this: the clients with the cleanest glass are the ones who use a squeegee every single day. It’s not about having expensive sprays or soft water; it’s about that quick wipe-down.
This tiny action prevents the slow, damaging process of mineral etching, keeping your glass looking brand new for years. It’s the difference between a shower that looks pristine and one that turns foggy and dull in just a few months.
Your Simple Weekly Maintenance Plan
While a daily squeegee does most of the heavy lifting, a quick weekly refresh will take care of any light soap scum or stray spots that managed to hang on. This isn't another deep clean—think of it as a five-minute touch-up to keep everything perfect.
- Weekly Spray-Down: Once a week, give the glass a light misting with a pH-neutral cleaner. A simple spray bottle with water and a few drops of dish soap works great, too.
- Quick Wipe: Grab a clean microfiber cloth and wipe down the entire surface. This easily lifts any light soap film the squeegee might have missed.
- Final Rinse and Dry: Give the glass a quick rinse with warm water, then dry it completely with a second, dry microfiber towel. This ensures no cleaner is left behind to create new streaks.
This minimal effort keeps your glass in top condition and dramatically reduces the need for aggressive cleaning, which in turn extends the life and beauty of your shower enclosure.
The Ultimate Long-Term Solution
If you’re planning a bathroom remodel or you're just tired of the endless cleaning cycle, there is a more permanent fix. Investing in glass that has a factory-applied protective coating, like Diamond-Fusion, is the most effective way to combat water spots from day one.
These coatings create an incredibly smooth, hydrophobic surface that actively repels water. Instead of clinging to the glass, water beads up and rolls right off, taking minerals and soap scum with it. This technology can cut your cleaning time by up to 90%, making maintenance almost effortless. Think of it as a proactive investment that will save you countless hours of scrubbing in the future.
Your Top Shower Glass Cleaning Questions Answered
Even after you’ve mastered the basics of getting your shower glass to sparkle, a few tricky questions always seem to surface. You put in all that work, and now you want to make sure you keep it looking perfect. Let's tackle some of the most common questions we get from homeowners just like you.
Is It Safe to Use a Magic Eraser on My Shower Door?
That’s a definite no. I know it’s tempting—those erasers seem to work wonders on everything else. But on glass, they can cause some serious, irreversible damage.
Think of a magic eraser as a super-fine sandpaper. It’s a micro-abrasive, and while you might not see the damage right away, it’s creating thousands of tiny scratches on the glass surface. Over time, this will not only make your glass look dull and cloudy but also create the perfect textured surface for soap scum and hard water spots to grab onto, making future cleaning even harder. Always stick with a soft, non-abrasive scrub pad or a good quality microfiber cloth.
A magic eraser might give you a quick win, but the long-term cost is dull, scratched glass. This is especially true if you have a protective coating like Diamond-Fusion, which the eraser can strip away, voiding your warranty.
How Often Do I Really Need to Deep Clean My Shower Doors?
This all comes down to your daily habits and your water quality. If you’re good about squeegeeing the glass after each shower and giving it a quick spray-and-wipe once a week, you’re already ahead of the game.
With that simple routine in place, you’ll likely only need to pull out a dedicated water spot remover for shower doors for a deep clean every one to three months. If your home has very hard water, you’ll be on the shorter end of that spectrum, maybe even once a month. If you’re lucky enough to have softer water, you can probably stretch it to every three months or so.
Will Vinegar Ruin My Metal Frame and Hardware?
Yes, it absolutely can, and we’ve seen it happen. Vinegar is an acid, which is what makes it so great at dissolving the alkaline mineral deposits from hard water. The problem is, that same acidic property can eat away at metal finishes.
It can cause pitting, discoloration, and permanent etching on your hinges, handle, and frame, especially on popular finishes like matte black, oil-rubbed bronze, and brushed nickel. If you do use a vinegar solution, you have to be incredibly careful.
- Always spray the solution directly onto the glass, never on the metal.
- Wipe up any drips immediately. Don’t let the vinegar sit on the frame or the track at the bottom.
- When you’re finished, rinse everything—glass and metal—with clean water to neutralize any remaining acid.
For more detailed answers on caring for specific materials and hardware, we've put together a comprehensive guide in our AmeriGlass FAQs section.
Ready to spend less time cleaning and more time enjoying a beautiful bathroom? The team at AmeriGlass Industries designs and installs stunning frameless shower doors, including options with advanced, low-maintenance protective coatings. Contact us today for a free estimate!