

A good water guard for a shower door is one of those things you don't think about until it fails. It’s the unsung hero that stands between a dry, safe bathroom and the slow, silent destruction caused by even the smallest leak.
Why Your Shower Needs a High-Quality Water Guard
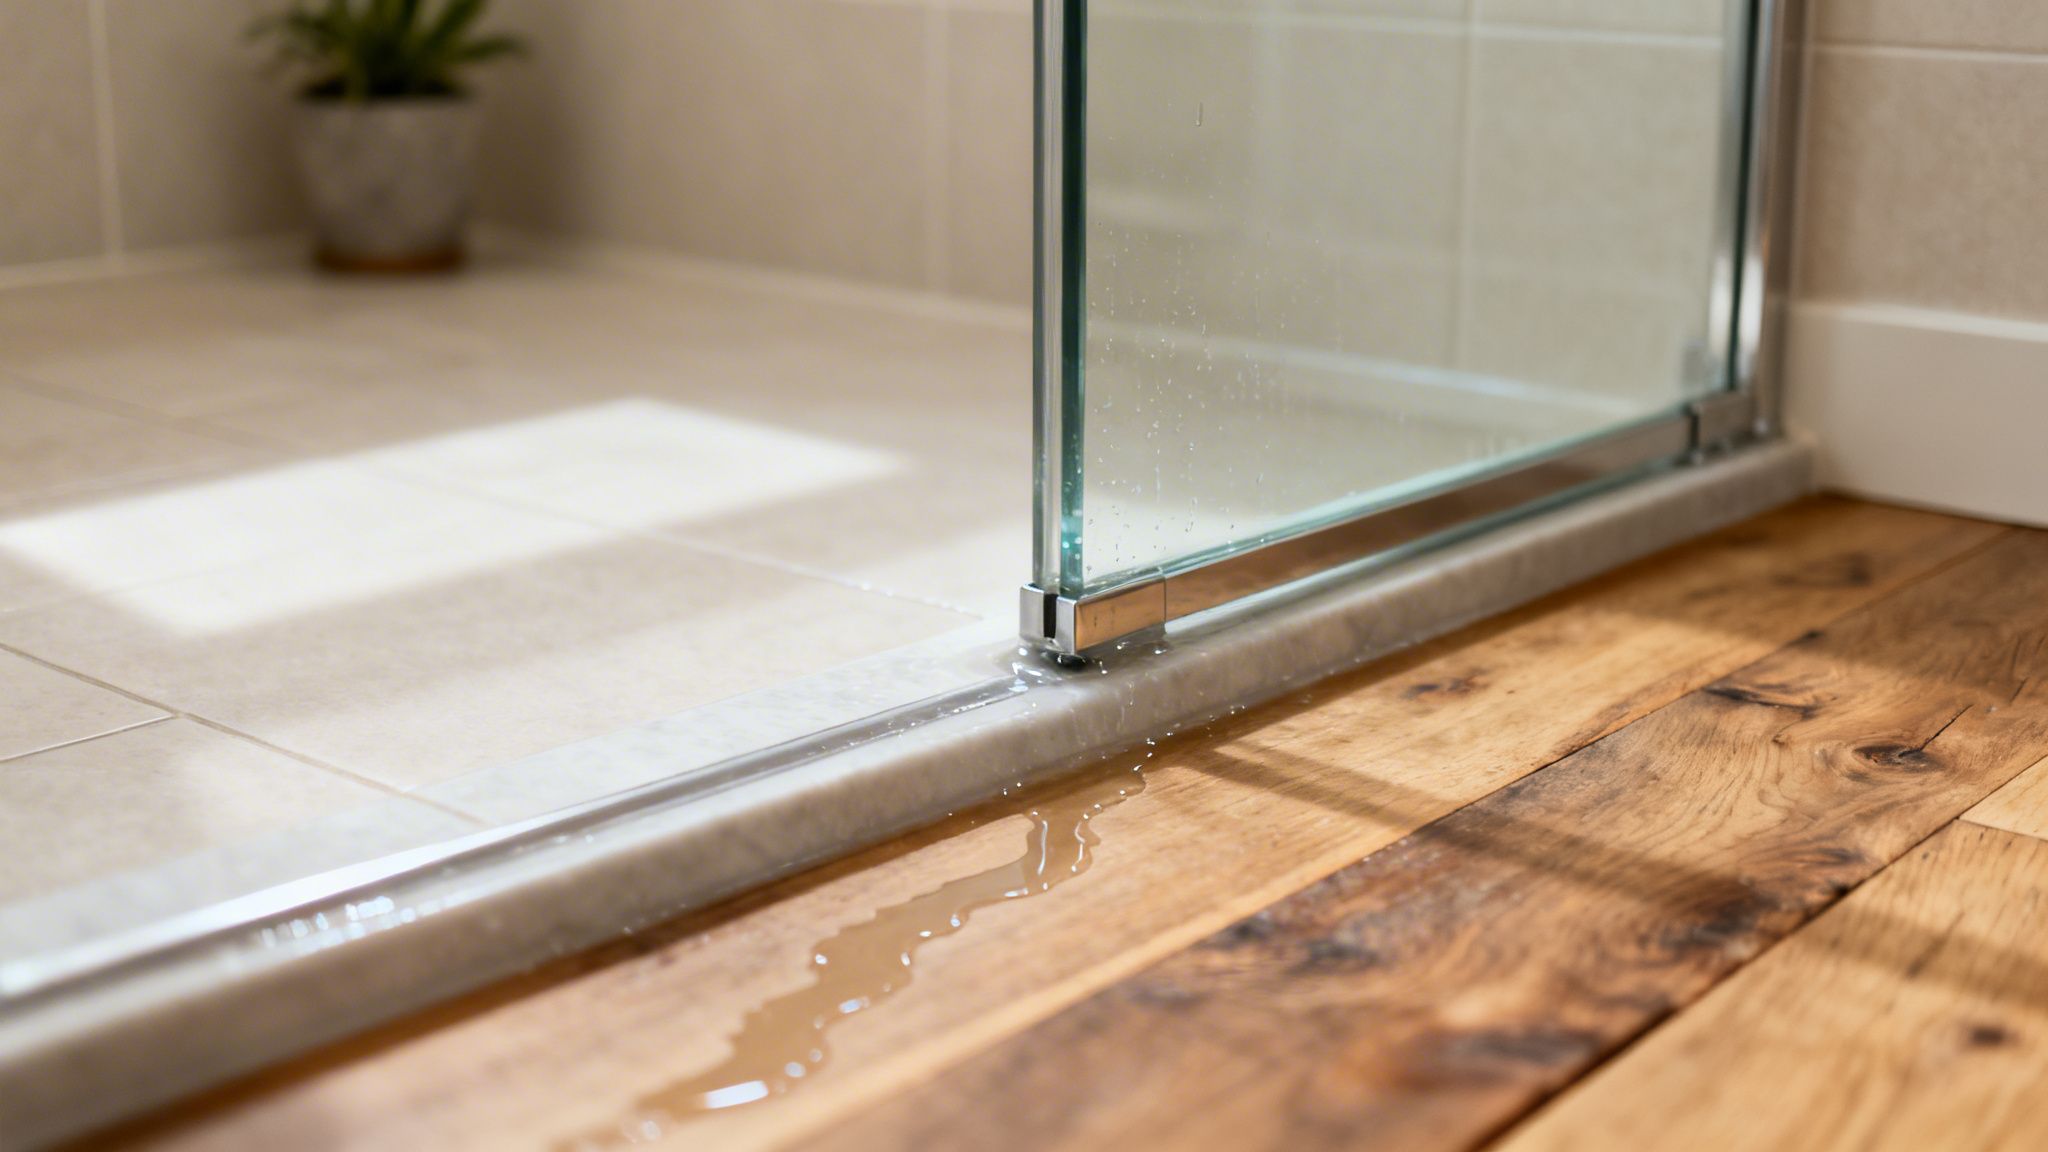
Think of a shower without a proper seal like a ship with a tiny, slow leak. At first, you might just notice a small puddle on the floor—a minor annoyance you can quickly wipe up. But what’s happening beneath the surface is far more sinister.
That seemingly harmless drip is the start of a domino effect. A consistent trickle of water can wreak havoc on your home’s structure and your peace of mind. It’s not just an inconvenience; it’s a direct threat to your home's integrity.
The Hidden Dangers of a Failed Seal
When a water guard gives out, the problem is much bigger than a wet floor. The real danger lies in what you can't see.
- Structural Damage: Water always finds a way. It seeps into the subfloor, causing wood to warp, swell, and eventually rot. Over time, this can compromise the very framework of your bathroom.
- Mold and Mildew Growth: The dark, damp space behind walls and under your flooring is a perfect breeding ground for mold. This isn't just about musty smells; it can create serious health risks for your family.
- Aesthetic Ruin: Nothing ruins the look of a beautiful bathroom faster than water damage. Persistent moisture will stain grout, make paint peel, and cause wallpaper to bubble. It can permanently damage expensive materials like tile and hardwood.
If left unchecked, a simple leaky seal can lead to extensive water damage mitigation, turning a small problem into a repair bill costing thousands.
A premium water guard isn’t an accessory; it’s a critical defense mechanism. It’s your first and best line of protection against costly, long-term water damage that compromises your home’s safety and value.
The Rise of Modern Shower Design
It’s no secret that homeowners are investing more in creating beautiful, modern bathrooms. The global market for shower doors, valued between USD 13.5 billion and USD 18.8 billion back in 2025, continues to climb as people gravitate toward sleek, minimalist designs—especially frameless glass doors.
This is where a high-quality water guard becomes absolutely essential. You want that clean, open look, but you can't sacrifice function. The right seal ensures your stunning new shower works as beautifully as it looks, protecting both your investment and your home’s design.
Ready to see how a new shower door could transform your space? You can start the process right now and design your shower door with our online tool.
So, What Are the Different Kinds of Shower Door Water Guards?
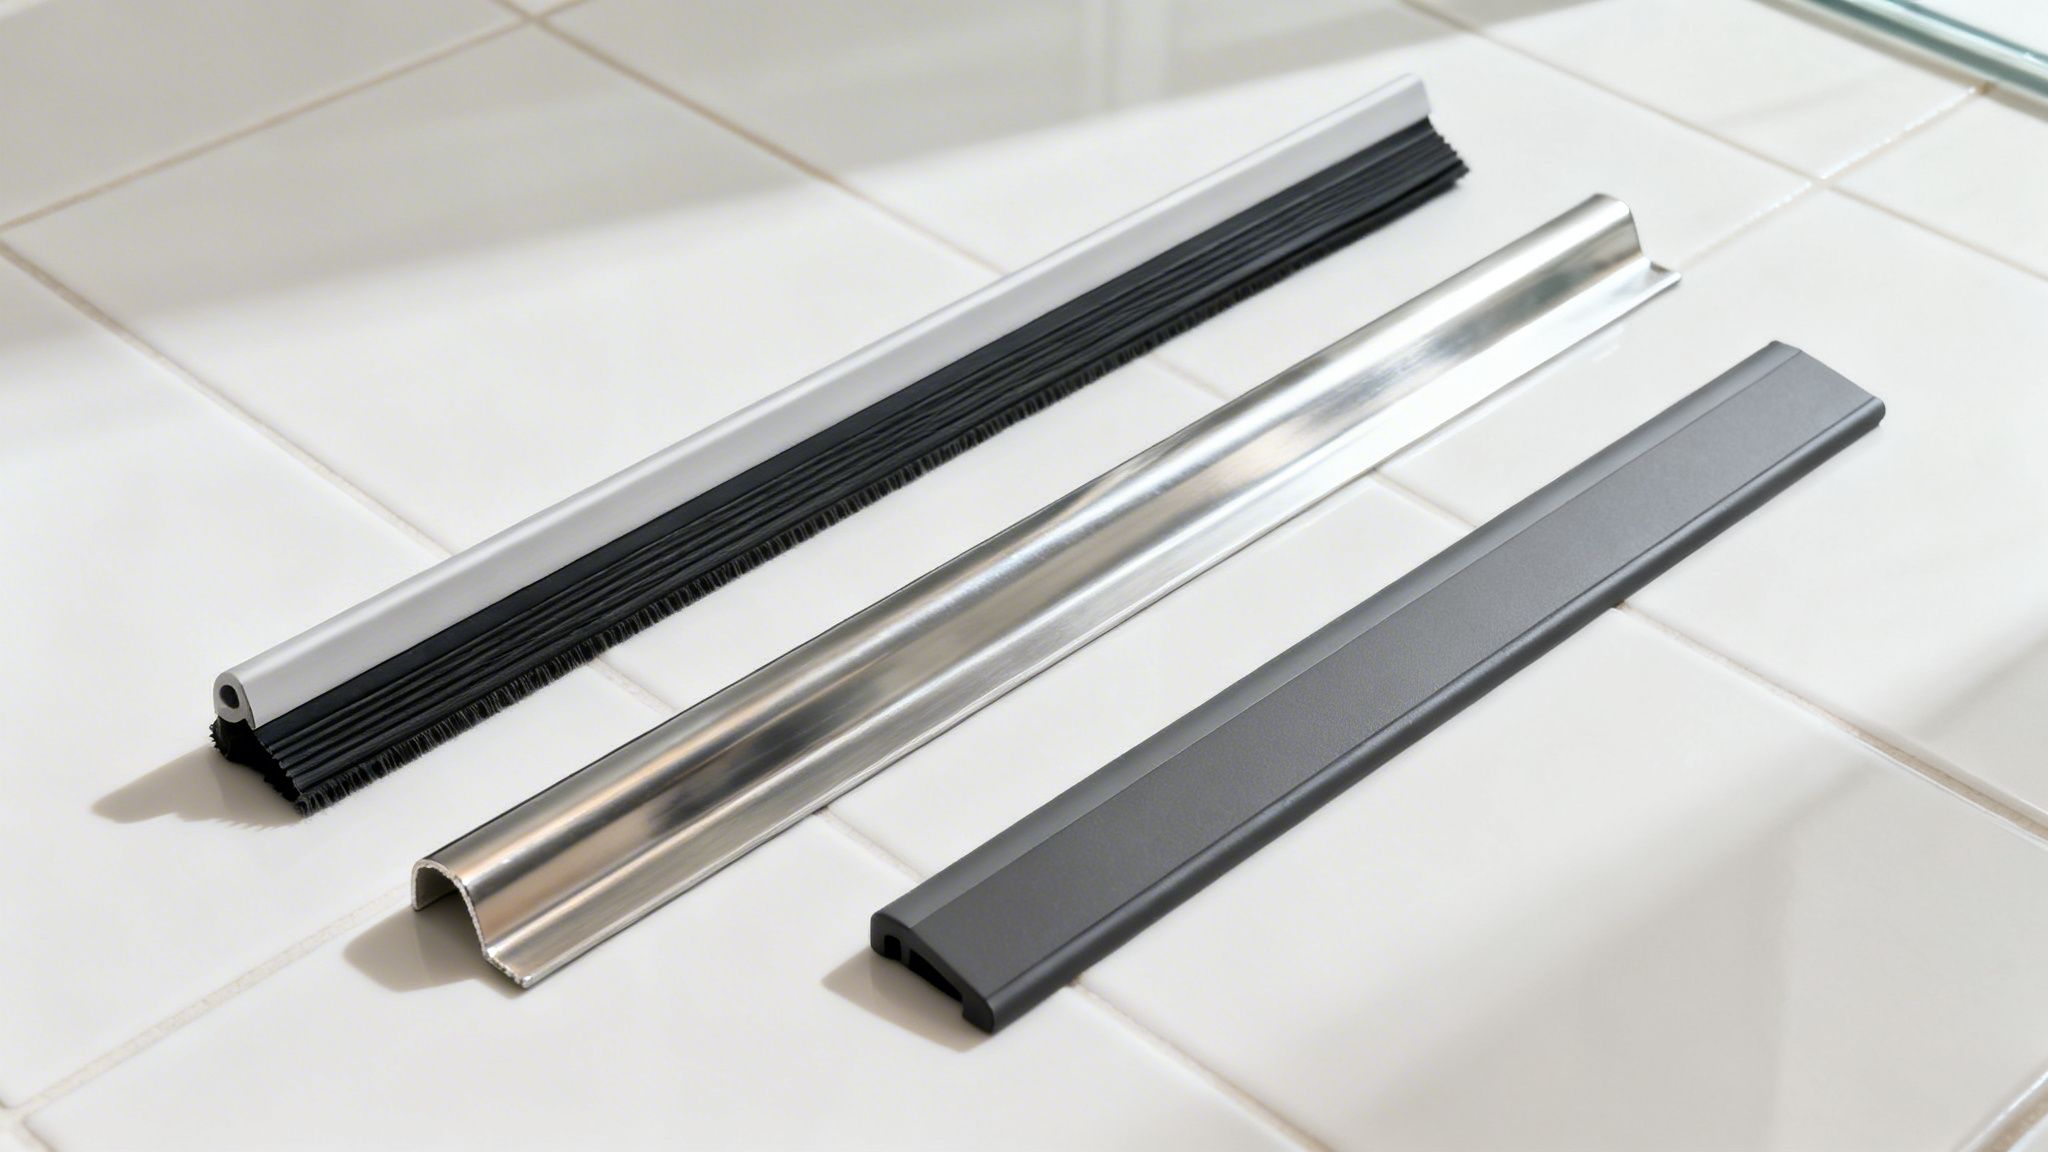
When you start looking at shower door seals, the terminology can get confusing fast. You'll hear words like sweeps, thresholds, and drip rails thrown around, and it's easy to feel a bit lost. But getting a handle on these parts is the secret to building a shower that’s completely leak-proof.
Think of it like putting together a security team for your bathroom floor. You don't just hire one guard; you bring in a few specialists, each with a specific job. A truly effective water guard for a shower door is a system, with several components working together to keep every drop of water where it belongs.
Let's break down the key players on the team.
The Front Line: Door Sweeps and Bottom Seals
Your first and most important line of defense is right at the bottom of the door. This is where most leaks happen, and it's where door sweeps and bottom seals do their best work.
A door sweep is a flexible seal that clips onto the very bottom of the glass door. Just like its name implies, it "sweeps" over the shower curb or threshold as you open and close the door. Its whole purpose is to close that gap and stop water from splashing out underneath.
A bottom seal, on the other hand, is stationary. It's a rigid or semi-rigid strip that gets mounted directly onto the shower curb itself, creating a small dam. The door then closes up against it, forming a tight seal. Some showers use one or the other, but for the best protection—especially with frameless designs—we often use both.
The Water Managers: Drip Rails and Thresholds
While sweeps are busy blocking the gap, drip rails and thresholds are focused on managing the water that runs down the door. Think of them as the strategic coordinators of your leak-prevention team.
A drip rail is basically a tiny, angled gutter for your shower door. This L-shaped piece attaches to the bottom of the door (on the inside) and is designed to catch water as it trickles down the glass. Its slope directs all that water right back into the shower pan before it has a chance to reach the edge and drip onto your floor. It’s a simple but brilliant solution.
A shower threshold is a more heavy-duty barrier. It's a raised dam installed right on the shower floor at the entrance. Its job is to create a physical curb that water can't get over. Thresholds are absolutely essential for modern curbless or "zero-entry" showers, giving you that necessary elevation change to keep your bathroom floor bone-dry.
To make sense of it all, here’s a quick comparison of how these parts function.
Comparing Shower Door Water Guard Types
| Guard Type | Primary Function | Best For | Analogy |
|---|---|---|---|
| Door Sweep | Seals the moving gap under the door. | Swinging or sliding doors with a gap at the bottom. | A squeegee on the bottom of your door. |
| Bottom Seal | Creates a stationary dam for the door to close against. | Any shower, but great for adding extra security with a sweep. | A speed bump for water. |
| Drip Rail | Catches and redirects water running down the glass. | Swinging doors, especially frameless designs. | A tiny rain gutter for your shower door. |
| Shower Threshold | Creates a raised barrier to contain all water. | Curbless or low-curb showers that need a dam. | A levee protecting your bathroom floor. |
As you can see, the best approach isn’t just picking one. It's about layering these defenses to create a system that anticipates and stops any potential leak.
The Sidekicks: Vertical Seals and Strike Jambs
Of course, water doesn't only try to escape from the bottom. The sides of your shower door are another weak point, particularly where the glass meets a wall or another panel. That’s where these two components come in.
- Vertical Seals: These are usually clear vinyl or silicone strips that snap onto the vertical edge of the door. When you close it, the flexible fin on the seal compresses against the wall or an adjacent glass panel, creating a watertight and draft-proof barrier.
- Strike Jambs: If your door closes against another piece of glass (like in a corner shower), a strike jamb is what it closes into. It’s a polycarbonate strip that often contains a magnetic seal, which helps pull the door securely shut and hold it there.
The right combination really depends on your specific shower—is it a swinging or sliding door? Framed or frameless? Do you have a curb or not? Understanding what each of these parts does gives you the power to build a perfectly sealed, worry-free shower.
If you're looking to see how these parts come together, feel free to browse our collection of high-quality shower door products and hardware.
Choosing the Right Material for Performance and Style
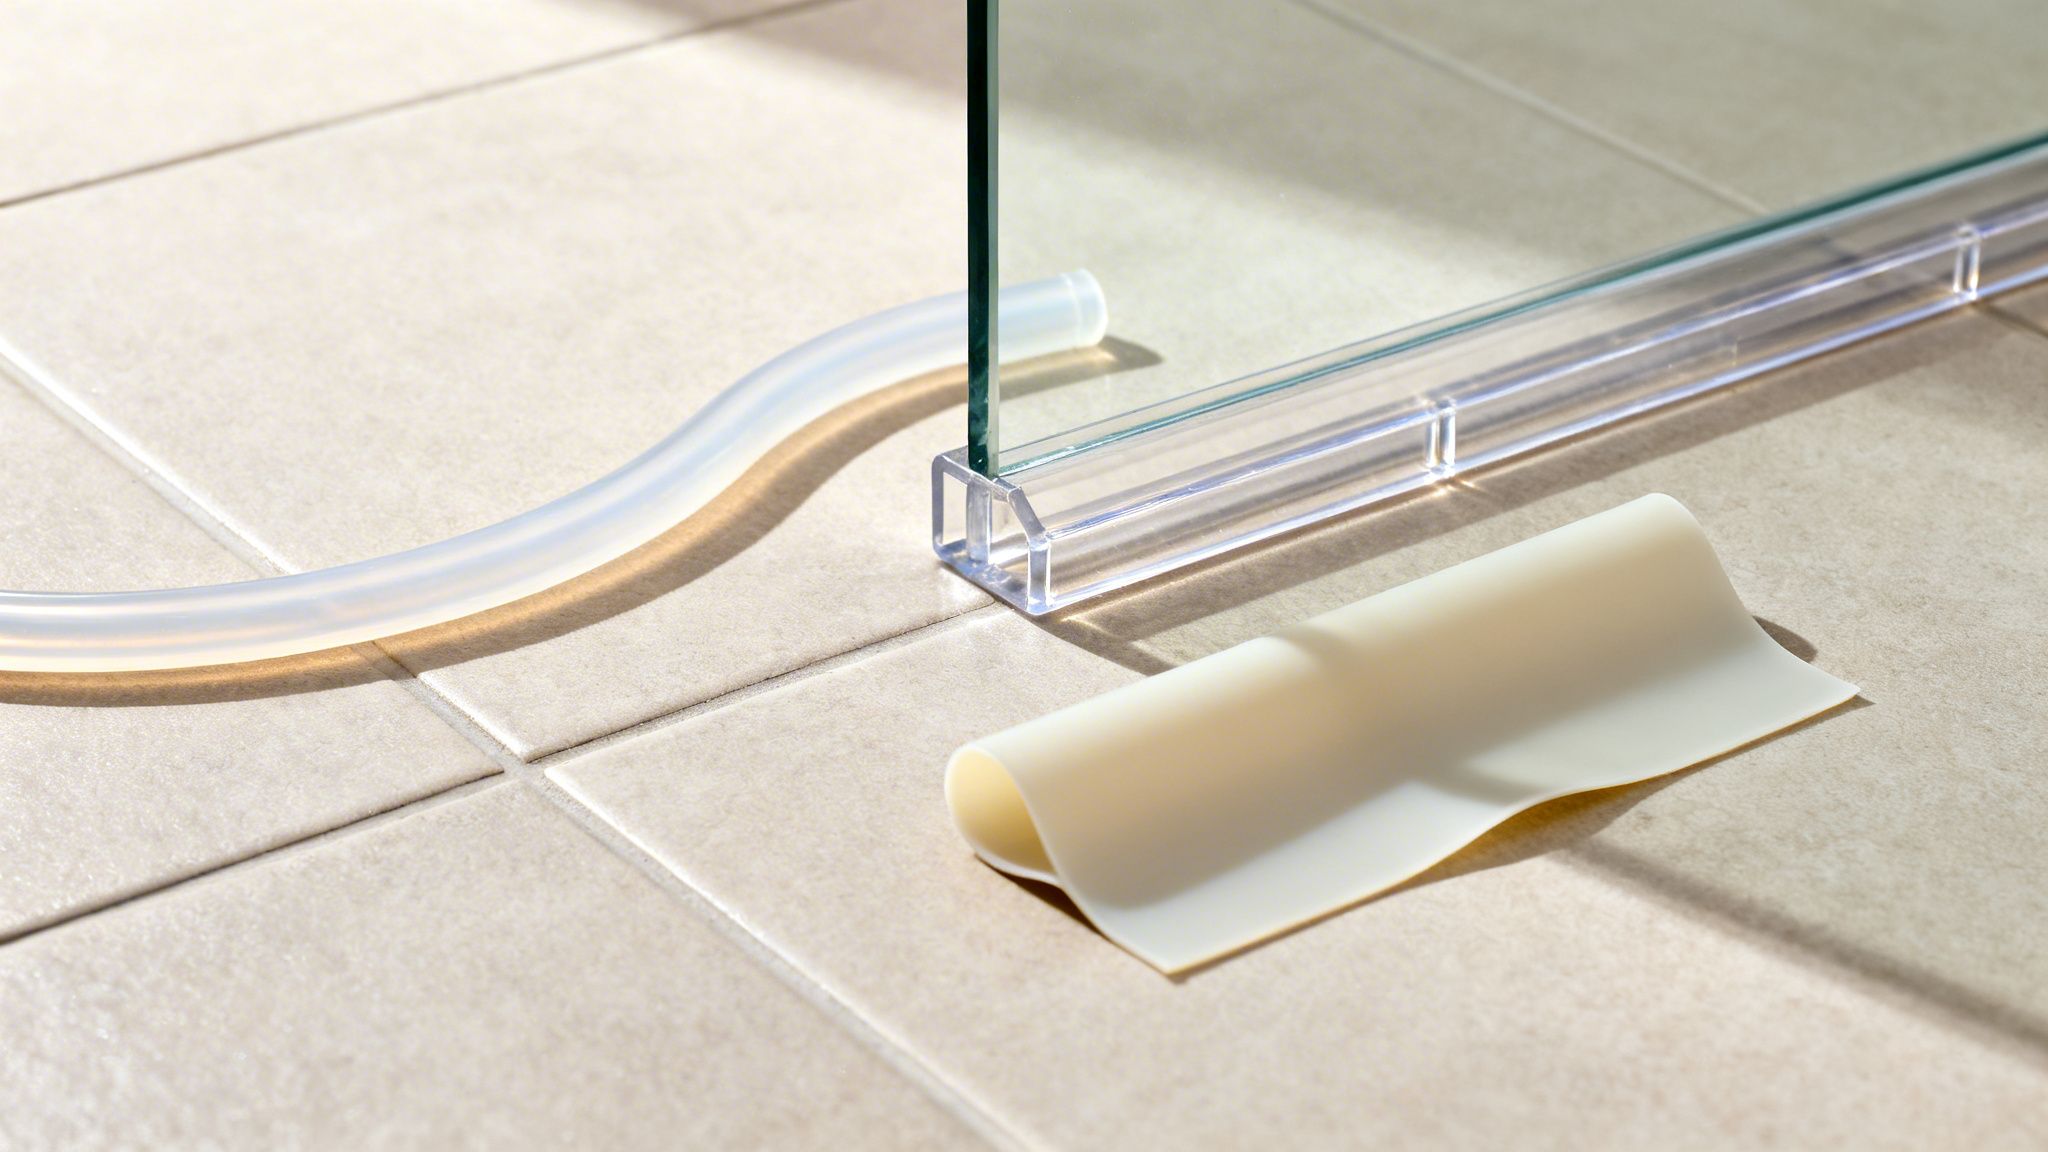
When you're picking a water guard for a shower door, the material you choose can be the difference between a five-year solution and a five-month headache. It's about more than just stopping water; it's about finding a component that stands up to daily use while blending seamlessly with your bathroom's style.
So, what are your options? It really comes down to three main players: vinyl, silicone, and polycarbonate. Each has its own job to do, and picking the right one depends on your shower, your budget, and your priorities.
The Flexible Workhorse: Clear Vinyl
You've probably seen clear vinyl seals everywhere. They're the go-to, budget-friendly choice for many sweeps and vertical jambs. Their biggest plus is flexibility, which makes them a breeze to install and very forgiving if you have slightly uneven surfaces.
But that flexibility has a downside. Vinyl just doesn't have the staying power of other materials. Over time, exposure to hard water and cleaning products can make it brittle, cloudy, or yellow. You’ll likely find yourself replacing it every couple of years to keep it looking fresh and working effectively.
The Durable Performer: Silicone
If you're looking for something that will last, silicone is your answer. It's a truly resilient material, fighting off mold, mildew, and discoloration much better than vinyl. It also stays flexible and won't turn brittle with age, giving it a much longer lifespan in your shower.
That superior flexibility is also a huge advantage for creating a perfect seal, especially on floors or thresholds that aren't perfectly level. A rigid seal might leave gaps, but silicone conforms to create a watertight barrier. It might cost a little more upfront, but its longevity makes it a smarter investment in the long run.
For a shower that gets used every day, investing in high-quality silicone is like buying premium tires for your car. It’s a choice that delivers better performance, greater safety, and serious peace of mind.
The Invisible Guardian: Polycarbonate
In modern bathrooms with frameless shower doors, looks are everything. That's where polycarbonate comes in. It's a rigid, crystal-clear plastic used for components like strike jambs and sturdy bottom seals that need to be strong but practically invisible.
Clarity is its superpower. A polycarbonate water guard for a shower door preserves that clean, all-glass aesthetic homeowners pay for. It lets your beautiful tile work and sleek glass be the stars of the show, without any visual clutter.
The demand for this look is surging. The North America shower glass door market was valued at USD 3.91 billion in 2024 and is expected to more than double by 2032. Frameless designs are a huge part of that growth, proving just how much people want that clean, sophisticated style. You can dive deeper into these trends with this detailed shower glass door market report from Spherical Insights.
Matching Material to Your Frameless Door
Frameless doors require a smarter, more strategic approach. The whole point is to make the water seals disappear. A professional installation achieves this by using a specific combination of materials for a nearly invisible, leak-proof system.
Here’s how a pro would typically outfit a frameless swinging door:
- Door Bottom: We use a clear polycarbonate drip rail that directs water back into the shower, paired with a soft, co-extruded bottom sweep. The soft fin creates a tight seal without scratching the threshold or hindering the door’s smooth swing.
- Hinge Side: A flexible vinyl or, even better, a high-quality silicone seal is perfect here. It compresses tightly against the wall or an adjacent glass panel when the door is closed, sealing off that vertical gap.
- Handle Side: A clear polycarbonate strike jamb is the standard. It provides a firm, rigid stop for the door, often with a magnetic strip to ensure it closes securely and aligns perfectly every time.
By blending the crystal clarity of polycarbonate with the flexible, sealing power of silicone or vinyl, you get a system that works brilliantly without compromising the beauty of your frameless door. It’s the secret to keeping your bathroom stunning and dry.
Alright, let’s get that persistent leak sorted out for good. If you're ready to get hands-on, installing a new water guard for a shower door is a fantastic weekend project. But let's be clear: this isn't a task you can rush. Think of it like a minor surgery for your bathroom—every single measurement and cut has to be spot on. Being off by even a millimeter can mean the difference between a perfectly dry floor and that frustrating puddle you were trying to eliminate.
This guide is your roadmap to getting it right. We'll walk through measuring, prepping the surface, and locking that new seal in place for a professional-grade, waterproof finish.
Step 1: Getting Your Measurements Right
Before you even think about buying a new seal, you need to grab your tape measure. Nailing two key measurements—the length of the seal and the thickness of your glass door—is the absolute foundation for success.
First up, the length. For a bottom sweep or a drip rail, simply measure the entire width of your shower door, from one edge right to the other. If you're replacing a vertical seal, measure the door's height instead. Use a good tape measure, and please, check it twice. I can't tell you how many times I've seen DIY fixes fail because the new seal was cut just a hair too short, leaving a tiny gap that water will find.
Next, you have to know your glass thickness. This isn't something you can just eyeball. Shower doors come in a few standard sizes, and your seal has to match perfectly.
- 3/8 Inch (10mm): The workhorse of modern frameless showers. This is the most common thickness you'll find.
- 1/2 Inch (12mm): You'll see this thicker, heavier glass on high-end, premium frameless enclosures.
- 1/4 Inch (6mm): Typically used for older, framed or semi-frameless door styles.
Grab your tape measure or a pair of calipers and get an exact reading. Trying to force a 3/8-inch seal onto a 1/2-inch door just won’t happen. And a seal that’s too big for the glass will be loose, wobbly, and completely useless.
Precision is everything here. Live by the old carpenter’s motto: measure twice, cut once. Rushing this step is the quickest way to waste your money and end up right back where you started.
Step 2: Preparing the Surface for a Perfect Bond
Once you have the correct seal, it's time for prep work. A clean surface is non-negotiable. Whether you're snapping on a new sweep or sticking on a threshold, any leftover soap scum, hard water scale, or old adhesive will sabotage your efforts and prevent a watertight bond.
Start by getting that old, tired seal out of there. Sometimes they pull right off, but other times you might need a plastic putty knife to gently work it loose. Just be careful not to scratch the glass or frame.
Now, give that area a deep clean. A good glass cleaner works, but a 50/50 mix of white vinegar and water is fantastic for cutting through mineral buildup. For really stubborn grime, a non-scratch scrub pad will be your best friend. The final, pro-level touch? Wipe the area down with denatured alcohol on a clean rag. It strips away any remaining oils or residue and evaporates quickly, leaving a pristine surface ready for the new guard.
Step 3: The Installation Process
This is where your careful prep pays off. The exact steps will change a bit depending on which water guard for your shower door you're installing, but the core principles of care and precision are the same.
Installing a Press-On Sweep or Vertical Seal:
- Cut to Size: Using your measurement, carefully mark the new seal. For a clean, straight cut, use a sharp utility knife or specialized cutters. A good tip is to cut it just a tiny bit long; you can always trim it down for a perfectly snug fit.
- Align and Press: Start at one end of the door and line up the seal with the glass edge. Press it on firmly, working your way down the entire length until you feel and hear it snap securely into place.
- Check the Fit: Open and close the door a few times. Make sure the new seal glides smoothly without catching on anything and maintains constant contact with the threshold or wall.
Installing an Adhesive Threshold or Dam:
- Dry Fit First: Before you peel that adhesive backing, set the threshold in its exact position on the curb. Use a pencil to lightly mark its placement so you know precisely where it needs to go.
- Apply Sealant (Optional but Recommended): For an extra layer of defense, many pros run a thin bead of clear, 100% mold-resistant silicone along the inside of the pencil line before placing the threshold.
- Peel and Stick: Carefully pull off the adhesive backing, line the threshold up with your marks, and press down firmly along its entire length to create a strong bond.
- Seal the Edges: Run another clean, thin bead of silicone along the front and back edges of the threshold, and especially at the ends where it meets the walls. Use a caulking tool or a wet fingertip to smooth the bead for a clean, finished look.
- Let It Cure: This is critical. You must let the silicone cure for a full 24 hours before letting any water hit it. Using the shower too soon will wash away the uncured silicone and ruin the seal.
While doing it yourself is incredibly satisfying, getting that perfectly leak-proof result requires a steady hand. For guaranteed peace of mind and to protect your bathroom floor, exploring professional frameless shower door installation is always a great option.
How to Maintain and Troubleshoot Your Shower Seal
Your water guard for a shower door is the unsung hero of your bathroom, but even heroes need a little backup. To get the most out of your seal, a bit of regular care goes a long way. Think of it as preventative medicine for your shower.
Consistent maintenance is your best defense against the mold, mildew, and soap scum that can turn a pliable seal into a brittle, leaky mess. A simple cleaning routine is all it takes to keep it in fighting shape and protect your bathroom floor from water damage.
A Simple Upkeep Routine
You don't need a cabinet full of harsh chemicals or hours of scrubbing to keep your shower seals looking and working like new. The real secret is consistency. Just a few minutes a week can make all the difference.
- Wipe It Down Daily: The easiest and most powerful habit you can build is to squeegee or wipe down the glass and seals after the last shower of the day. This simple action stops water and soap residue from drying and building up in the first place.
- Clean It Weekly: Once a week, give the seals a quick wipe with a soft cloth and a gentle cleaning solution. We swear by a 50/50 mix of white vinegar and water. It’s fantastic for cutting through hard water spots and soap scum without harming the seal itself.
- Stay Away From Harsh Chemicals: Bleach-based sprays and abrasive powders are the mortal enemies of vinyl and silicone seals. They’ll cause the material to harden, crack, and turn yellow, dramatically shortening its lifespan.
Of course, great maintenance starts with a great installation. Getting it right from the beginning sets you up for years of leak-free performance.
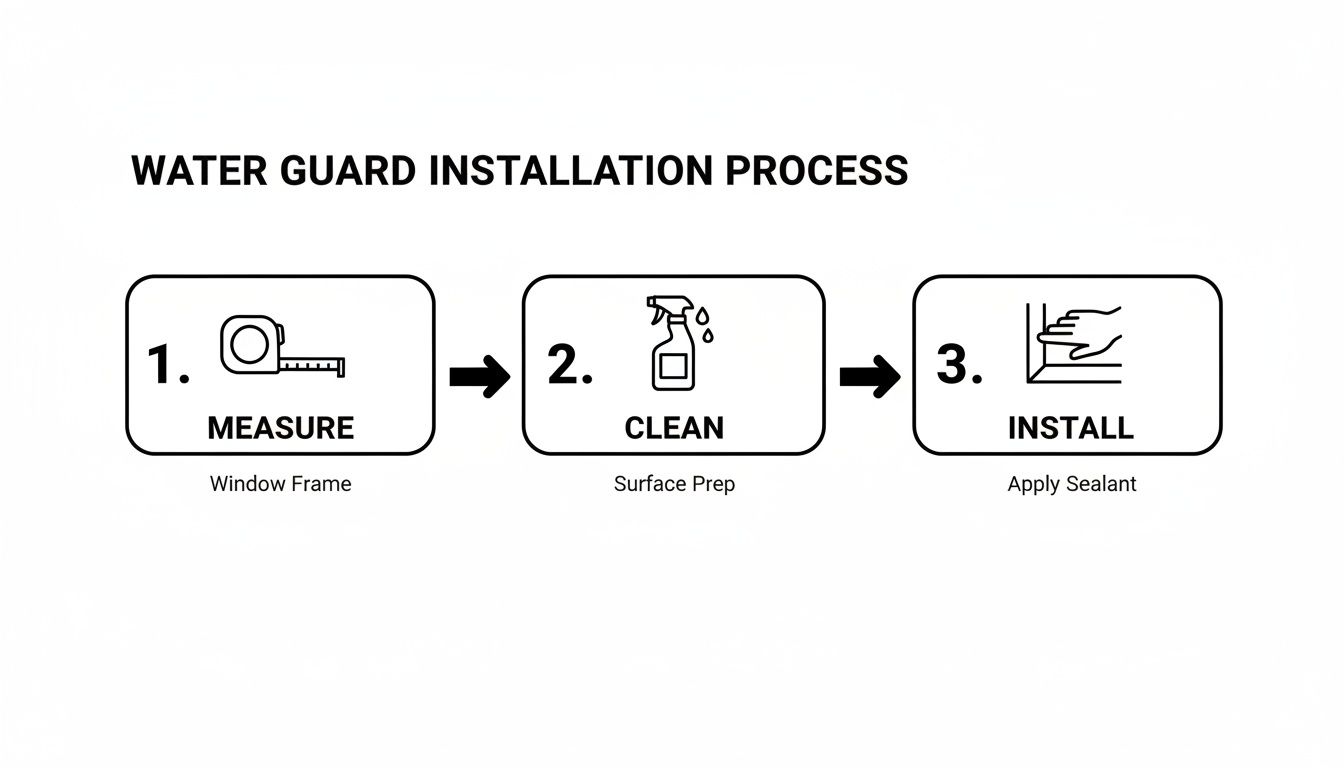
As you can see, a flawless installation is built on a foundation of precise measurements and an immaculately clean surface. This is what creates that perfect, watertight bond.
Troubleshooting Common Seal Problems
Even with the best care, you might run into a few issues over time. Here’s how to tackle the most common problems before they turn into major headaches.
What happens when your crystal-clear seal starts to yellow? This is a classic sign of aging, especially in lower-quality vinyl seals exposed to UV light and cleaning chemicals. While a good cleaning with a vinegar solution might lighten minor staining, heavy yellowing is often a sign the plastic is breaking down and it's time for a replacement.
When a seal starts peeling away from the glass or the curb, it's a critical failure. Attempting to fix it with a dab of a random adhesive is a temporary patch at best and will likely fail again quickly, trapping moisture and encouraging mold.
A peeling seal means the original bond has failed. The only real fix is to remove the old guard completely, clean every trace of old adhesive and grime from the surface, and install a fresh one. Trust us, trying to re-glue an old, dirty seal is just a recipe for frustration.
So, when do you throw in the towel on repairs? A water guard for a shower door should be replaced if it’s visibly cracked, rigid and inflexible, permanently discolored, or no longer stopping leaks. At that point, it has served its purpose. For more in-depth advice, take a look at our complete guide on professional shower door maintenance.
A Few Common Questions About Shower Water Guards
Alright, we've covered a lot of ground. But if you're like most homeowners I talk to, you probably still have a couple of questions rattling around. And that's a good thing!
Choosing the right water guard for a shower door is all about protecting your investment and your bathroom floor. Let's tackle some of the most common concerns we hear every day.
How Often Should I Replace My Shower Door Guard?
I get asked this all the time. The textbook answer is to replace your seals every 2 to 5 years, but honestly, your shower doesn't have a calendar. How long a seal lasts really comes down to things like your water quality, how often you shower, and the material of the seal itself.
Instead of just guessing, it's better to know the signs of failure. Give your seals a quick look every few months for these tell-tale signs:
- Stiffness or Brittleness: A seal that's gone hard and isn't flexible anymore can't do its job.
- Cracking or Splitting: These are basically tiny highways for water to escape your shower.
- Discoloration: If your clear seal is turning a grubby yellow, it's a sign the material is breaking down.
- Visible Leaks: This one’s the most obvious! If there's a puddle on the floor after your shower, it's time for a replacement.
Will a Water Guard Ruin My Frameless Shower Aesthetic?
This is probably the biggest worry for anyone who has invested in a gorgeous, minimalist frameless shower. The good news is, absolutely not—as long as you use the right parts. The days of ugly, bulky seals are long gone.
Today’s high-quality polycarbonate and clear silicone guards are designed to be practically invisible. They blend right in, preserving that stunning, all-glass look you paid for while providing the leak protection you need. It’s all about a clean, precise fit, which is why professional installation makes such a difference.
A well-chosen and properly installed water guard doesn't ruin the look of a frameless door; it perfects it by making it fully functional without compromising its beauty.
Can I Install a Shower Door Threshold Myself?
You can, but I’d advise you to think twice. While popping on a simple press-fit door sweep is often a manageable DIY task, installing a full threshold is a different beast entirely. It’s a game of millimeters, and there’s almost no margin for error.
For a threshold to be truly watertight, the surface has to be perfectly prepped, the cut has to be exact, and the silicone seal has to be applied flawlessly. The number one reason DIY threshold installations fail is a poor seal along the edges, which lets water sneak underneath and get trapped. If you want a guaranteed, leak-proof result from day one, we always recommend calling in a professional. If you want to explore this more, check out our complete list of frequently asked questions.
What Is the Difference Between a Door Sweep and a Bottom Seal?
It's easy to get these two confused, but they have very different jobs. Think of it this way: one moves, and one stays put.
A door sweep is the flexible vinyl or polycarbonate fin that attaches to the bottom of the moving glass door. As you swing the door shut, it "sweeps" across the floor or threshold, closing the gap.
On the other hand, a bottom seal is a stationary barrier. It’s a fixed track that is sealed directly to the shower curb. The door closes up against it to create a watertight wall. Many of the best shower systems actually use both in tandem to offer the ultimate defense against leaks.
Feeling more confident? A perfectly sealed shower door isn't just about preventing water damage—it’s about peace of mind. If you'd rather have a flawless, professional result without the headache, AmeriGlass Industries is ready to help. Our experts will make sure your shower is beautifully finished and completely watertight.