

Your shower door usually gives you fair warning before the failure turns expensive. It starts with a little drag at the bottom. Then a rattle. Then that harsh grinding sound that makes you wince every morning because you already know something metal is chewing into something else.
Most homeowners wait at that point because the door still moves. That's the mistake. A bad track doesn't just make the door annoying to use. It can let water escape where it shouldn't, and once water gets under the threshold or into a compromised curb, the repair stops being about the door alone. In Southwest Florida, where humidity never takes a day off, that hidden moisture can undo an otherwise simple fix.
A proper sliding shower door track replacement is manageable for a capable homeowner if the glass is intact, the enclosure is square, and the curb beneath the track is sound. But the job only lasts when you treat substrate inspection and sealant placement as core steps, not optional cleanup details. That's where many DIY repairs fail.
The End of the Grind and Rattle
The morning trouble usually starts the same way. You slide the door open, feel it catch halfway, then hear that dry scrape from the bottom rail. By the end of the week, the panel rattles, the frame shakes, and the door no longer feels fully under control.
That sound matters because a shower track rarely fails by itself. A bent rail can be the visible problem, but I also check the curb below it, the wall jamb attachment points, the sill guide, and the condition of the sealant. In Southwest Florida, trapped moisture under a loose track can soften backing, stain finishes, and keep feeding corrosion long after the rail starts making noise.
A lot of capable homeowners replace rollers first. Sometimes that solves it. If the door still binds, hops, or drags in the same spot, the track or the surface under it is usually the issue. Installing a new rail over old silicone, mineral buildup, or a wet substrate gives you a short-lived repair. The door may slide better for a while, then the fasteners loosen, the rail shifts, and the noise comes right back.
Field reality: A straight track needs a clean, solid, dry base. If the curb is soft, out of level, or poorly sealed, the replacement will not hold alignment.
That is also why the installation method matters as much as the hardware. Homeowners considering HydroSlide sliding shower door systems should pay close attention to how the track is supported, how the substrate is inspected before fastening, and where silicone is placed so water is directed back into the shower instead of under the rail.
Do not write off grinding as routine wear. It is usually the point where a controlled repair is still possible, before the glass, curb, or wall attachments turn a track job into a much bigger one.
Gathering Your Tools and Identifying the Track
A track replacement usually goes one of two ways. The homeowner lays everything out, confirms the rail profile, checks the curb surface, and the job stays controlled. Or the new part gets ordered by rough width alone, the old silicone is left in place, and the rail never sits right.
That second repair fails all the time in humid bathrooms. In Southwest Florida, I pay close attention to what the track is fastening to and how the new sealant will sit after installation, because a correct part on a dirty, damp, or damaged base still gives you a short service life.
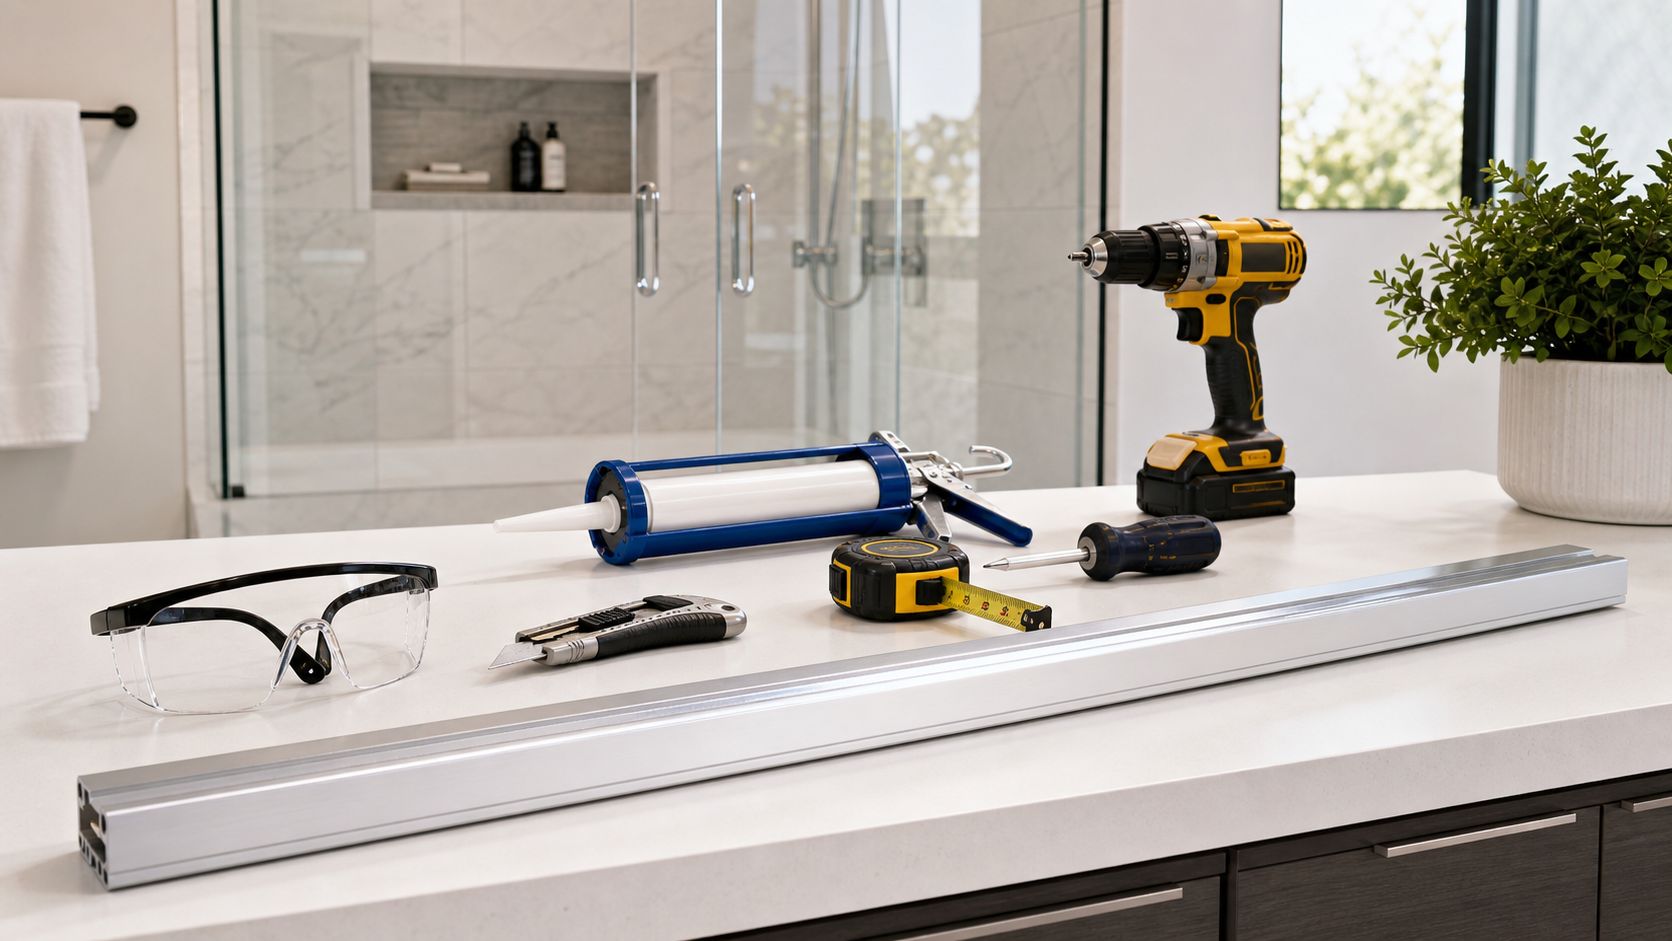
What to lay out before you start
Keep your tools within reach, but out of the path where the glass will come down. A rushed reach across tile with a door panel half-supported is how corners get chipped.
For this job, set out:
- Safety glasses and work gloves for sharp metal edges, corroded screws, and handling glass hardware
- A utility knife to score and cut old silicone at the curb and jambs
- Flat-head and Phillips screwdrivers for guides, roller adjustments, and trim screws
- A drill or driver with the correct bits if your system uses mechanical fasteners
- Tape measure and combo square for trim length, profile checks, and straight layout marks
- A torpedo level or longer spirit level to verify the curb and rail alignment
- Painter's tape to hold a dry-fit position and mark screw locations
- Plastic scraper and clean rags for residue removal without scratching finished surfaces
- Bathroom-rated clear silicone for final sealing
- A small file to clean up a cut end on an aluminum rail
Keep a flashlight nearby too. It helps when you are checking the curb for pitting, old fastener holes, hairline cracks in stone, or softened areas around previous sealant lines. Those details matter because the new track has to sit flat from end to end.
If you need help identifying hardware parts before you order, AmeriGlass has a useful shower door FAQ page that covers common door and track questions.
You also need a proper resting place for the panel after removal. Use a protected wall, a padded bench, or another stable surface where the glass cannot slide or take an edge hit.
Identify the track before you buy anything
Track replacement starts with the exact profile, not just the length. I tell homeowners to check for a brand stamp, label, etched marking, or model tag on the rail, wall jamb, guide, or header first. If you find one, ordering gets much easier.
If there is no label, match the shape by sight and by measurement. Sliding shower door tracks are commonly L-shaped, U-channel, or sloped, and small differences in width or channel depth can change how the rollers ride and how water is directed back into the shower.
Use this checklist before ordering:
| What to confirm | Why it matters |
|---|---|
| Profile shape | The rail has to match the original guide and roller path |
| Width and height | Even small differences can change door clearance and splash control |
| Channel depth | Incorrect depth can cause drag, hopping, or poor guide contact |
| Screw hole spacing | Existing holes only help if they line up with the new rail |
| Door configuration | Interior and exterior panel orientation has to match the enclosure |
Take clear photos of the profile from the end, the full rail length, the guide, and any labels you find. I also recommend measuring the curb width and checking whether the mounting surface is flat or crowned. Some homeowners order the right rail and still struggle because the old curb has buildup, chipped tile, or a low spot that prevents full contact.
The substrate check matters as much as the part number
A new rail only performs well if the surface under it is sound. Before you commit to a replacement track, inspect the mounting area for loose tile, cracked stone, swollen backing, rust bleed around screws, and old silicone packed into corners. If the base is compromised, the track can shift out of line even when the profile is correct.
That is where DIY articles often leave out the part that decides whether the repair lasts. Sealant is not there to hide gaps. It has to bond to a clean, dry surface and be placed so water sheds back into the shower instead of collecting under the rail.
Capable homeowners usually measure the visible rail and stop there. A better approach is to confirm the rail, the guide, the roller path, and the condition of the curb before any parts get ordered. That extra inspection time saves rework.
Safe Removal of the Old Shower Door Track
Removing the old track is where impatience breaks glass, chips tile, and tears up a curb that was still salvageable. Slow is faster here. The glass panel is awkward, the screws may be corroded, and old silicone can hide where you don't expect it.
Remove the door without forcing it
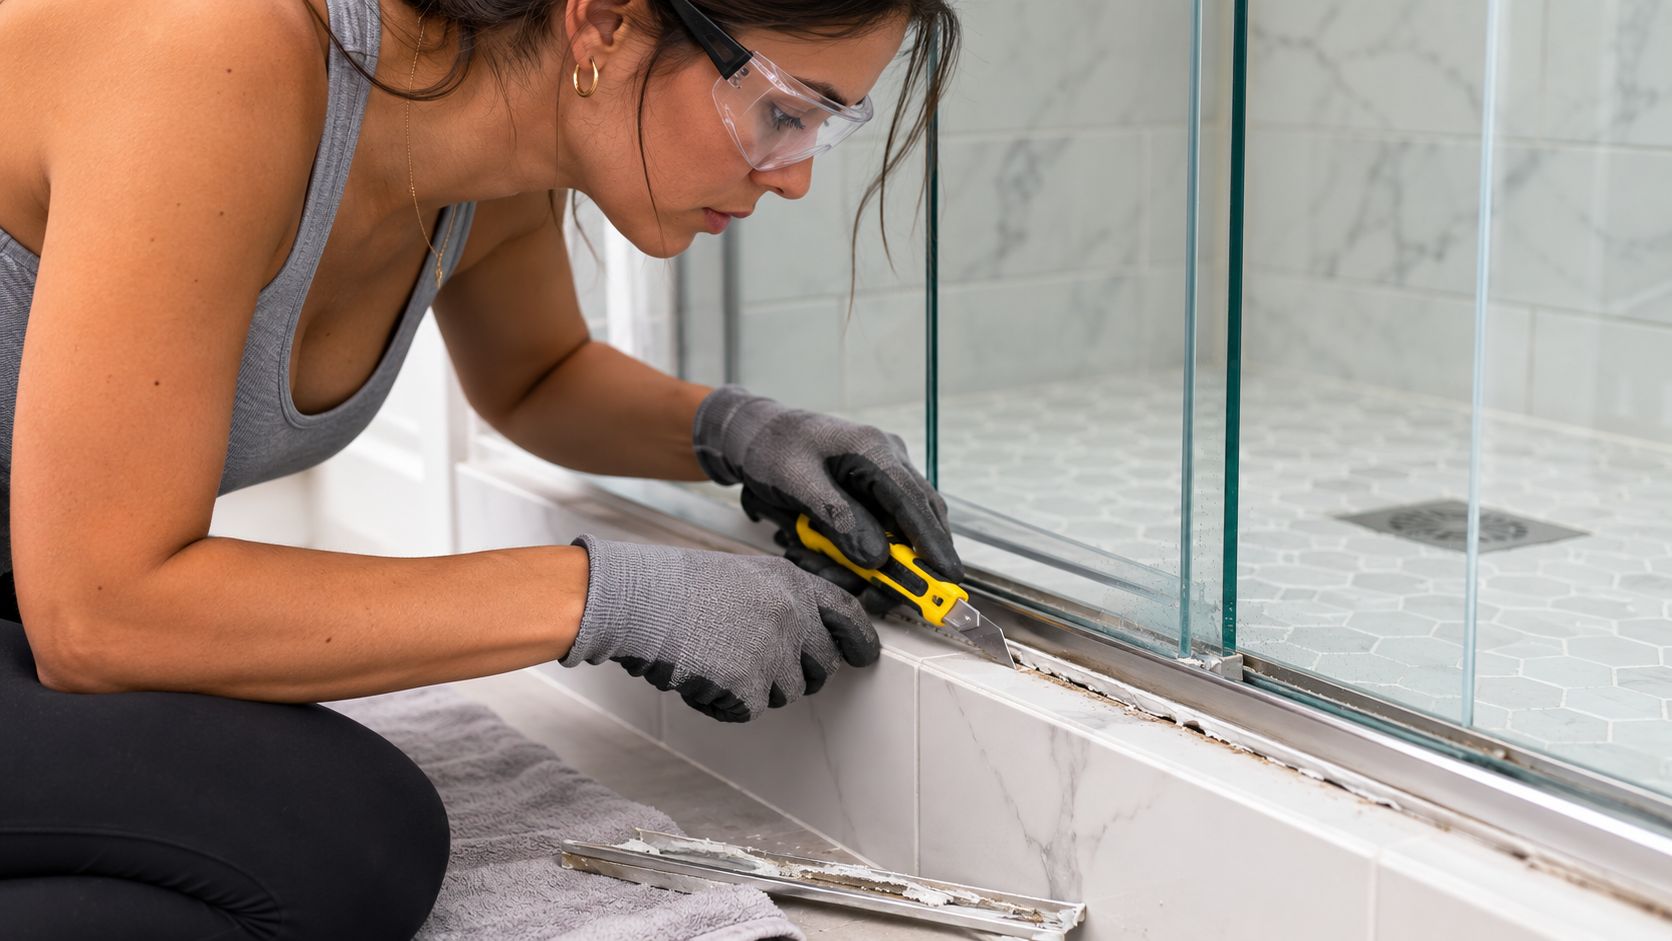
Start by clearing the shower and drying the track area so your hands and tools don't slip. Put on gloves and eye protection. Open the door to a workable position, support the panel with both hands, and lift carefully to disengage the top rollers from the rail. Then lower the bottom guide engagement and move the panel to your prepared resting spot.
If the door doesn't release smoothly, stop and inspect the hardware. Don't pry against the glass. Don't twist the panel to “pop” it free. If you need a reference for roller orientation or common hardware questions while you work, the AmeriGlass shower door FAQ page is a useful checkpoint.
A few removal rules matter:
- Support the weight evenly so one corner doesn't take the load.
- Keep the glass edge away from tile and metal because edge impacts are what usually cause sudden failure.
- Work with a second person if the panel feels awkward or if the opening is tight.
Cut the old sealant before touching screws
Once the door is out, score the old silicone bead with a sharp utility knife along the frame sides and bottom edge. Cut all the way through the bond before loosening screws. If you skip that step, the rail can tear away chunks of old caulk, finish material, or even weakened substrate as it comes off.
After the sealant is cut, remove retaining screws and lift the old rail away gently. A plastic scraper helps separate stubborn residue without scratching the curb.
Old silicone hides the real condition of the threshold. Don't judge the curb until the rail and residue are fully off.
Inspect the substrate before you install anything new
This is the step too many DIY guides treat like a side note. It isn't one.
A-1 Sliding Doors notes that many replacement failures come from unaddressed foundation issues like stripped screw holes, warped shower trays, or misaligned walls, and that proper sealant application at the track-threshold junction is essential to keep water from getting under the rail in the first place, as explained in their article on fixing a broken sliding door track. If the curb feels soft, shows discoloration, or has visible swelling, a new track alone won't solve the problem.
Check for:
- Soft spots under finger pressure or light tool pressure
- Dark staining or mineral trails near old fasteners or corners
- Warping or unevenness across the sill
- Loose screw holes that won't hold a fastener tightly
- Gaps at the wall jambs that suggest the enclosure has shifted
If you find substrate damage, pause the replacement. Installing over it usually buys you a short-lived improvement and a longer repair bill later.
Precise Installation of the New Track
A new rail can fix the noise and drag. It can also hide a bad install for a few weeks, then start leaking at the curb. The difference usually comes down to fit, level, and where the sealant goes.
Dry-fit the rail and confirm alignment
Clean the curb and all contact points until they are bare and dry. Any old silicone, soap film, metal filings, or scale left under the track can hold one side up just enough to twist the rail. In Southwest Florida, I pay close attention here because humidity keeps moisture trapped under even a small ridge of residue.
The sill guide technical document points to the same basics installers rely on in the field: correct guide orientation, clean seating surfaces, and enough clearance between the glass and track to keep the panel from rubbing. Dry-fit the rail before you open the sealant.
Set the track in place and check these points in order:
- The rail sits flat across the full curb with no rocking.
- Both ends meet the jambs or stops cleanly.
- The rail is centered so the glass lines up with the guides.
- The full run is level.
- The door clears the track and guide without touching.
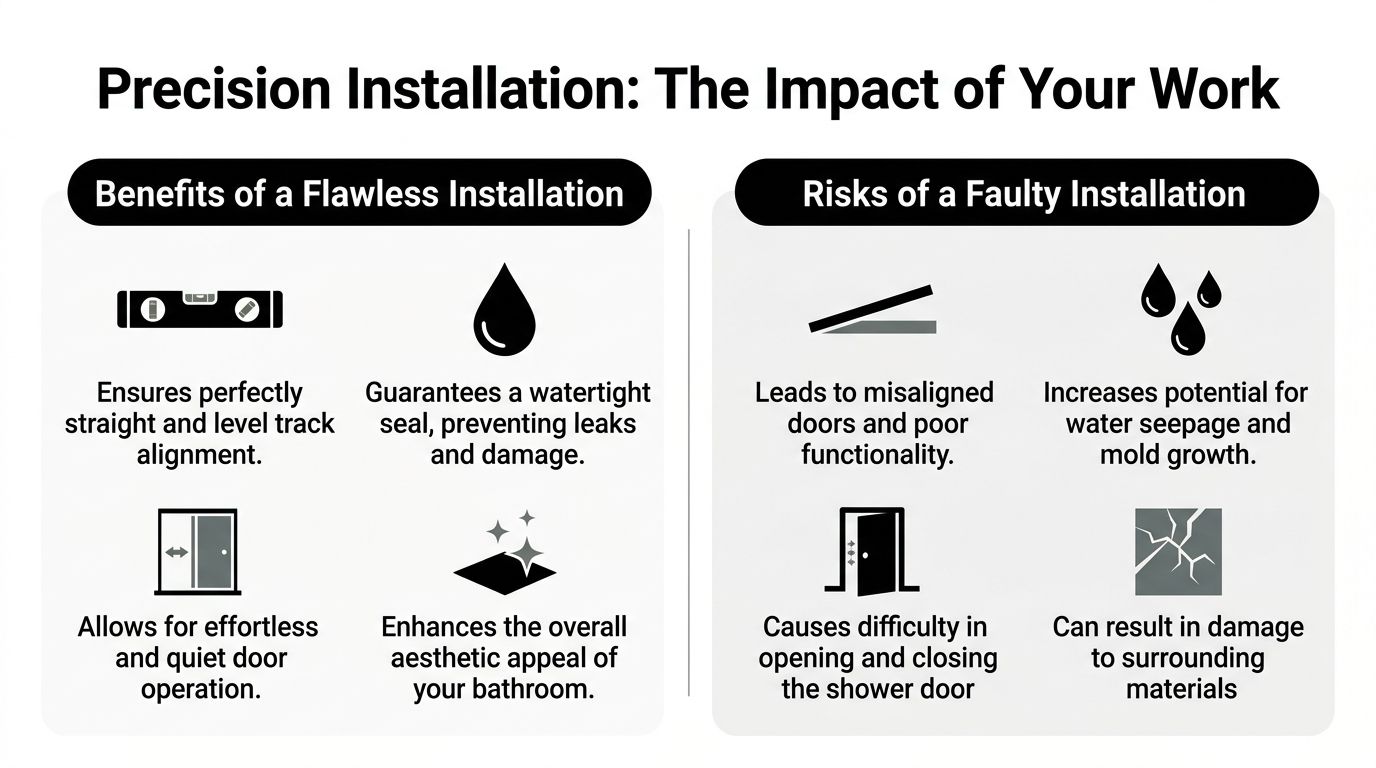
Painter's tape works well for holding the rail during a test fit. If the new part needs trimming, mark it with a square, cut it cleanly, and dress the edge with a file before checking the fit again. A rough cut edge loves to snag sealant and throw off the final seat.
Set the rail level and reassemble with intention
Sliding glass will show small errors fast. If the bottom rail is slightly out of level, the rollers and guide start fighting each other. The homeowner feels that as chatter, drift, or a panel that binds near one end.
Follow a deliberate sequence:
- Center the rail first so the guide and glass stay aligned through the full opening.
- Level the rail before fastening because hardware will only lock in a bad position.
- Install or reset the bottom guide carefully so the glass is captured without pinching.
- Rehang the panel slowly and watch the bottom edge as it moves.
- Adjust roller orientation if needed before calling the job done.
A short visual can help if you want to compare your setup with a typical installation sequence:
If your system uses sill guides, release and reinstall them gently. The guide cited above notes that some nylon or plastic guides turn slightly with a flat-head screwdriver for removal. Forcing them usually cracks the guide or chips the finish around it.
Seal the outside, not the channel
Sealant is part of the installation, not a cleanup step. Too many DIY repairs fail because the rail is bedded in the wrong place or the entire channel gets filled with silicone.
Apply a continuous bead where the manufacturer intends the rail to sit against the curb, usually under the outside lip or underside of the threshold profile, then tool a neat bead along the exterior edge if the system calls for it. Keep sealant out of the drainage path inside the track. Water has to escape where the door system was designed to let it escape.
Use this approach:
| Area | What to do | What to avoid |
|---|---|---|
| Underside of threshold lip | Apply a continuous bead for bedding and sealing | Don't leave gaps near corners |
| Screw penetrations | Seal as needed to block water entry | Don't bury hardware in excess caulk |
| Outside edges | Tool a neat bead where the rail meets the curb | Don't smear sealant across visible finishes |
| Inside channel | Leave it as designed by the system | Don't fill the track trough with silicone |
If extra silicone seems like the answer, the rail probably is not seated correctly.
This is the part many homeowners skip, and it matters most in damp bathrooms. If the curb surface has even minor pits or the old fastener holes were not sealed properly, water can wick under the rail and sit there. That is how corrosion starts again from below, and it is why substrate condition and sealant placement have to be handled together.
Once the track is fastened and sealed, rehang the door and test the slide with slow, full-length passes. Then stop. Let the sealant cure fully before anyone uses the shower.
If you are comparing enclosure designs while planning the repair, True Slide shower door systems show why good measuring and hardware alignment matter as much as the glass itself. After the install cures, regular maintenance helps the new track last longer. This guide on how to clean glass shower doors covers safe cleaning habits that reduce buildup in the rail and around the guides.
Common Problems and Quick Fixes
A fresh track doesn't guarantee perfect operation on the first pass. Most post-installation problems come from alignment, debris, guide position, or sealant placement. The fix is usually simple if you diagnose the cause instead of forcing the door and hoping it “wears in.”
If the door still drags or chatters
Start at the bottom, not the handle. A dragging feel usually means the rail isn't seated evenly, the door clearance is off, or debris got left in the track during install. Remove visible grit, inspect the lower guide, and slide the panel slowly while watching where resistance begins.
If the door moves smoothly for part of the run and binds at one end, check level and roller orientation before doing anything else. If it rattles but doesn't stick, look for loose guide engagement or hardware that wasn't tightened fully.
A new track should feel smoother immediately. It shouldn't need a “break-in period” to stop grinding.
If you see a leak after cure time
Leaks after installation usually point to one of two issues. Either the sealant bead has a gap at the outside edge or water is getting underneath because the substrate below the rail wasn't sealed correctly.
Try this order of operations:
- Dry the area fully before testing again.
- Identify the exact leak path instead of sealing everything in sight.
- Reapply clear silicone only where the water is entering along the exterior edge or penetration point.
- Check the curb surface for a low spot or movement beneath the rail.
For routine care after the repair, follow a real maintenance rhythm. Angi notes that experts recommend a monthly 30-minute inspection of rollers, seals, and bottom guides, plus a weekly 5-minute pH-neutral wipe of the top track to prevent buildup that can escalate into a $300 to $600 track replacement, in its guide to shower door repair costs and maintenance.
If the glass looks dirty and the track keeps collecting residue
A lot of “track problems” start as cleaning problems. Soap film hardens, minerals collect, and rollers start riding over grime instead of metal. If you want a practical refresher on cleaning habits that support smoother operation, this guide on how to clean glass shower doors is worth bookmarking.
Keep maintenance simple:
- Wipe the upper track weekly with a pH-neutral cleaner.
- Inspect guides and seals monthly for looseness or wear.
- Avoid abrasive pads or harsh metal tools that can scratch hardware.
- Don't force the door when you feel unusual resistance.
If you want a maintenance checklist specific to shower hardware and glass care, shower door maintenance tips can help you keep the repair from becoming a repeat project.
When to Call a Professional for Your Shower Door
You pull the door, set the new track in place, and then a significant problem shows up. The curb feels soft under the rail. The wall is out of plumb. The glass no longer wants to sit where the old track says it should. That is the point where a careful homeowner should stop and reassess.
Track replacement works well as a DIY repair when the opening is sound and the replacement parts match. It stops being a track job when the substrate under the rail has taken on moisture, old fastener holes no longer hold, or the enclosure has shifted enough that the new rail cannot sit level and square. In those cases, the track is only the symptom.
The line between hardware replacement and enclosure repair
A new rail depends on what is under it. If the threshold has movement, if tile around the mounting points is cracked, or if old silicone has let water work into the curb, the repair needs more than new metal. In Southwest Florida, I pay close attention to this because humid conditions and repeated wetting can keep a small leak active long after the visible caulk line looks fine.
Sealant work matters just as much. Many failed shower door repairs trace back to poor surface prep, the wrong bead size, or silicone laid over residue that should have been removed first. A pro should inspect the substrate, confirm the rail sits flat, and seal only after the surfaces are clean, dry, and stable. Skip that sequence and the new track often loosens, leaks, or goes out of alignment early.
Situations where DIY should stop

Call a professional if you find any of these conditions:
- The curb feels soft, swollen, or hollow under the track.
- The walls are out of plumb or the opening is out of square, so the rail will not sit correctly without forcing it.
- The glass is heavy, frameless, tall, or custom-sized, which raises the risk during handling and reinstallation.
- The replacement track is close but not exact, and getting it to fit would require drilling new holes or modifying hardware.
- Water has been escaping for a while, especially if staining, loose tile, or mildew shows up near the curb or wall jambs.
- You see chipped glass, stressed corners, or damaged roller mounts, because glass safety takes priority over finishing the repair.
There is no benefit in guessing with glass.
Hiring a pro means getting the opening measured, the mounting surface checked, and the sealing plan matched to the actual condition of the enclosure. If you are at that point, request a professional shower door repair quote and get the problem diagnosed before a bad track turns into damaged tile, failed sealant, or broken glass.
AmeriGlass Industries helps homeowners across Southwest Florida with precision-measured shower doors, expert glass installation, and repairs that address the root cause of the problem, not just the symptom. If your sliding shower door track replacement has turned into a bigger fit, leak, or alignment issue, contact AmeriGlass Industries for a professional evaluation and a clear path forward.