
The usual call starts the same way. The shower door used to close cleanly, then it began to sag a little, drag a little, or make a new noise every time someone opened it. Now the gap at the strike side looks wrong, the sweep is rubbing, and you’re staring at the hinge wondering if this is a simple hardware swap or the start of a much bigger problem.
That distinction matters with frameless glass. A shower door hinge replacement can be a reasonable DIY job when the issue is isolated to the hinge assembly and the door can be safely supported. It becomes a bad DIY project fast when the problem is loose backing behind tile, wall movement, damaged mounting points, or worn parts inside the hinge that need a more careful diagnosis before anybody starts loosening screws.
In Naples and across Southwest Florida, humidity and daily use are hard on bathroom hardware. Good hinges are built for repeated operation, but they still wear. One manufacturer lists a soft-close hinge as guaranteed for up to 10,000 opening cycles and rated to hold up to 85 pounds per hinge in some configurations or 55 pounds per hinge in others, with individual replacement hinges starting at $76.33 at that same retailer, which tells you this hardware carries real load and isn’t just decorative (Coastal Shower Doors hinge details).
If you diagnose the problem correctly, you can save the door and avoid chasing the wrong fix. If you diagnose it poorly, you can crack expensive glass, scar tile, or turn a hinge repair into a full enclosure problem.
A bad hinge job usually goes wrong before the first fastener comes out. The homeowner orders a hinge that looks close enough, puts a towel under the door, and assumes the rest will work itself out. That’s where panic starts. Frameless doors don’t forgive guessing.
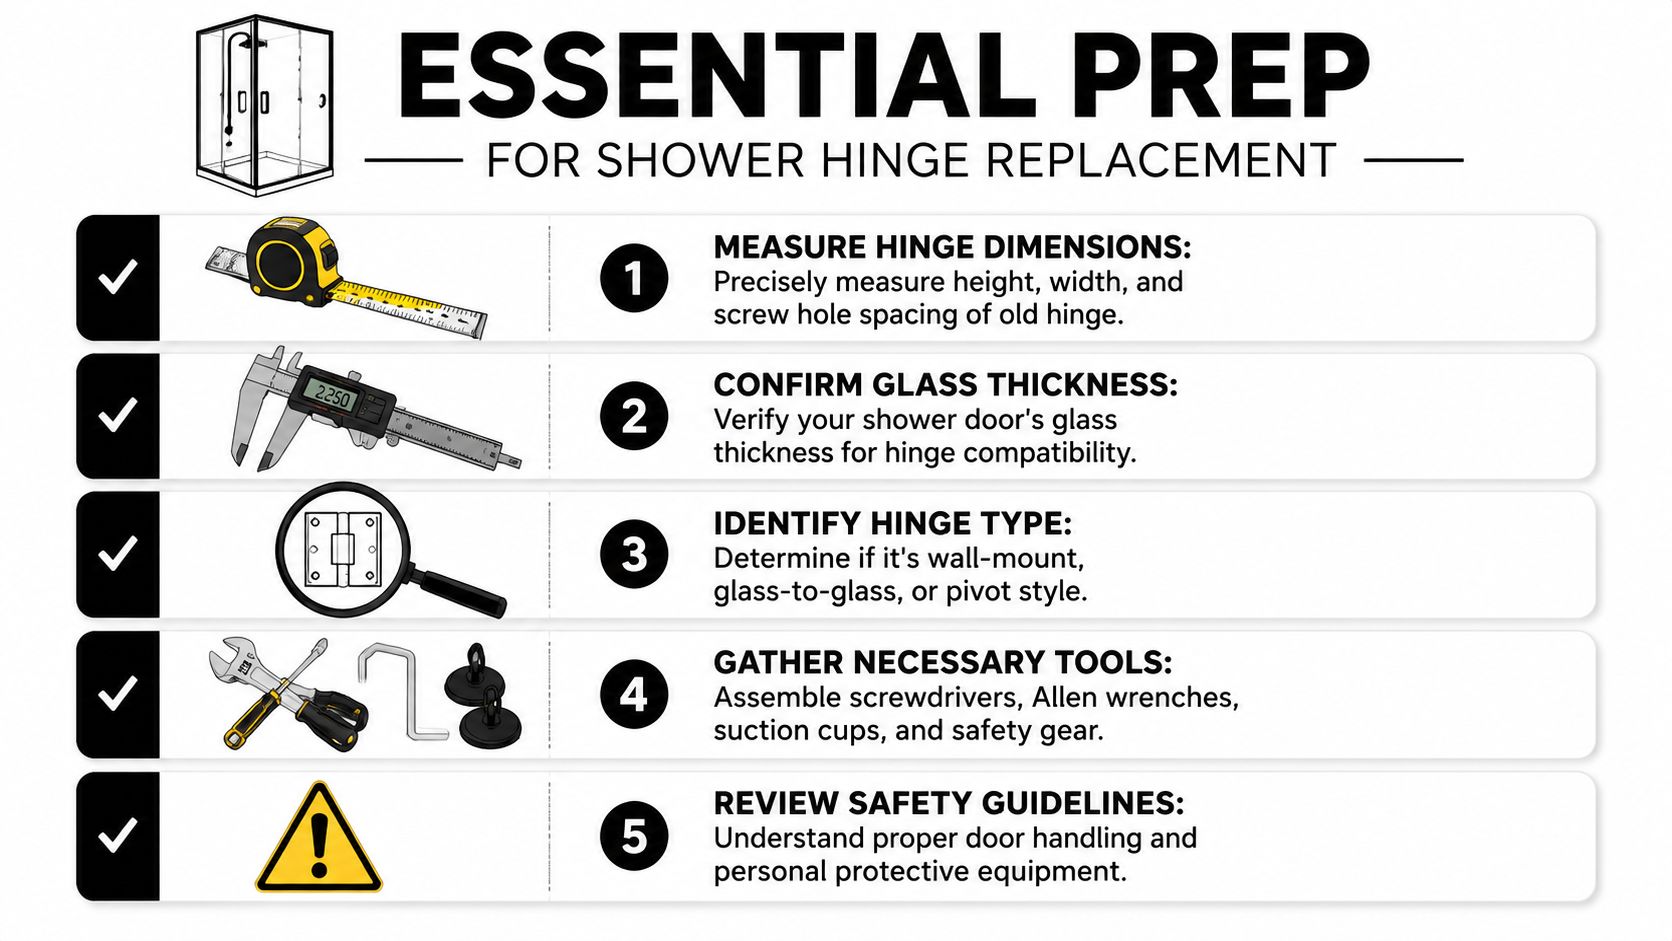
You need a matching hinge, not a similar one. Check the existing hardware carefully and write down what matters:
If the replacement part doesn’t match the glass cutout exactly, stop there. Ordering a close substitute is how people end up with a half-installed door and exposed hardware spread across the bathroom floor.
A frameless shower door hinge replacement needs more than a screwdriver. At minimum, have:
Practical rule: If you can’t fully support the door before loosening hardware, you’re not ready to start.
This is also the point where routine care helps. If you’ve never looked closely at your sweeps, seals, and hardware, it’s worth reviewing basic shower door maintenance before you replace parts that may not be the root cause.
The hinge body isn’t always the culprit. Look for symptoms that point in different directions:
| Symptom | More likely cause |
|---|---|
| Door sags but hinge body looks intact | Worn pin, sleeve, or alignment issue |
| Door closes but leaks | Sweep, gasket, or strike-side seal issue |
| Screws won’t stay tight | Backing or mounting problem |
| Door binds only at one point | Alignment shift rather than hinge failure |
| Corrosion around hardware and wall contact | Moisture-related hardware or support issue |
If your hinge is visibly damaged, badly corroded, or no longer holding alignment, replacement makes sense. If the door problem appeared gradually and the hinge shell still looks sound, diagnose first. Hardware costs real money, and this is a safety part, not a cosmetic accessory.
The critical moment in this job is not unscrewing the hinge. It’s holding the door in a stable position before the hinge stops carrying it.
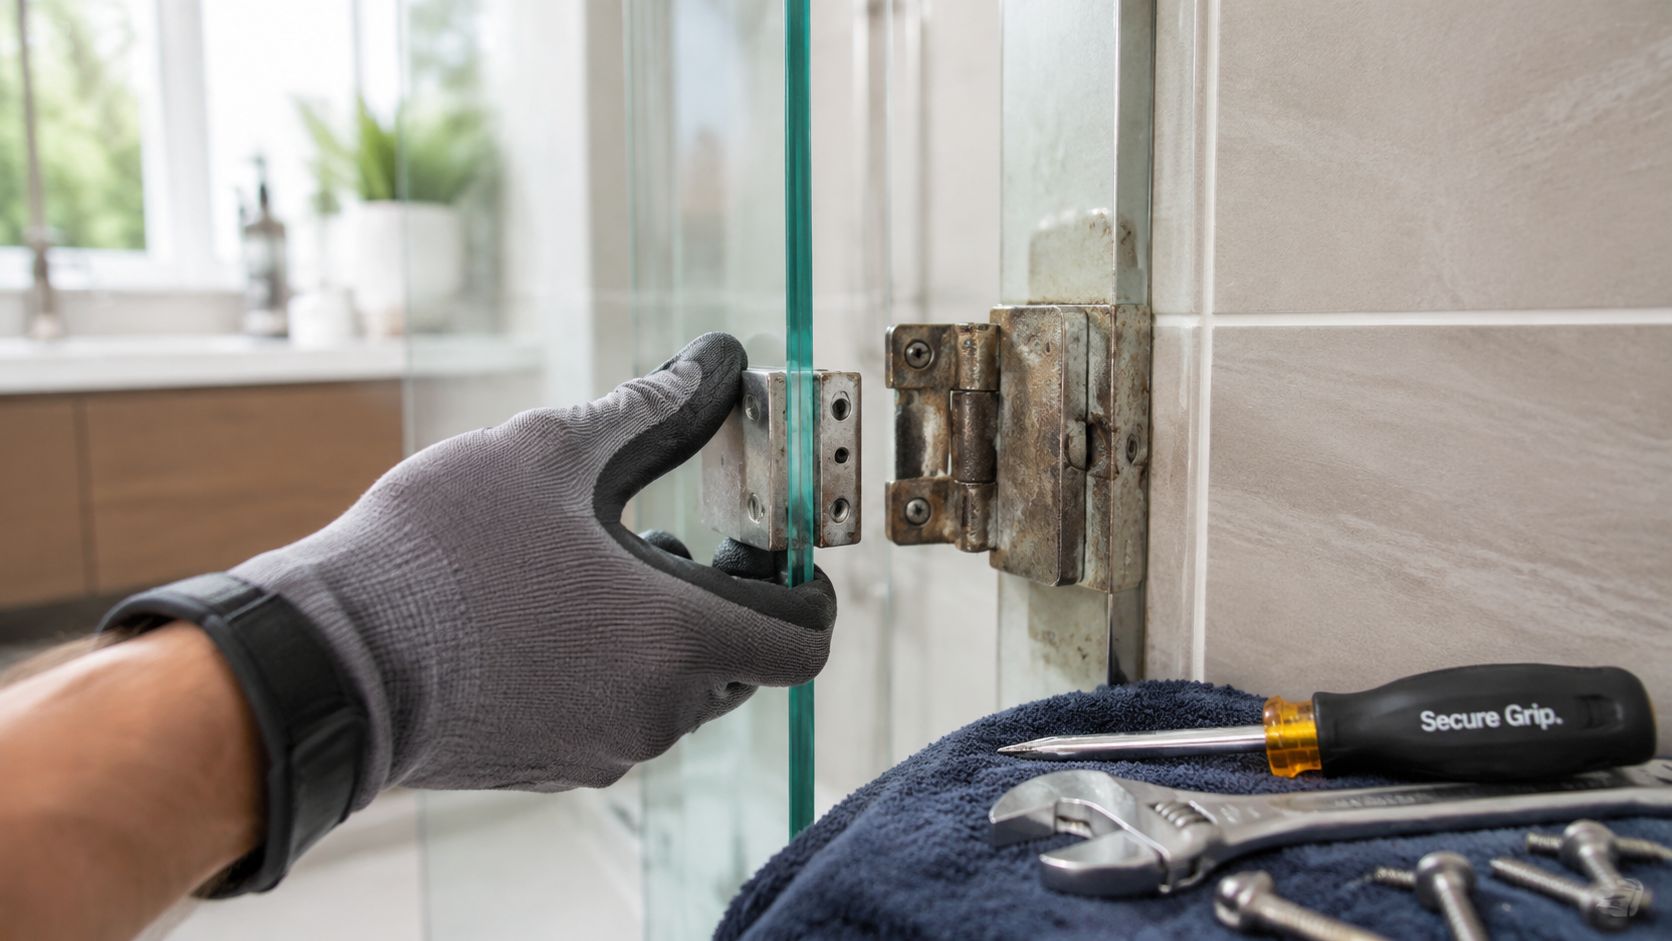
Professional installers support the frameless door with shims or a helper before loosening any fasteners because the door’s full weight has to be controlled during hinge removal and realignment, not left hanging on hope and one remaining screw (field method for pivot hinge adjustment and removal).
Use padded shims under the door so the bottom edge is supported evenly. Don’t jam one shim at a corner and call it done. Build support gradually until the door is stable and the helper can hold it upright without fighting its weight.
Then tape reference marks around the hinge location. Those marks help you track whether the new hinge sits where the old one did. They also show if the plate shifted when you loosened the screws.
For many common layouts, seeing how a single shower door configuration is built can help you understand where the load transfers through the hinge side and why that support step matters.
Use a deliberate order, not random fastener removal.
If you want to see the basic motion and hand placement involved, this walkthrough gives a useful visual reference:
Don’t let the remaining hinge “hold it for a second.” That second is where glass twists, chips an edge, or shifts into tile.
What works is slow, supported, two-person removal. What doesn’t work is taking out all visible screws first, trying to catch the door mid-drop, or tightening and loosening hardware repeatedly while the glass is floating.
The old hinge tells a story once it’s off. If the hinge is worn but the wall is solid and the glass cutout is clean, that supports a straightforward replacement. If the mounting surface moves, the screws are chewed up, or the hinge area shows stress, your problem may be larger than the hardware in your hand.
Installation is where precision matters more than strength. Plenty of DIY jobs go wrong because the hinge gets mounted tightly before the door is aligned. Tight isn’t the same as correct.
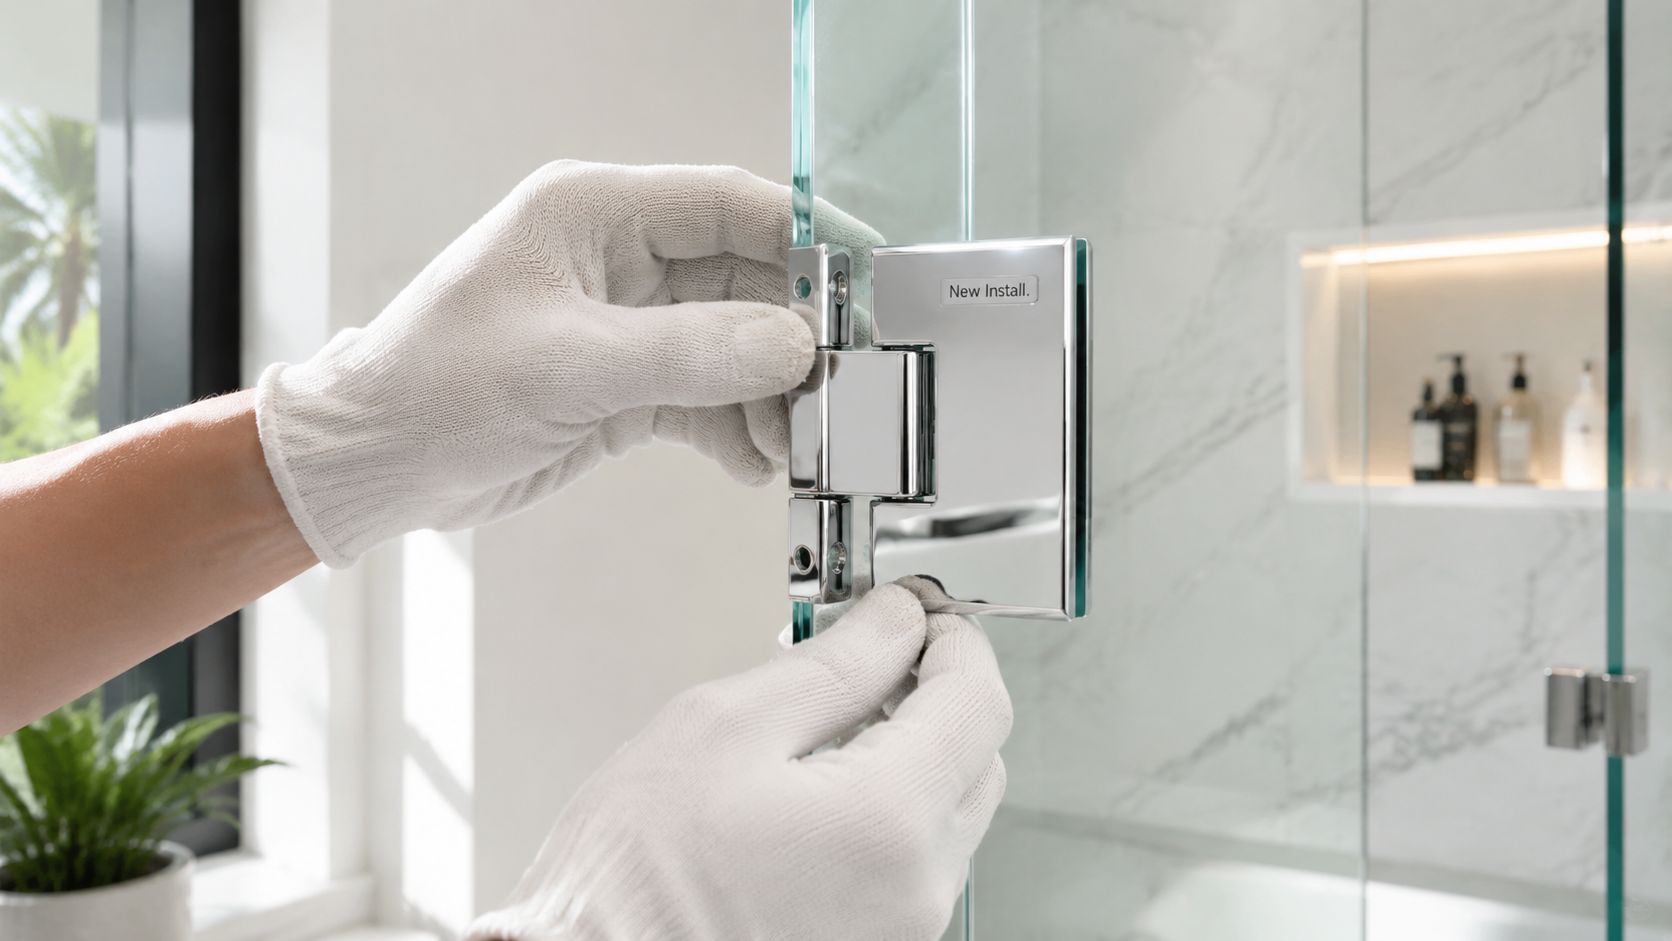
The new hinge should sit cleanly in the original glass cutout. Don’t force it, don’t shave parts, and don’t assume a screw will pull a mismatch into place. If the hinge body or clamping surfaces don’t sit flush, stop and confirm compatibility.
Before tightening, make sure any sleeves, gaskets, or protective components are seated exactly where they belong. A tiny misplacement can create uneven pressure on the glass. That’s how a door ends up binding later even though it looked fine during the swap.
A lot of homeowners run into alignment trouble because they focus only on the replacement hinge and forget the door works as part of the full enclosure. If your layout includes an in-line panel, it helps to understand how inline door and panel systems maintain their reveal and strike gap across multiple pieces of glass.
Use a progressive tightening pattern. Bring each fastener snug, then recheck the hinge position, then tighten incrementally. That keeps the hinge from walking out of position as clamping pressure increases.
Use this sequence:
Alignment is a small-adjustment job. You’re looking for an even reveal, smooth swing, and proper contact at the seal without scraping the curb or dragging the floor sweep sideways.
Here’s a simple field check:
| What you see | Likely adjustment need |
|---|---|
| Tight gap at top, wide at bottom | Door is leaning or hinge position is off |
| Sweep rubbing hard on curb | Door is sitting low or out of square |
| Door closes but springs away from seal | Hinge setting or strike alignment issue |
| Latch side touches before hinge side settles | Twist or racked alignment |
A frameless door should move under control. If you have to push it into place, the alignment is still wrong.
Don’t overcorrect. Tiny changes at the hinge translate into visible movement at the far edge of the door. The best results come from patient, repeated checks with the helper holding steady while you adjust in small increments.
Once the hinge is secure and the door is aligned, reinstall the bottom sweep and any vinyl seals you removed. Make sure they sit straight and make contact where they’re supposed to, without folding under or dragging sideways. A door can swing beautifully and still leak if the finishing parts are out of place.
Then use the first few openings and closings as a diagnostic test, not a victory lap. Listen for scrape points, feel for drag, and look at the gap around the latch side. A clean hinge installation should produce predictable movement. It shouldn’t require a shoulder push to shut, and it shouldn’t bounce off the seal.
Before committing to a full hinge replacement, it’s important to diagnose whether the hinge body was really the issue. Some sagging or poor closure problems come from a worn hinge pin, sleeve, or gasket, which are simpler and less expensive to address than replacing the whole hinge assembly (repair video discussion of pin, sleeve, flange, and gasket issues).
That matters after installation too. If the new hinge is in place but the door still feels slightly off, review the support parts around it before you start loosening the new hardware again.
If hard-water spotting is making it difficult to judge the seal line or the condition of the glass, Original Mission Tile’s water spot guide is a useful cleanup reference before you do more troubleshooting.
A good hinge replacement leaves you with a door that looks boring in the best possible way. It swings, closes, seals, and stops asking for attention.
There’s a clear line where DIY stops being economical and starts becoming expensive. With frameless glass, that line comes sooner than many homeowners expect.
Angi notes that frameless shower door repairs commonly run $150 to $600, while full replacement can exceed $900, and general labor often falls in the $50 to $100 per hour range. Hinge-specific repair work is often lower than full door replacement, which is exactly why an accurate diagnosis matters before damage spreads (Angi shower door repair cost guide).
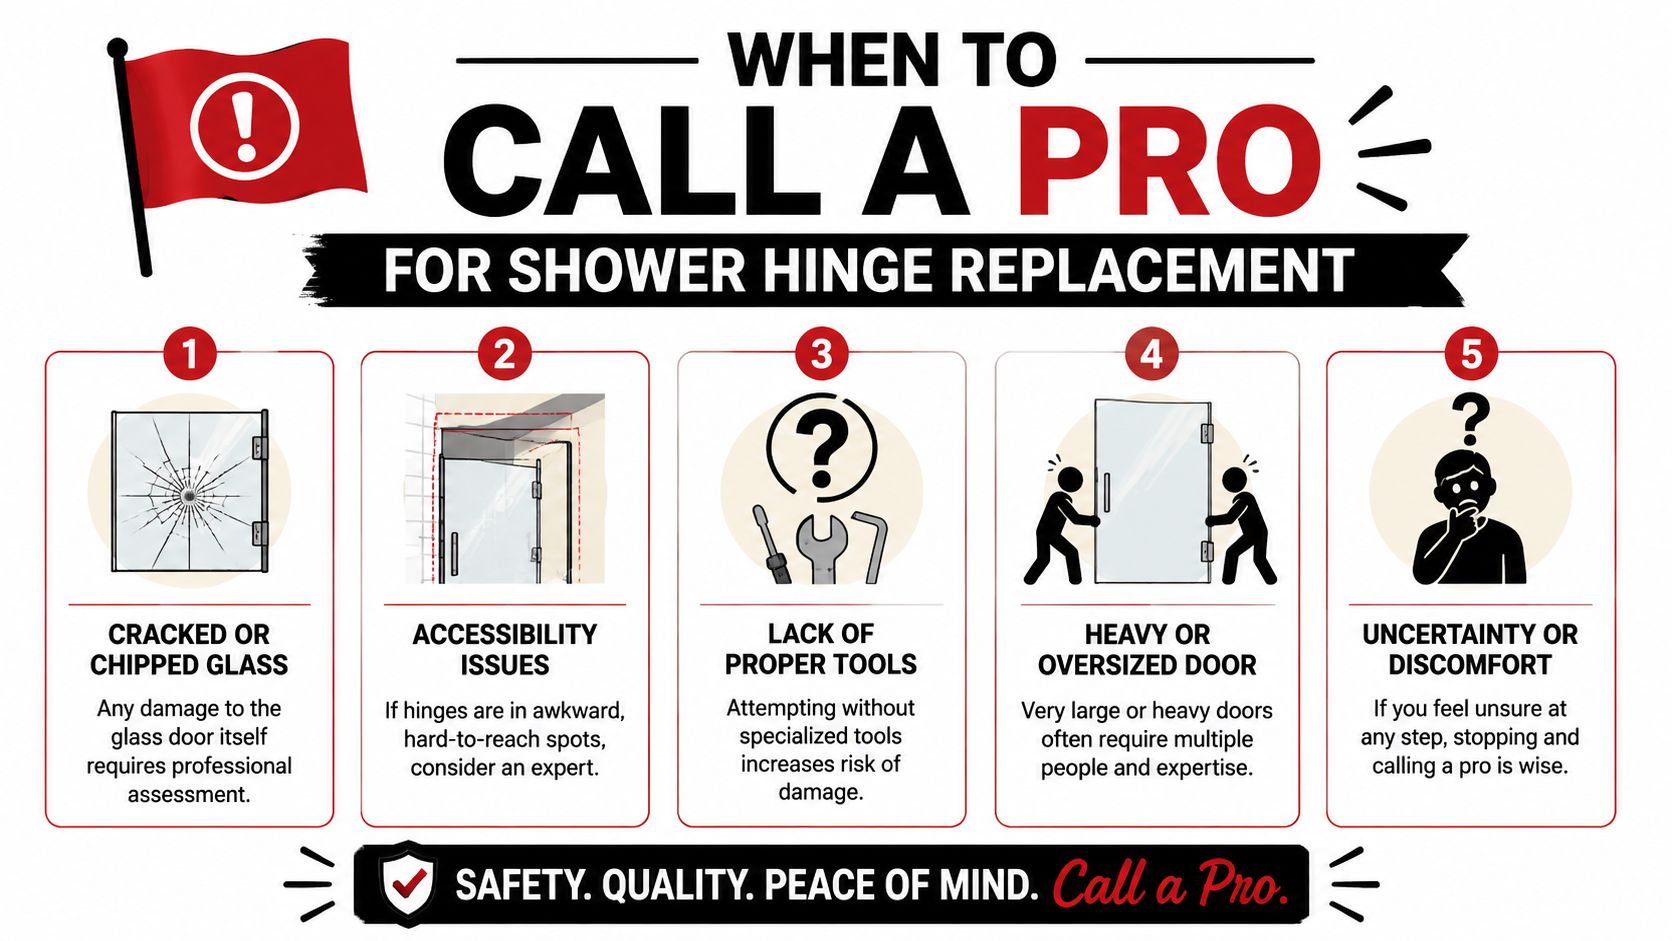
Some conditions mean the hinge is no longer performing as intended.
A hinge that fails once may be worn out. A hinge that keeps failing often signals something else. Significant scraping or grinding, fasteners that keep loosening, and widening gaps can point to improper backing, corrosion, or alignment conditions that a simple part swap won’t solve. Guidance on misaligned shower doors also warns that forcing the door or tightening blindly can damage mounting points behind tile and make the final repair bigger than it needed to be (warning signs and inspection triggers for a door that won’t stay closed).
When the hardware keeps losing alignment, stop blaming the hinge first and start questioning what the hinge is attached to.
Homeowners sometimes hesitate because a service call feels like surrender. It isn’t. It’s often the lower-cost decision once the problem moves beyond isolated hardware.
A professional can determine whether the issue is hinge wear, bad backing, enclosure movement, or a mismatch in replacement parts before the glass gets stressed. In Southwest Florida, where many homeowners want minimal metal and heavy frameless panels, that assessment matters. If your enclosure may need broader correction, frameless shower door installation in Fort Myers shows the kind of system-level work involved when alignment, support, and fit all have to be addressed together.
AmeriGlass Industries is one local option for that kind of measured repair and replacement work when the project has moved past a safe DIY hinge swap.
Sometimes. If the noise is light and the door is still aligned, cleaning and careful lubrication may quiet the hinge temporarily. If the sound is scraping or grinding, treat that as a warning sign instead of a maintenance issue. Forcing a misaligned door can shift alignment further and may damage mounting points behind the tile, so that’s the point where inspection matters more than spray lubricant.
A pivot setup rotates from top and bottom support points. A side-mount hinge attaches along the vertical edge, usually to a wall or a fixed glass panel. The practical difference during repair is where the load transfers and how the door has to be supported during adjustment. If you aren’t sure which hardware family you have, check the manufacturer details before ordering parts.
Look at the symptom. If the door swings well but leaks or fails to seal cleanly, check the sweep, gasket, or strike-side vinyl first. If the door sags, drags, or loses position, the hinge system may be involved. If it still won’t behave after adjustment, revisit the possibility of worn internal parts or a support issue rather than assuming the new hinge is defective.
It can. Some manufacturers and installers limit coverage when hardware is removed or replaced by someone else. Before starting, review your paperwork. If you don’t have documentation, general homeowner resources like EZ Plumbing FAQs can help you think through maintenance and service questions, but your door’s original supplier or installer is still the right place to confirm warranty terms.
Stop when you see repeated misalignment, mounting movement, visible glass damage, or hardware that won’t tighten correctly. If you want a quick reference point on service questions, AmeriGlass also keeps a practical set of glass service FAQs that can help you decide whether your issue sounds like maintenance, repair, or replacement.
If you’re still uncertain after a careful inspection, that uncertainty is the answer. Heavy frameless glass rewards confidence and punishes guessing.
If your shower door is sagging, scraping, or no longer closing the way it should, AmeriGlass Industries can inspect the hardware, identify whether the issue is a hinge failure or a larger support problem, and handle the repair or replacement safely for homeowners in Naples and Southwest Florida.