

Your shower door usually does not fail all at once. It starts with a scrape at the bottom track, a small line of water on the bathroom floor, or rust stains that keep coming back no matter how often you clean them. In Southwest Florida, that decline can move faster because humid air and constant moisture punish metal parts year-round.
A lot of homeowners assume the answer is simple. Replace the frame and move on. Sometimes that is right. Sometimes a smaller repair handles the problem. And sometimes a worn-out framed enclosure is the perfect moment to stop putting money into old aluminum and upgrade the whole opening to a cleaner frameless system.
That decision matters because shower door frame replacement is not just a trim project. It affects how the door seals, how safely the glass operates, how easy the enclosure is to clean, and whether you are going to be dealing with leaks again in six months.
Why Your Shower Door Frame Needs Attention
A failing shower frame is more than an eyesore. It is a warning that the enclosure is losing alignment, losing its seal, or losing its structural reliability.
The signs are usually obvious once you know what to watch for. The door sticks. The bottom track holds grime and mineral buildup. The metal shows pitting, discoloration, or rust bleed near screws and corners. Water appears outside the shower even though the glass itself looks fine.
In older homes around Naples, Bonita Springs, and Fort Myers, framed doors are common. They can serve well for years, but the frame is also the part that takes the most abuse. Tracks collect soap residue. Roller assemblies wear down. Fasteners loosen. In coastal conditions, corrosion often starts at the lower corners and around attachment points.
That is why I do not treat shower door frame replacement as a cosmetic update. It is a decision point. You are looking at one of three paths:
- Minor repair: best for isolated seal, roller, hinge, or track issues.
- Like-for-like frame replacement: practical when the layout still works and the surrounding shower is sound.
- Frameless upgrade: worth serious consideration when the old framed system keeps leaking, looks dated, or shows broad corrosion.
A worn enclosure can also become an opportunity to improve the whole bathroom. Clean glass lines, better hardware, and less visual clutter can change how the room feels without tearing out the shower itself. If you want to see how glass changes the look of a space, this overview on how glass can make a home feel more luxurious is a useful reference: https://ameriglassindustries.com/how-a-glass-company-can-make-your-home-feel-luxurious/
Diagnosing Frame Failure Repair or Replace
The smartest shower door frame replacement starts before tools come out. You need to know whether the problem is local or systemic.
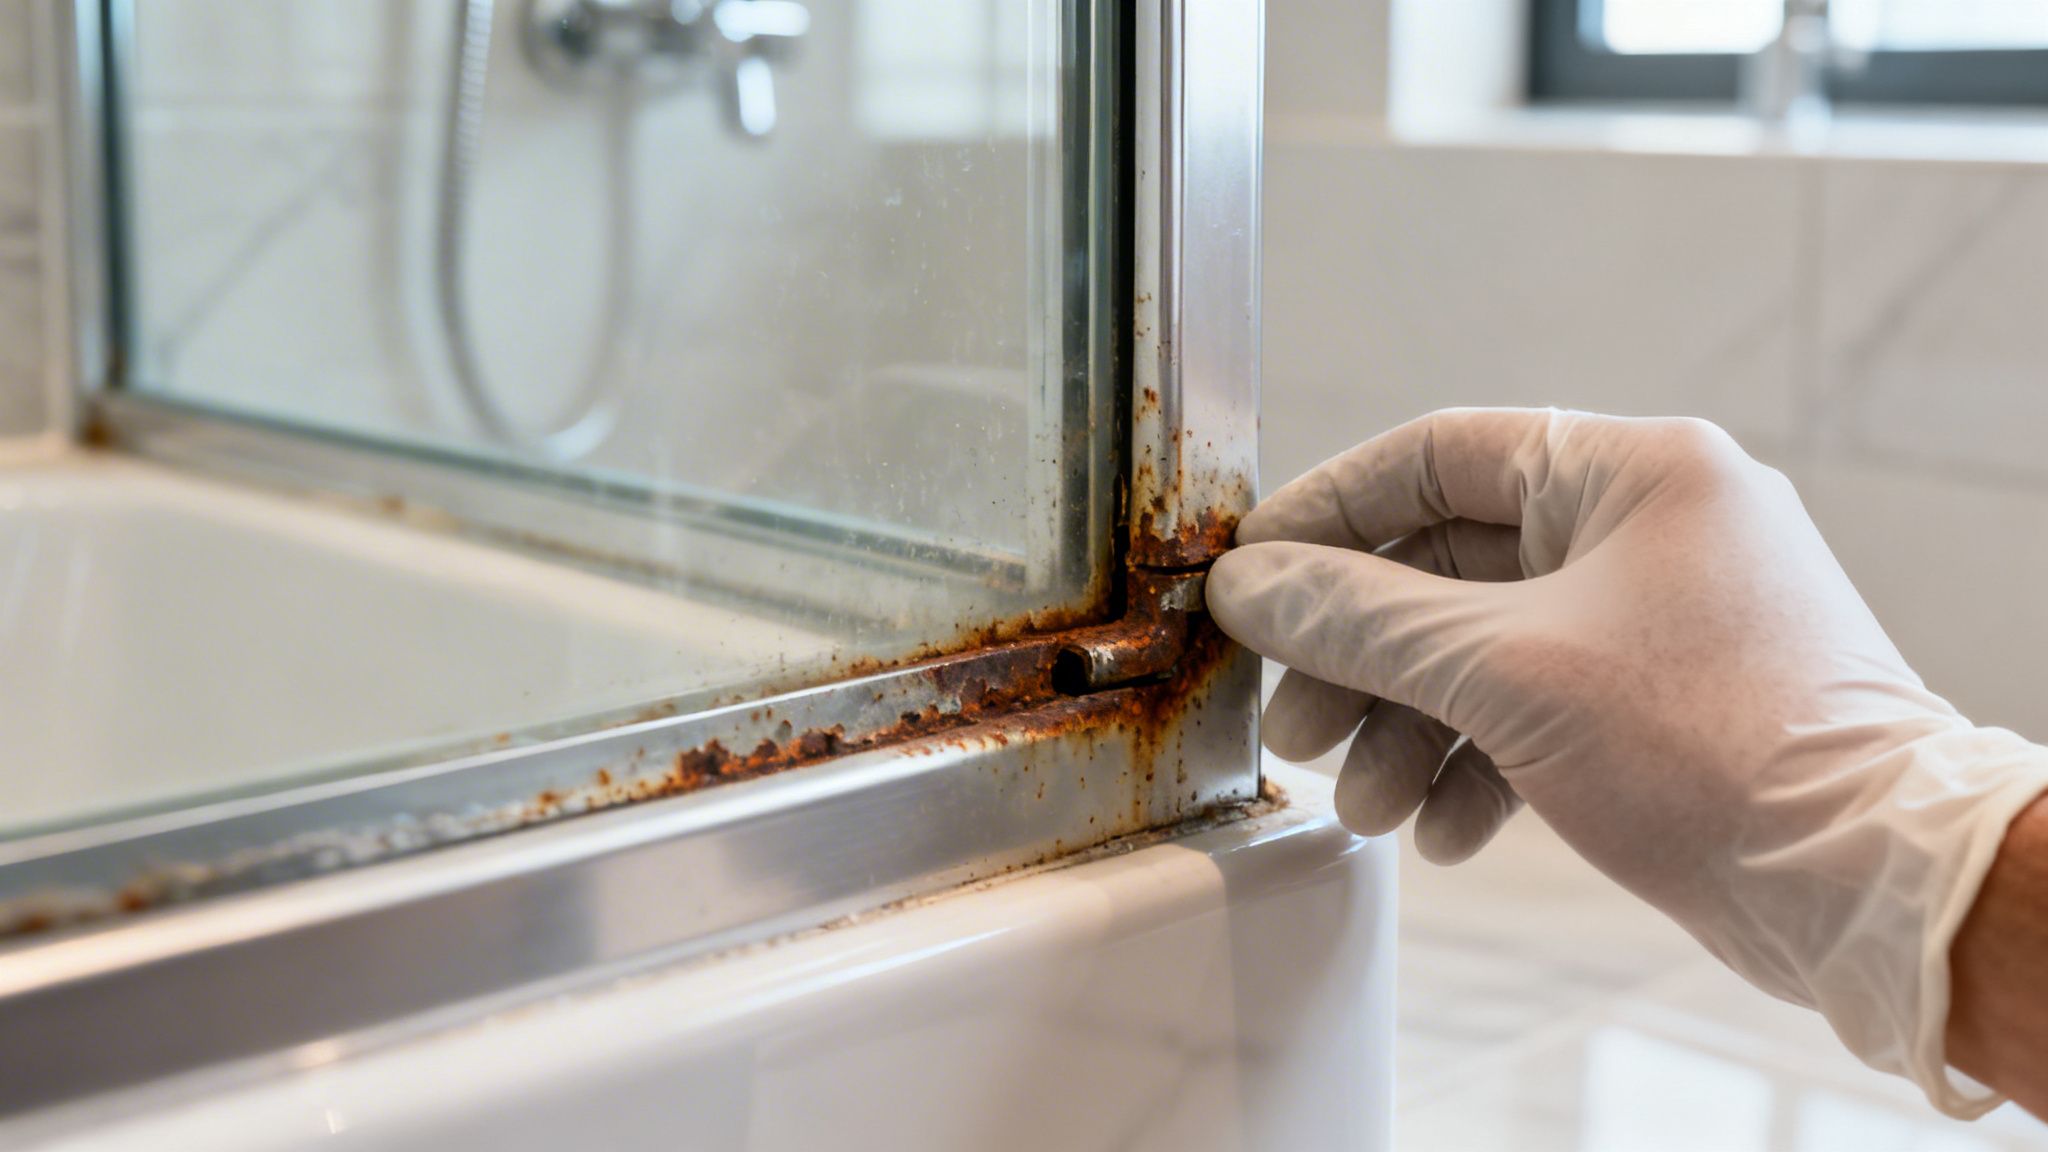
What a repairable problem looks like
Some issues do not justify a full replacement. If the frame is still solid and the glass is sound, targeted repair is often the better value.
Common repair-level problems include:
- Worn sweeps or seals: Water escapes under or beside the door, but the metal frame remains straight and secure.
- Roller or guide wear: Sliding doors drag, rattle, or jump slightly in the track.
- Loose hinges or screws: The door sags a bit, yet the mounting points still hold.
- Track buildup: Soap scum and hard-water residue interfere with smooth movement.
The cost difference is meaningful. National average shower door repair runs from $120 to $350, while full frame replacement costs range from $530 to $1,390, according to this shower door repair cost guide from Horow: https://horow.com/blogs/guide/repair-shower-doors-costs-fixes-diy-vs-pro
If your issue is isolated to rollers, seals, or minor track alignment, repair is often the sensible move.
What replacement-grade failure looks like
Replacement makes more sense when the frame itself has become the problem.
Look closely for these conditions:
| Sign | What it usually means | Best path |
|---|---|---|
| Pitting corrosion | The finish has broken down and the metal is deteriorating, not just stained | Replace |
| Bent rails or warped jambs | The frame no longer holds alignment consistently | Replace |
| Stripped screw points | Fasteners cannot hold securely in the same location | Replace |
| Rust at corners and lower track | Moisture has been sitting in the most vulnerable joints | Usually replace |
| Persistent leaks after resealing | The opening may be out of square, out of plumb, or the frame may be distorted | Replace or upgrade |
Surface discoloration is one thing. Deep pitting and flaking metal are different. If you can feel the damage with a fingernail, especially near load-bearing points, the frame has moved beyond routine maintenance.
The coastal Florida factor
In Southwest Florida, I pay special attention to the lower ends of wall jambs, the inside of the bottom track, and screw heads. That is where humid air, wet feet, cleaning residue, and standing water combine to wear down framed systems faster.
Corrosion in coastal bathrooms does not stay cosmetic for long. Once it affects hardware seating or frame straightness, leaks and glass stress tend to follow.
Practical takeaway: If you are cleaning up rust every few weeks, the frame is not recovering. It is declining.
A simple field check before you decide
Do these checks in order:
- Open and close the door slowly. Feel for drag, wobble, or a spot where the motion changes.
- Check the bottom corners. Look for swelling, oxidation, or metal separation.
- Inspect where screws meet metal. Any elongation, cracking, or spin-out points to structural fatigue.
- Look at the caulk line. Repeated patch caulking usually means the assembly is moving.
- Check whether leaks happen in one area or across the opening. One leak point can be a seal issue. Multiple leak points often indicate frame alignment problems.
If you are evaluating a slider specifically, this gallery of clear slide shower door styles can help you compare how framed and cleaner-profile systems are supposed to operate when they are set correctly: https://ameriglassindustries.com/clear-slide-shower-doors/
Preparation and Old Frame Removal
Removal is where many homeowners create the damage that later makes installation harder. Tile chips, gouged fiberglass, torn waterproofing, and cracked glass often happen during demolition, not during the build-back.
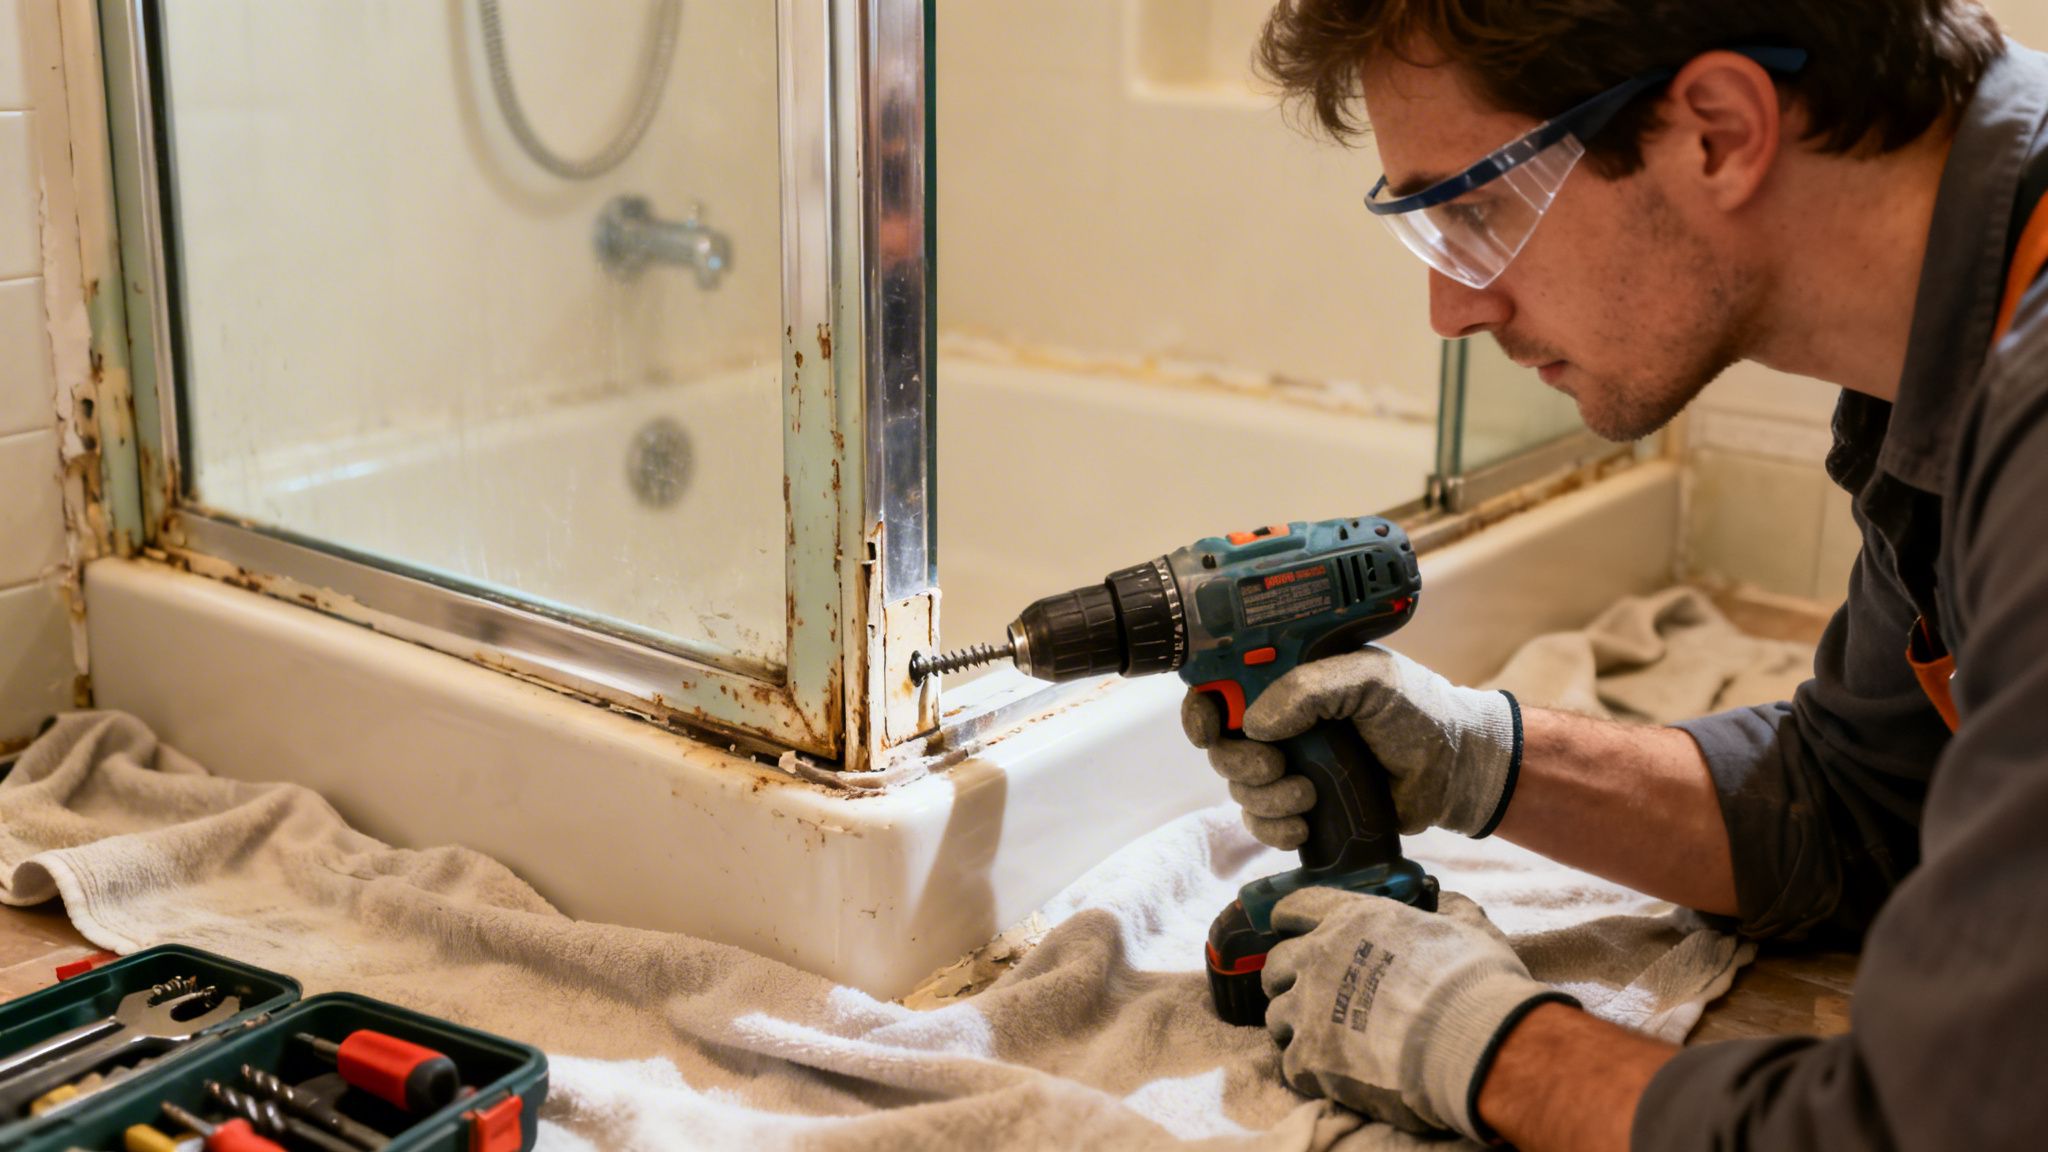
Set up the workspace correctly
Before you loosen a single screw, clear the room and protect the surfaces that are staying.
Use this basic prep list:
- Safety glasses and gloves: Tempered glass can shatter suddenly if an edge gets hit.
- Utility knife with a sharp blade: For scoring old silicone and caulk.
- Screwdriver and drill: Needed for frame fasteners.
- Putty knife: Helps scrape old caulk without digging too deep.
- Plastic pry tool or small pry bar: For gentle separation of metal from wall surfaces.
- Drop cloth or moving blanket: Protects tile and catches debris.
- Painter’s tape: Useful around finished surfaces you do not want to scratch.
- Vacuum and rags: You want the opening clean before measuring or installing anything new.
If the enclosure has a movable glass panel, work with a second person. Do not try to manage a loose door panel and a drill at the same time.
Remove the door first
Take the operating parts out before touching the perimeter frame. That keeps the opening lighter and safer.
For most framed systems:
- Open the door partway and support it.
- Remove hinge screws or release the sliding panel from its rollers or guides.
- Lift the glass free carefully and move it to a padded area, upright and stable.
- Remove handles, bumpers, and loose trim pieces.
Do not lay tempered glass flat on tile. Keep it protected and away from traffic.
Cut the old sealant before prying anything
Old silicone often holds more firmly than the screws. Run a sharp utility knife along every visible caulk line where the frame meets tile, fiberglass, or stone. Make repeated light passes instead of one hard cut. That gives you control and helps avoid scratching finished surfaces. Patience at this stage prevents wall damage.
Tip: If the frame seems glued to the wall after the screws are out, assume hidden silicone is still holding it. Do not force it.
Remove screws and tracks in sequence
Start with the side jambs. Then move to the header and bottom track.
Rusted screws are common in older Florida bathrooms. If one resists, apply steady pressure and keep the driver bit fully seated. Stripping the head makes the job worse fast.
Once fasteners are out, pry gently and evenly. If one section starts moving, do not yank on it. Follow the bond and keep cutting old caulk as it releases.
A quick visual walkthrough helps before you start the hands-on work:
Clean the opening down to a sound surface
A clean opening is not optional. It is the foundation of a leak-resistant installation.
After the old frame is off:
- Scrape all remaining silicone: Any residue can prevent the new frame from sitting flat.
- Repair minor wall damage: Fill small holes or chips where appropriate.
- Sand rough filler smooth: New jambs and tracks need even contact.
- Vacuum debris from corners and curb area: Grit under a track can throw off fit.
- Wipe everything dry: Do not install over damp surfaces.
This step is where a lot of rushed jobs go wrong. Homeowners get the old frame out, see a mostly clean opening, and move on too early. Then the new track rocks, the jamb pulls crooked, or the silicone bead has gaps behind it.
Know when removal has uncovered a larger issue
Sometimes demolition reveals why the old system failed. You may find softened wall material, cracked tile at anchor points, or a curb that no longer slopes correctly.
Stop and reassess if you find:
- recurring moisture damage behind trim
- loose tile where the jamb attaches
- wide voids hidden by old caulk
- badly out-of-square walls that the old frame was masking
Those conditions do not always kill the project, but they do change the right installation method.
Measuring for Your New Frame or Frameless Upgrade
Measurement is where an ordinary shower door frame replacement turns into either a clean install or an expensive mistake. The big miss in most DIY advice is that homeowners measure for another framed unit when the opening would benefit more from a frameless conversion.

Measuring for a like-for-like framed replacement
Framed systems give you a little forgiveness. They can absorb minor irregularities because the frame itself helps bridge slight variations.
The baseline method is straightforward:
- Measure width at the top, middle, and bottom
- Use the smallest width
- Measure height at the left, center, and right
- Check the curb or threshold for level
- Check both walls for plumb
The reason for multiple measurements is simple. Bathroom openings are rarely uniform. Tile buildup, settling, and previous remodel work all change the opening.
The installation method described by Minnesota Shower Doors stresses measuring the finished opening at top, middle, and bottom and selecting the tightest dimension, while also verifying wall plumbness within 3/8 inch to avoid misalignment problems. That guidance appears in their replacement process overview here: https://mnshowerdoors.com/how-to-replace-glass-shower-doors/
Measuring for a frameless upgrade
This is a different category of work. Frameless glass does not hide bad geometry. It exposes it.
A proper frameless conversion has to account for:
| Measurement concern | Framed door | Frameless door |
|---|---|---|
| Minor wall variation | Often manageable | Much less forgiving |
| Glass thickness | Lighter framed glass | Typically thicker glass |
| Hardware load points | Shared by frame | Concentrated at clamps and hinges |
| Visual tolerance | Frame disguises gaps | Gaps are visible immediately |
A key gap in most DIY guides is the move from framed to frameless. Upgrading to frameless can reduce leaks by 40 to 60 percent and searches for "frameless shower door install Florida" rose 25 percent year over year, but it requires precise measurement for 3/8-inch to 1/2-inch glass, according to this Basco reference on shower door parts and the framing-to-frameless upgrade issue: https://bascoshowerdoor.com/shower-door-parts/160
That lines up with what we see in the field. Frameless is cleaner, easier to maintain, and often the better long-term answer in a damp coastal climate. But the margin for measuring error is small.
Key judgment call: If your walls are visibly uneven, the curb is not level, or the opening is unusual, frameless should be templated professionally.
The plumb check that changes everything
Use a quality level on both walls. If the wall is out of plumb beyond what the system can absorb, the rest of the measurements become less meaningful.
This matters more than most homeowners expect. A door can match width on paper and still fail in use because the hinge side is leaning, the strike side twists inward, or the threshold drops across the opening.
For framed doors, some irregularity can be managed. For frameless, wall and curb conditions decide whether standard hardware placement will work at all.
What to note beyond width and height
Openings fail on details that never show up on a simple tape-measure sketch.
Check for:
- Trim projections: bullnose tile, decorative liners, or stone edges
- Shower head and valve placement: especially if a fixed panel return is under consideration
- Base shape and curb width: narrow curbs limit hardware options
- Out-of-square corners: common in older bathrooms
- Existing wall repairs: patched areas may not hold hardware well
If you are considering a redesign instead of a direct swap, this shower door design tool is a good way to think through layout choices before ordering hardware or glass: https://ameriglassindustries.com/design-your-shower-door/
When off-the-shelf stops making sense
A stock framed replacement works best when the opening is predictable and the surrounding materials are in good shape.
A custom or frameless approach makes more sense when:
- The old frame failed from corrosion and you do not want to repeat that cycle.
- The opening is visually prominent and the frame makes the room feel dated.
- The walls or curb need custom compensation.
- The shower enclosure itself is still good, so a full bathroom remodel is unnecessary.
Many homeowners start this process planning to replace aluminum with more aluminum. After measuring carefully, they realize the issue was not just worn metal. It was an enclosure style that no longer fit the bathroom or the climate.
Installation Steps for a Leakproof Finish
A good installation is mostly about control. The pieces must sit flat, the jambs must be plumb, the fasteners must hold without stressing tile, and the silicone must seal without trapping future problems.
Dry fit everything first
Before drilling, cut and test-fit the frame parts.
For framed systems, that usually means:
- Cut the bottom track to size.
- Set it in place without sealant.
- Position the wall jambs.
- Check plumb with a level.
- Test the header if your system uses one.
Do not assume a cut piece is right because the tape measure said so. Put it in the opening and verify the fit physically.
Drill carefully and anchor correctly
Once the dry fit looks right, mark your holes. On tile, use a carbide-tipped masonry bit. Go slowly and keep the bit from skating. On fiberglass or acrylic, lighter pressure usually works better.
The replacement method outlined by Minnesota Shower Doors calls for drilling, using anchors where needed, applying a thin bead of 100% silicone, and fastening jambs with #8 stainless steel screws spaced 12 inches apart. Their process also notes the importance of tight fit and proper clearances during final adjustment: https://mnshowerdoors.com/how-to-replace-glass-shower-doors/
If you hit a weak area, do not just use a bigger screw and hope. Reassess the substrate.
Seal the frame the right way
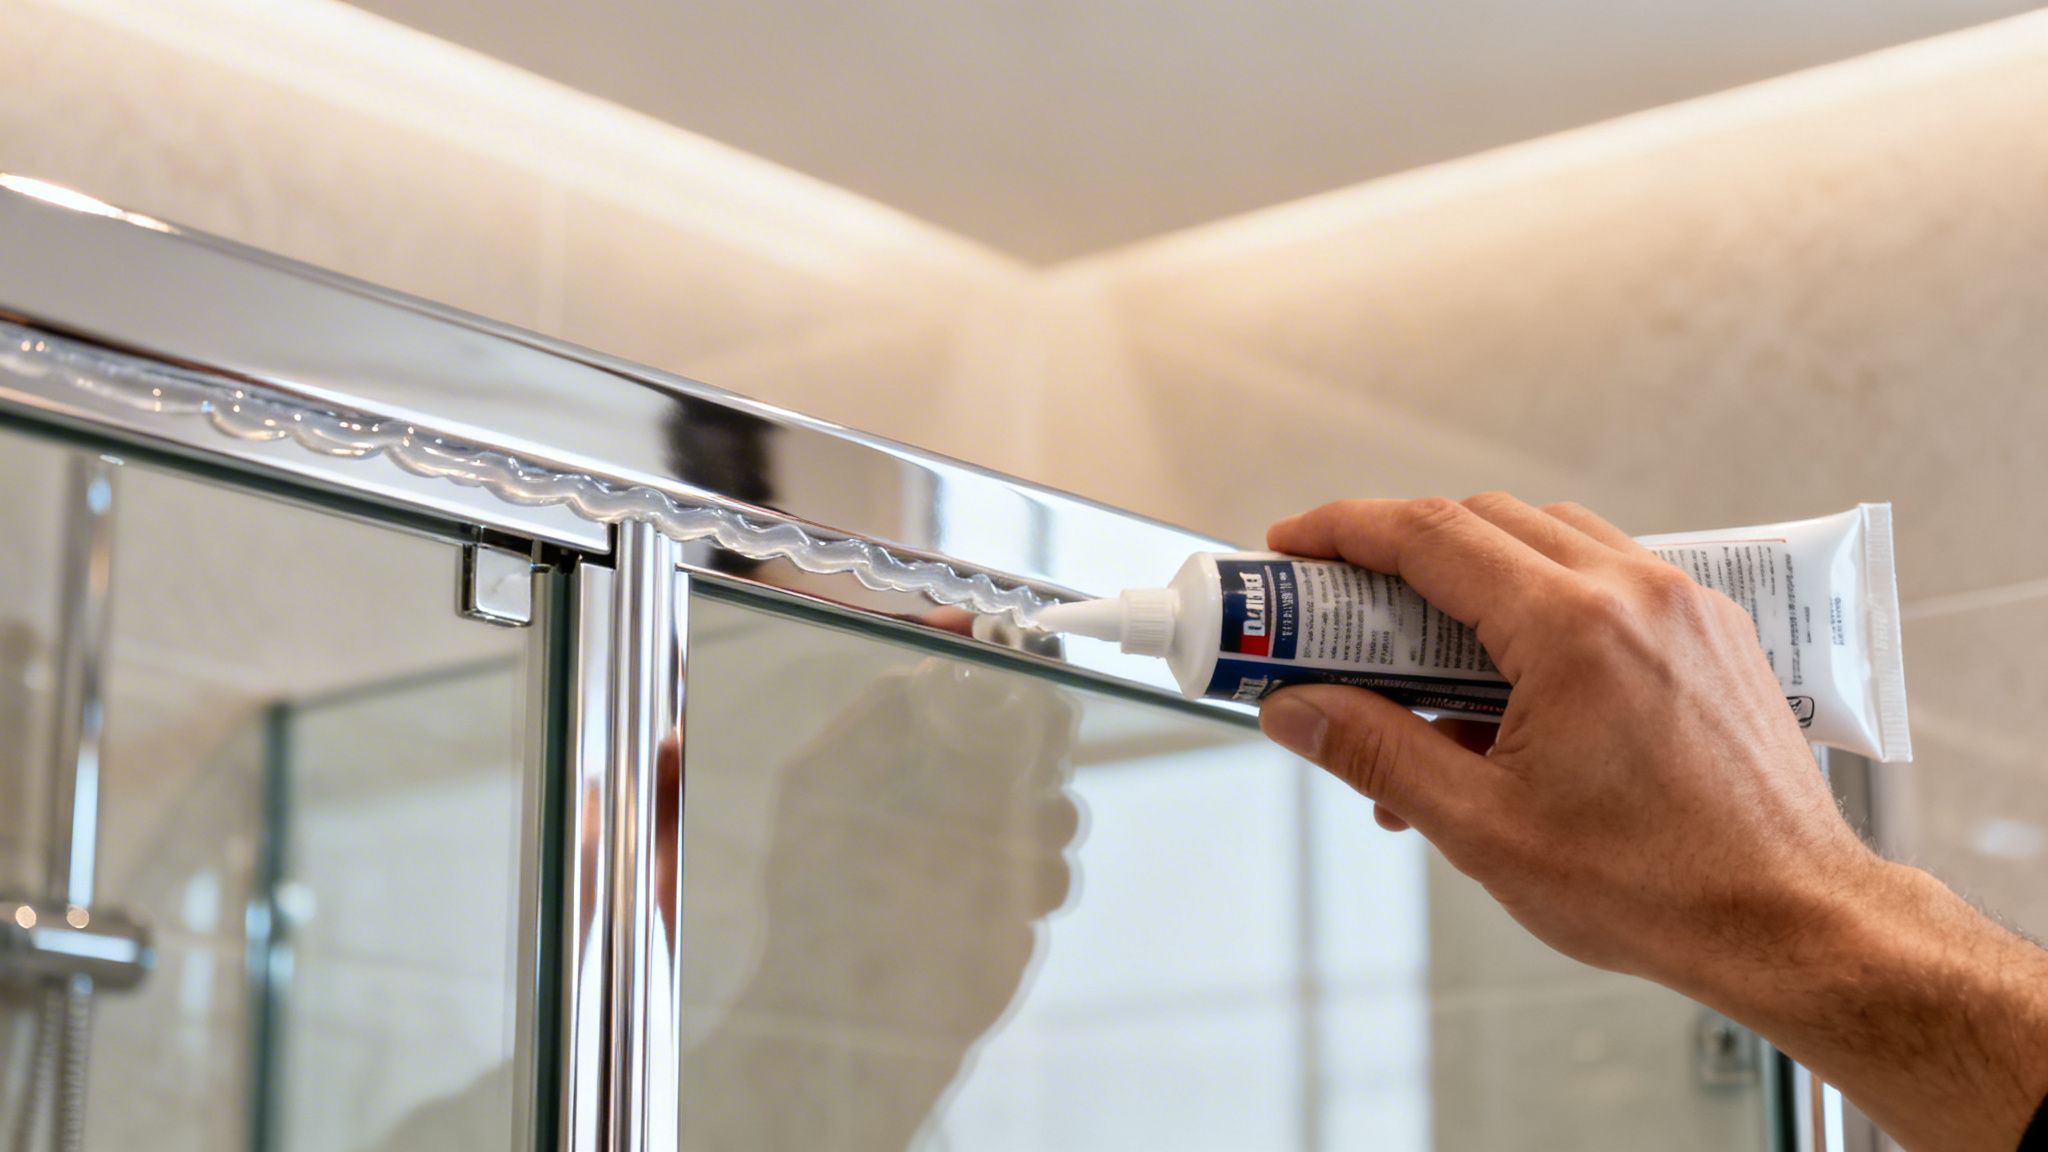
Most leaks come from one of two causes. Bad alignment or bad sealing. Sometimes both.
Apply 100% silicone where the manufacturer intends the frame to be waterproofed. Keep the bead controlled and continuous. Sloppy caulk is not stronger caulk.
If you want a cleaner finish, this guide to caulking for shower perfection gives helpful practical advice on forming and finishing beads so they seal well and still look crisp.
Tip: Caulk should support a correct installation, not rescue a crooked one.
Install the glass and adjust operation
With the frame secured, set the glass panels or door into place based on the system design. This step often requires a helper.
Pay attention to:
- Even reveal: gaps should look consistent
- Door swing or slide path: no rubbing, binding, or bounce
- Bottom sweep contact: enough to deflect water, not so much that the door drags
- Latch or magnetic closure: should engage cleanly without forcing
A framed door can tolerate some field adjustment, but only if the frame was installed true. If the jambs are out, you will chase the problem through every later step.
Respect cure time
Impatient installations often fail at this stage. Homeowners often finish the door at lunch and want to use the shower that evening. That is a mistake. Impatient installs frequently fail at this point.
Leave the enclosure alone long enough for the sealant to do its job.
Where frameless installation gets harder
A framed install is manageable for a capable homeowner with patience. Frameless is another level.
Pro tip: Frameless hardware puts load directly into hinges, clamps, and anchoring points. That means measurement, drilling location, glass handling, and final adjustment all carry much less tolerance for error.
Pro tip: Frameless panels seal differently. You are managing direct glass-to-tile interfaces, hardware gaskets, and swing clearances without the forgiving cover of an aluminum frame.
That is why many homeowners handle removal and measurement prep, then bring in a professional for templating and final installation.
For small areas where splash control matters, fixed glass details and edge sealing become even more important. A reference like these fixed splash guard examples helps illustrate how precise placement affects performance: https://ameriglassindustries.com/fixed-splash-guards/
Project Costs Timelines and Long-Term Care
The cost side of shower door frame replacement only makes sense if you look at the full chain. Upfront price matters, but so do lead times, maintenance, and the odds that you will be paying again soon if you choose the wrong system.
What the project usually costs
If your enclosure needs only a targeted fix, repair is often the budget winner. If the frame is failing broadly, replacement becomes the practical path.
This is the useful cost snapshot:
| Project type | Typical cost range | Notes |
|---|---|---|
| Repair | Relatively inexpensive | Best for minor seals, rollers, hinges, or track issues |
| Full frame replacement | Moderately priced | Better when corrosion or distortion affects the assembly |
| Full shower door replacement installed | Mid-range cost | Good when the enclosure can be updated without a full remodel |
| Frameless replacement installed | Higher end | Higher material and hardware cost, cleaner result |
Those installed replacement ranges come from Modernize’s overview of glass shower door replacement, which also notes that framed doors remain budget-friendly while frameless options carry a premium because of thicker glass and heavier hardware: https://modernize.com/bathroom-remodel/shower/glass-door-replacement
If the bathroom itself is also under review, a broader realistic bathroom renovation cost breakdown is useful for separating what belongs to the shower door scope and what belongs to a full remodel budget.
How long it takes
A basic repair may be handled in a short service visit. A straightforward replacement can often be installed in a single appointment once materials are ready. Frameless projects usually move more slowly because custom glass and hardware coordination matter.
The biggest schedule mistake I see is homeowners assuming the work is done when the glass is hung. It is not done until the sealant has cured and the enclosure has been tested in normal use.
What lasts in coastal bathrooms
Southwest Florida is rough on framed metal systems. Salt air, humidity, and daily moisture exposure make corrosion prevention part of the design decision, not just maintenance.
Full shower door replacements typically cost $500 to $900 installed, with frameless options reaching $600 to $1,900+, and in humid regions like Southwest Florida, frame corrosion is a primary driver for replacement. The same Modernize source notes that choosing corrosion-resistant materials and protective coatings like Diamond-Fusion can help extend the typical 10 to 20 year lifespan of a new door and reduce maintenance: https://modernize.com/bathroom-remodel/shower/glass-door-replacement
That is the long-term argument for choosing wisely. The cheaper enclosure is not always the lower-cost enclosure once repeat service, stain buildup, and corrosion are factored in.
Maintenance that helps
The best maintenance is boring and consistent.
Use a simple routine:
- Rinse and wipe down metal and glass regularly: Standing moisture feeds spotting and corrosion.
- Inspect seals and sweeps: Replace worn pieces before leaks start traveling outside the curb.
- Clean tracks and corners: Debris buildup changes how sliding doors move.
- Watch screw points and hardware bases: Early corrosion often starts there.
- Reevaluate recurring caulk touch-ups: Repeated failure usually means movement, not bad luck.
For homeowners who want a more complete care checklist after installation, this shower door maintenance resource is worth bookmarking: https://ameriglassindustries.com/shower-door-maintenance/
A clean, well-measured enclosure can last well. But in coastal Florida, the door that lasts longest is usually the one designed for the environment, not just the one that was cheapest on install day.
If your shower door frame is rusting, leaking, or no longer operating cleanly, AmeriGlass Industries can help you sort out whether a repair, a like-for-like replacement, or a frameless upgrade makes the most sense. Their Naples-based team serves Southwest Florida with precise measurement, professional installation, and custom glass solutions built for humid coastal conditions.