

Installing a frameless glass shower door is one of those projects that can completely transform a bathroom, but getting it right is all about careful prep and a steady hand. Success truly lives in the details: precise measurements, having the right tools for the job, and knowing how to handle those big, heavy panels of tempered glass safely. Nail these things, and you'll end up with a professional, watertight finish you can be proud of.
Why Frameless Shower Doors Are the New Standard
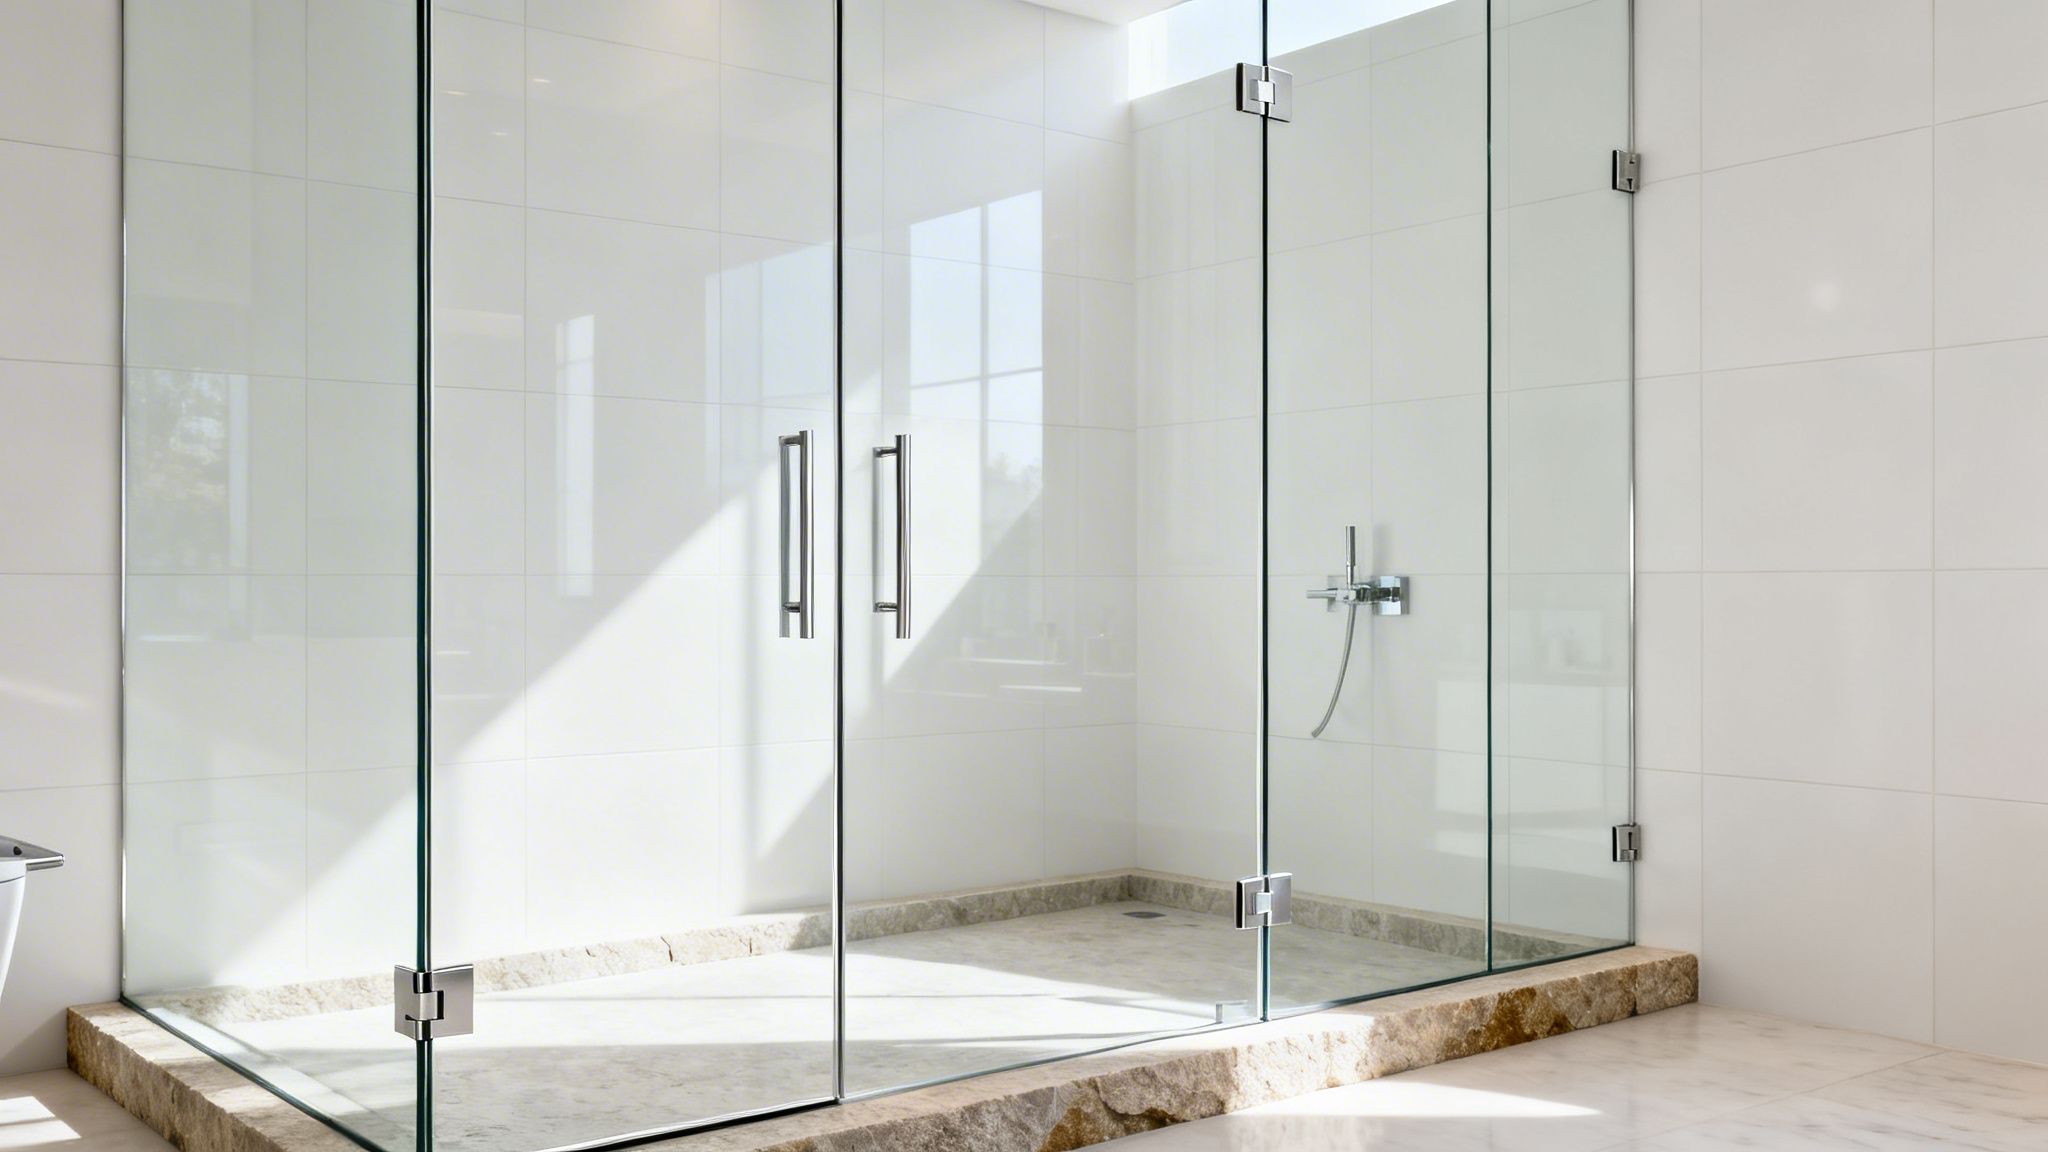
Let's be honest, frameless glass doors have moved from a simple bathroom part to the star of the show. By getting rid of all that clunky metal framing, they open up the room and create clean, unbroken lines that make any bathroom feel bigger and brighter. It’s a minimalist look that instantly upgrades your shower into something that feels more like a walk-in spa.
It’s not just about the look, though. You can feel the difference. The weight of the high-quality tempered glass and the solid feel of the metal hardware give off an air of luxury that you just don't get from flimsy, framed doors. That high-end feel is something you, and any potential homebuyer, will notice right away.
A Smart Investment That Pays Off
Putting in a frameless shower isn’t just spending money; it’s a genuine investment in your property. The numbers back this up. Back in 2020, the North American market for these doors was already valued at a massive $3,493.4 million. And it’s not slowing down—the U.S. market alone is expected to hit $4,514 million by 2026. For you, the homeowner, this means a well-installed frameless door can give your home’s resale value a serious bump.
It's amazing how much of a difference one upgrade can make. In competitive real estate markets, a sleek frameless glass shower can boost a home's resale value by as much as 5-10%. That makes it one of the smartest bathroom updates you can make.
Taking It to the Next Level with Premium Choices
Once you decide on a frameless design, there are a few other options that can really enhance the final product. I always recommend clients consider these upgrades:
- Ultra-Clear Glass: You might not notice it at first, but standard glass has a subtle green tint because of the iron inside. Low-iron, ultra-clear glass eliminates that, giving you perfect clarity so the real colors of your beautiful tile work can pop.
- Protective Coatings: Think of this as rain-x for your shower. Advanced coatings create a super-slick surface that makes water and soap scum bead right off. It’s a game-changer for cleaning and keeps your glass looking brand new for years.
While this guide is all about tackling the installation yourself, a full-scale remodel is a different beast. For a complete overhaul that beautifully integrates a frameless shower, working with professional bathroom renovation services can ensure everything comes together perfectly.
Understanding how all these pieces fit is the first step. If you're ready to bring this kind of elegance into your own space, you can learn more about https://ameriglassindustries.com/how-a-glass-company-can-make-your-home-feel-luxurious/.
Your Pre-Installation Game Plan
The secret to a flawless frameless shower door installation? It's all decided long before you even think about unboxing the glass. This is your game plan, the part where meticulous checks and solid preparation lay the groundwork for a perfect finish. Rushing this stage is the single biggest mistake people make, and it almost always leads to headaches later.
First things first: you have to measure your shower opening with pinpoint accuracy. This isn't a job for a flimsy, retractable tape measure. Grab a quality, rigid one and measure the width at the very top, the middle, and the bottom of the opening. Then, do the same for the height on both sides. You'd be surprised how often they're different. Even a 1/8-inch miscalculation can throw your entire installation off.
Verifying Plumb and Level
Next up, you've got to confirm your surfaces are perfectly straight. Frameless glass is brutally honest—it doesn't bend or flex to hide an out-of-square wall or a wonky curb.
Check the Walls for Plumb: Get a long level (4ft is good, 6ft is better) and place it vertically against each wall where the glass will mount. If you see a gap at the top or bottom, that wall isn't plumb. This will create an ugly, tapered gap between your glass and the wall that's nearly impossible to seal properly.
Check the Curb for Level: Now, lay that same level across the shower curb where the door will sit. If that bubble isn't dead center, your door won't swing right or seal tightly at the bottom. You’re just asking for leaks.
If you find your walls or curb are off, you absolutely must fix it before moving forward. This might mean skim-coating a wall with plaster or, in more serious cases, doing some tile work. Knowing how to tile bathroom walls correctly is a huge advantage here, as it ensures your foundation is solid.
A classic DIY blunder is just assuming a brand-new tiled shower is perfectly square. I've personally seen projects grind to a halt because a wall was out by a mere quarter of an inch over six feet—just enough to stop a door from closing. Always, always verify. Never assume.
Assembling Your Installation Toolkit
Having the right tools on hand is every bit as crucial as having straight walls. Nothing kills your momentum like scrambling for the right drill bit halfway through the job. Before you start, make sure you have everything you need laid out and ready to go.
This checklist covers the essentials we at AmeriGlass wouldn't dream of starting a job without.
Essential Tools and Materials Checklist
| Item | Category | Purpose and Key Features |
|---|---|---|
| Heavy-Duty Suction Cups | Must-Have | Gives you a rock-solid grip for safely lifting and maneuvering heavy, awkward glass panels. |
| Quality Level (4ft+) | Must-Have | Non-negotiable for checking that walls are plumb and your curb is perfectly level. |
| Power Drill & Bits | Must-Have | You'll need specific masonry/tile bits for drilling into tile and wood bits for hitting studs. |
| Measuring Tape | Must-Have | A high-quality, rigid tape measure is your best friend for getting those critical measurements right. |
| 100% Silicone Sealant | Must-Have | Always choose a mildew-resistant, bathroom-grade silicone for a durable, watertight seal. |
| Caulking Gun | Must-Have | This is key for applying a smooth, consistent bead of silicone. Don't cheap out here. |
| Stud Finder | Recommended | Absolutely critical for locating wall studs to anchor heavy door hinges securely. It's a guess otherwise. |
| Shims (Wood or Plastic) | Recommended | Invaluable for making those tiny micro-adjustments needed to level and position glass panels. |
| Painter's Tape | Recommended | Perfect for marking drill locations on slippery tile and protecting surfaces from scratches. |
Getting these foundational steps right is what separates a professional, leak-free result from a frustrating amateur attempt. This prep phase is truly where you win or lose the battle. And while you're in the planning stage, consider the glass itself. Upgrading to something like ultra-clear glass from AmeriGlass Industries can make a stunning difference in the final look.
Getting the Installation Sequence Just Right
You've done the prep work, your tools are laid out, and now it’s time for the main event. This is where patience and a steady hand really pay off. Getting the installation right is all about following a specific, logical sequence. Think of it like a puzzle—you have to build the frame before you can put the main piece in the middle.
The golden rule is this: fixed panels first, door last. It’s a common but disastrous mistake to try and hang the heavy door before the stationary panels are in place. You’ll have no stable reference point, making it impossible to align everything correctly. We'll walk through this step-by-step, focusing on the techniques that guarantee a rock-solid, beautiful result.
Anchoring the Stationary Glass Panels
First up, you need to secure any fixed glass panels. These are the non-moving parts that, along with your walls, will frame the shower door. You've got two main options here, and the choice really comes down to the final look you're after.
- U-Channels for a Minimalist Look: These are slim metal tracks that get mounted right onto the wall, floor, or curb. The glass panel slips right into the channel, and you secure it with silicone for a strong, watertight bond. This method gives you a very clean, almost seamless appearance.
- Glass Clamps for a 'Floating' Effect: If you want a more open feel where the glass seems to float, clamps are the way to go. These are small, beefy metal brackets that grab onto the glass and screw into the wall or curb. They require incredibly precise drilling, but the payoff is a high-end, airy aesthetic.
No matter which you choose, the process starts by carefully marking your positions. Grab your level and make absolutely sure the panel will be perfectly plumb. I can't stress this enough: check and re-check your measurements against the actual glass panel before you even think about drilling a hole.
The Critical Art of Drilling Through Tile
Okay, let's be honest—drilling into your brand-new tile can be the most nerve-wracking part of the whole job. One slip-up, and you’ve got an ugly, expensive crack. But if you use the right technique, you can get perfect holes every time.
Start by putting a few layers of painter's tape over your mark. This little trick is a game-changer. It prevents your drill bit from "wandering" on the slick tile surface and also helps minimize chipping around the hole.
Next, you absolutely must use a carbide-tipped or diamond-tipped masonry bit made for tile. Don't even try using a standard drill bit; it will just skate around and burn out.
Start drilling on a very slow speed, applying light but steady pressure. Don't force it—let the bit do the work. If you're tackling tough porcelain, keep a small spray bottle of water nearby. A little spritz now and then will keep the bit cool and reduce dust, preventing it from overheating and failing on you.
Pro Tip: You'll feel the drill bit punch through the hard tile glaze and hit the softer backer board behind it. When that happens, stop. If you're mounting hinges, this is your cue to switch to a standard wood bit to drill a pilot hole into the wall stud. This two-bit process is the secret to a clean, professional installation.
Mounting the Door Hinges Securely
With your pilot holes ready, it's time to mount the hinges. This is the structural backbone for your door, so it has to be absolutely solid. A frameless glass door can easily top 100 pounds, and all of that weight is hanging off these hinges.
The screws must bite directly into a wall stud or solid wood blocking you installed earlier. Wall anchors in drywall just won't cut it—they are not safe and are guaranteed to fail over time. Use your stud finder one last time to be sure you're dead center.
Before you drive the screws, squeeze a small dab of clear silicone into the screw holes. This is a great trick for adding another layer of waterproofing, stopping any moisture from getting into your wall. Tighten the screws until the hinge is completely flush and doesn't budge, but be careful not to overtighten and strip the wood.
This visual guide breaks down the essential prep work that leads to this stage.
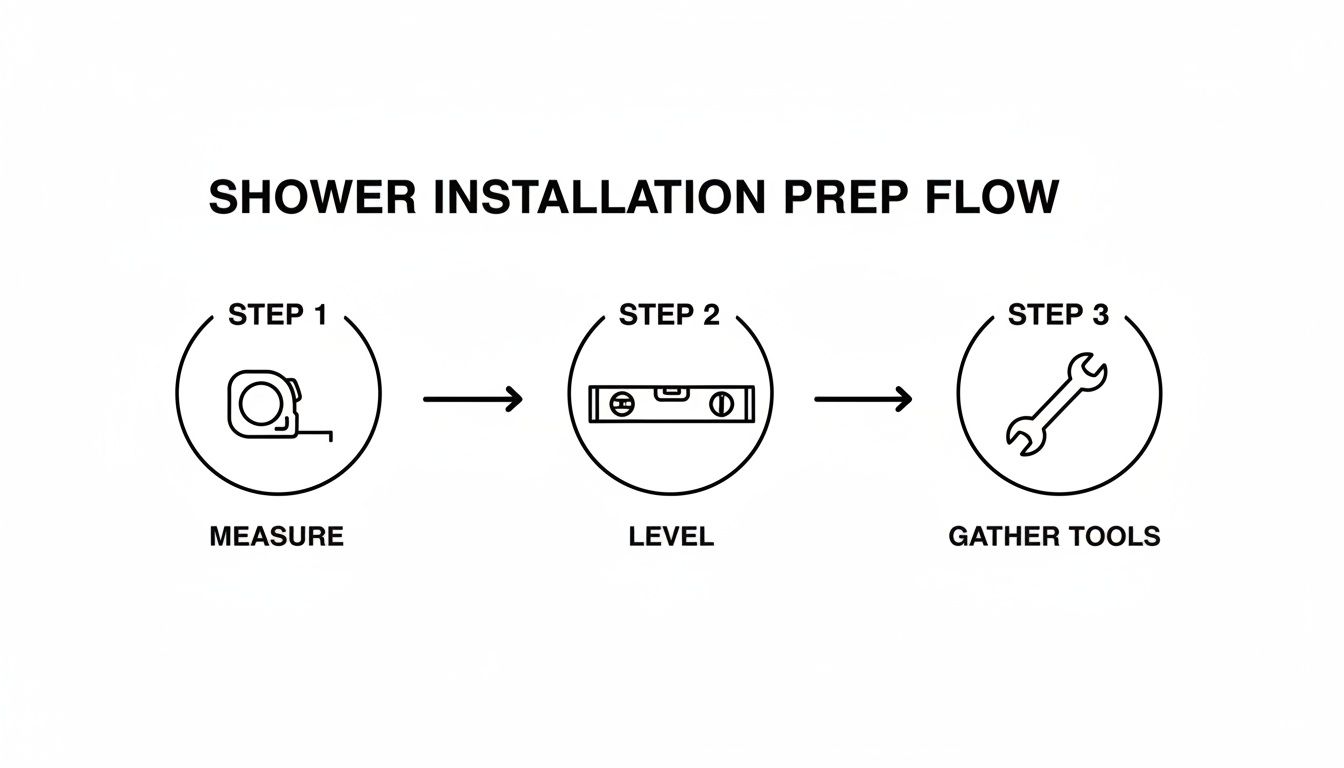
This workflow really drives home the point that a great installation is built on a foundation of precise measurement and leveling before any hardware is even touched.
Hanging the Heavy Glass Door
This is a two-person job. Period. Don't even attempt this alone. Before you lift anything, place a few small wood or plastic shims on the shower curb right where the door will hang. These will support the door's weight while you line it up with the hinges, protecting both the glass and your curb from damage.
With your helper holding the other end, carefully bring the door into the shower.
- Lift and Align: Gently lift the door so it rests on the shims.
- Attach to Hinges: Line up the pre-cut notches in the glass with the wall-mounted hinges. Slide in the vinyl gaskets that cushion the glass against the metal.
- Secure the Hinge Plates: Place the outer hinge plates on and just hand-tighten the set screws. You want a little bit of play here for final adjustments, so don't crank them down yet.
With the door hanging, you and your partner can carefully pull out the shims. Give the door a gentle swing to check the alignment and see how the gaps look. This is the moment of truth where you'll know if your measurements were on point.
Installing the Handle and Vinyl Seals
You're in the home stretch! The handle is usually a simple affair—two pieces that bolt together through the pre-drilled holes in the glass, with protective washers in between. Just assemble it and tighten the screws until they're snug.
Finally, you'll install the vinyl seals and sweeps. These are the unsung heroes that make your shower watertight.
- Door Sweep: This piece typically snaps or slides onto the bottom edge of the door. It has a soft fin that creates a seal against the curb when the door is closed.
- Strike-Side Seal: This is often a co-extruded seal with a rigid part that grips the glass and a soft fin that cushions the door as it closes, preventing water from splashing out of the gap.
Use a sharp utility knife to cut the seals to length for a perfect fit. They are designed to be a tight friction fit, so just push them firmly onto the glass edges—no glue needed.
Taking your time with this sequence is what separates a DIY job from a professional one. If this level of detail feels a bit overwhelming, remember that our expert installers have this down to a science. You can always get a better idea of what's involved by requesting a free estimate for your custom shower project.
Alright, the heavy lifting is done. Your glass panels are up, and you’re in the home stretch. But don't get ahead of yourself—this is where a good installation becomes a great one. The finishing touches are what separate a professional job from a DIY-that-looks-like-a-DIY. This final stage is all about creating that flawless, watertight seal that will last for years.
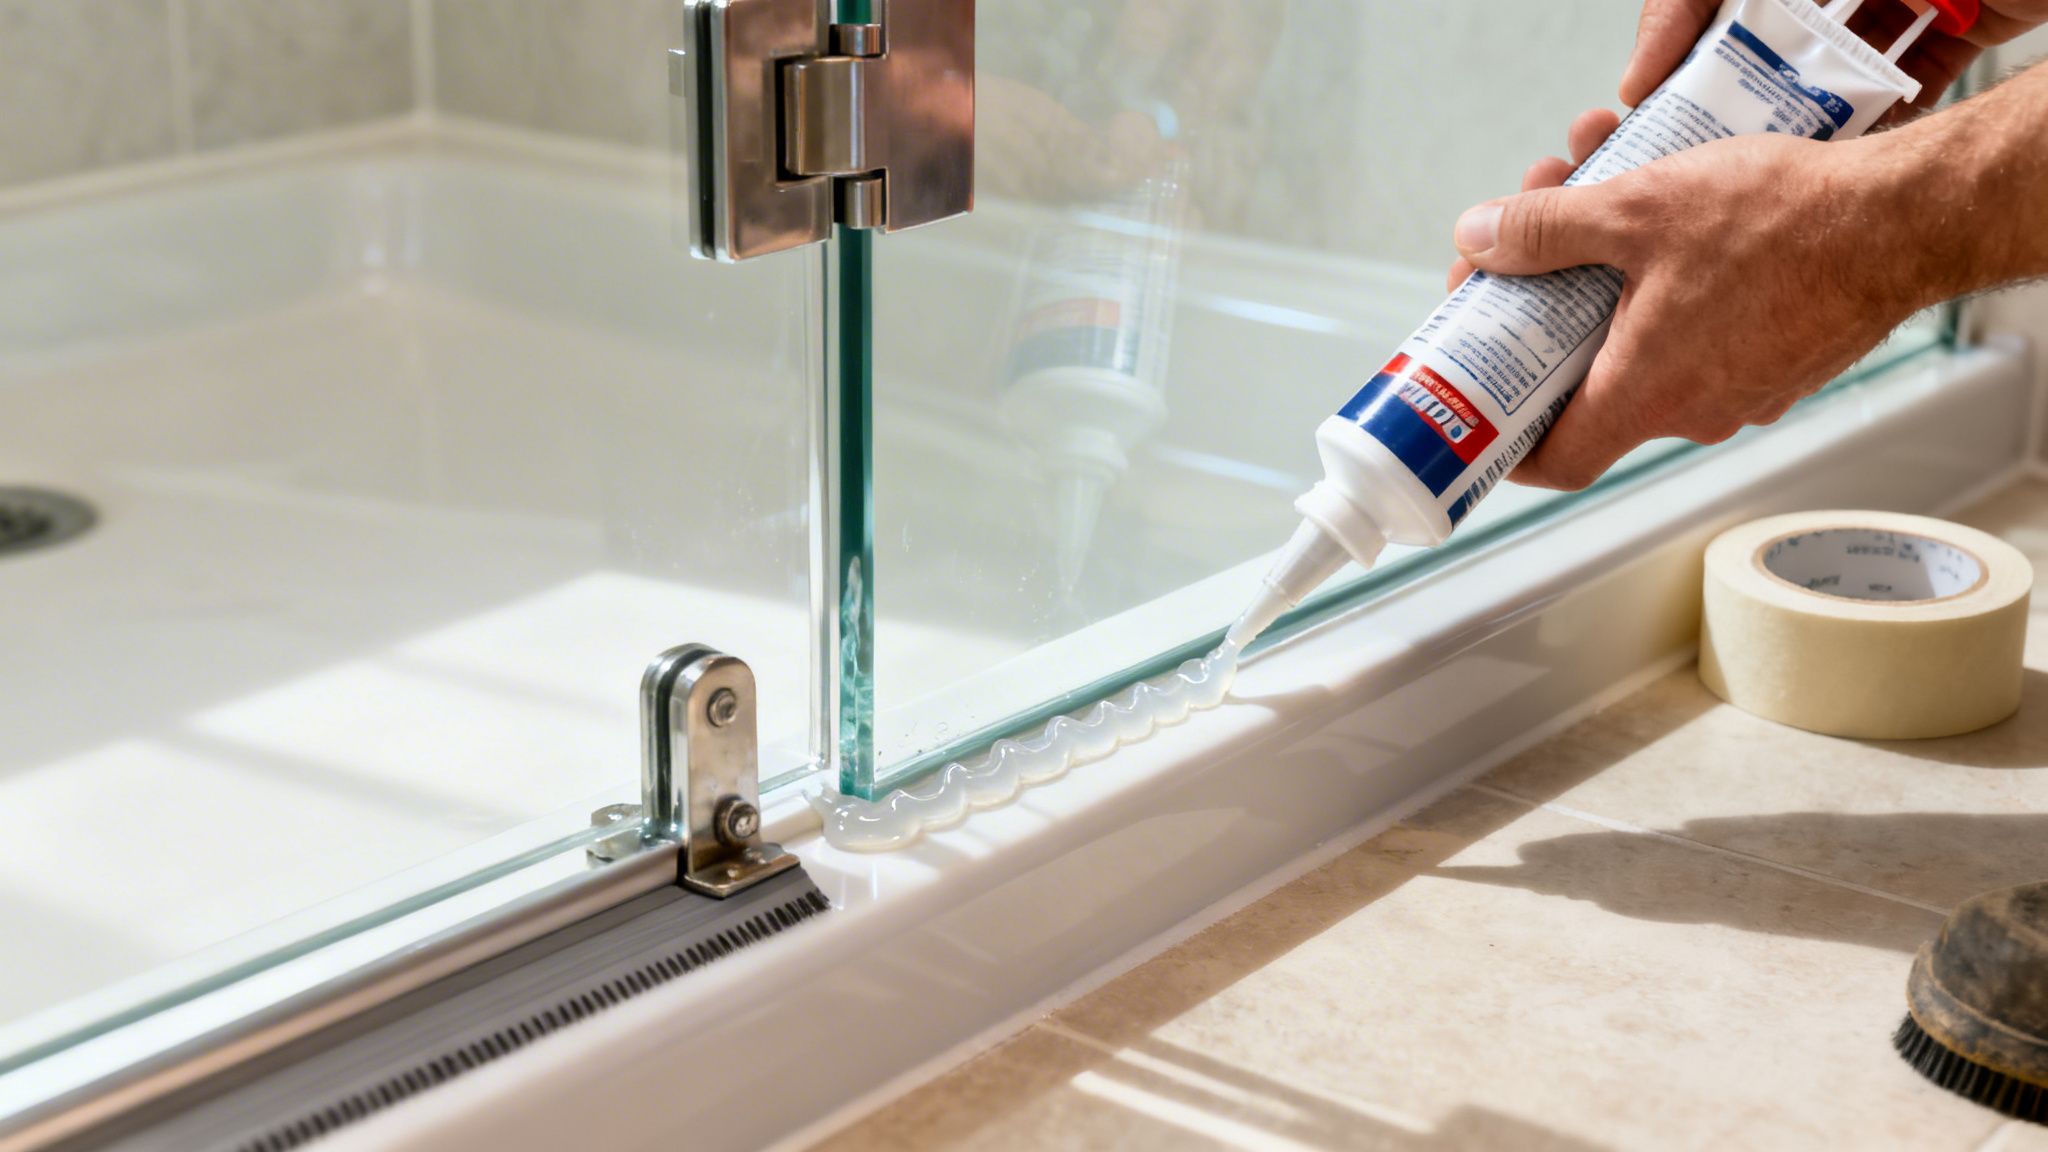
I’ve seen it a hundred times: people rush the sealing and adjustments just to be done with it. Resist that urge. A little patience now pays off big time in the long run, giving you that clean, polished look you've been working toward.
The Art of the Perfect Silicone Seal
Applying a clean bead of silicone is a skill, but one you can definitely master. It’s all about creating an invisible, impenetrable barrier against water. Before you even think about picking up the caulk gun, make sure every surface is spotless and bone-dry. Grab a clean rag and some denatured alcohol to wipe down all the joints where glass meets tile. You need to get rid of any fingerprints, oils, or dust.
Next up, grab the right stuff. This is non-negotiable: you need 100% mildew-resistant silicone made specifically for kitchens and baths. Don't cheap out here. Using the wrong caulk is a surefire way to end up with ugly yellowing and mold down the road, and you'll be scraping it all out and starting over.
Want a pro tip for getting a perfectly straight line? Use painter's tape. Run a strip of tape along the glass and another along the tile, leaving a clean, consistent gap of about 1/8-inch where the silicone will go. This trick is a game-changer.
Now, hold your caulking gun at a 45-degree angle and apply a smooth, steady bead of silicone. Don't rush it. As soon as you've laid the bead, tool the joint with a caulk finishing tool (or even just your finger dipped in soapy water) to press the silicone into the gap and give it a clean, concave look. The final, critical move? Pull the tape off before the silicone starts to form a skin.
The number one mistake I see is globbing on way too much silicone. A huge, messy bead looks amateurish and is actually more likely to peel away over time. You’re aiming for a thin, clean line that does its job without drawing attention to itself. When it comes to caulk, less is definitely more.
Dialing in the Hinge Adjustments
With the sealant curing, it's time to fine-tune the door's operation. The set screws on your hinges should still be just a little loose, which gives you room to make those tiny adjustments that get the alignment perfect.
Gently swing the door almost closed and check the gap on the handle side. Is it perfectly even from top to bottom? If it’s wider at the top or bottom, you can slightly lift or push down on the handle side of the door to get it just right. Once you’ve nailed the alignment, have your helper hold the door steady while you fully tighten those hinge set screws.
Most quality hinges are self-centering, which means they’re designed to pull the door shut for the last few inches. Give it a test. Open the door about 15-20 degrees and let it go. A properly adjusted door will swing smoothly back to its closed position. If it hangs open or slams shut, you’ll need to double-check your alignment and make sure everything is perfectly plumb.
Installing Sweeps and Seals for a Watertight Barrier
The very last piece of the waterproofing puzzle is installing the clear vinyl sweeps and seals. These little plastic strips are the unsung heroes of a leak-free shower.
- Bottom Sweep: This flexible seal snaps onto the bottom edge of the door. Measure the width of your door and use a sharp utility knife to cut the sweep for a snug fit. It should just barely skim the top of the shower curb—enough to stop water, but not so much that it creates drag when you open the door.
- Strike Seal: This one runs vertically along the edge of the door or the fixed panel next to it, closing the gap where the door opens. Just like the bottom sweep, it’s a friction-fit piece. Cut it to the correct height and press it firmly into place.
Once these seals are on, your installation is complete! You now have a fully enclosed, beautiful, and watertight shower. Keeping these parts clean is key to their longevity. For more expert advice, check out our guide to proper frameless shower door maintenance.
Troubleshooting Your Shower Door Installation
Let's be real—even when you measure twice and cut once, things can still go wrong. When you're dealing with heavy glass panels and the unique quirks of your bathroom, hitting a small snag is pretty common. The real trick is knowing how to troubleshoot these little hiccups without getting frustrated.
One issue I see all the time is the "ghost door"—the one that just won't stay put. You open it halfway, turn around, and it slowly drifts open or shut on its own. Nine times out of ten, this isn't a problem with the hinges, but with your walls. Gravity is pulling on that heavy door because the wall it's mounted to isn't perfectly plumb.
A quick fix you can try is to slightly loosen the hinge screws and see if you can nudge the door into a position where it holds steady. But if your wall is seriously out of plumb, this is often a symptom of a deeper issue with the framing or tile work—something that's a lot tougher to fix after the fact.
Dealing with Annoying Gaps
Another classic headache? Finding uneven gaps between the glass and the wall, or where two glass panels meet. If you see a gap that's wider at the top than the bottom, that's a dead giveaway your wall isn't straight. A good, thick bead of silicone can work wonders on gaps up to about 1/4-inch, but anything bigger than that will look sloppy and might not seal properly.
For those smaller gaps, your best friend is a high-quality, 100% silicone sealant. Take your time and apply a clean, consistent bead. If you're looking at a larger gap, you might need to look into a tapered filler strip. In a worst-case scenario, you might have to call a pro to see if the glass can be recut to fit the opening.
Chasing Down Stubborn Leaks
There's nothing more defeating than finishing your installation, admiring your work, and then finding a puddle on the floor after the first shower. Tracking down a leak can feel like a bit of a detective mission.
Here’s where to start your investigation:
- Check Your Seals First: Look at the clear vinyl sweeps and seals. Is the bottom sweep making solid contact with the shower curb? Does the vertical seal fully close the gap when the door is shut? Sometimes a simple adjustment is all it takes.
- Inspect the Silicone: Get up close and personal with your silicone beads. Look for any tiny pinholes or spots where it didn't quite stick to the tile or glass. Water is persistent and will find any weakness.
- Don't Forget the Hardware: This one's easy to miss. Water can sometimes sneak through the screw holes for your hinges or handle if they weren't properly sealed with a dab of silicone before the hardware was mounted.
It’s no surprise that frameless designs are everywhere now. The U.S. market has seen demand double since 2020, and for good reason—they can make a bathroom feel 20-30% larger. But with this boom in popularity comes a lot of first-time installations. Professional installers have a tiny 5% failure rate, while DIY projects see an 18% failure rate, and it’s almost always because of these exact kinds of problems. If you're curious, you can dig into the numbers yourself by checking out the U.S. glass shower door market report from Arizton.
Knowing your limits is key. Minor tweaks are one thing, but if you're dealing with seriously out-of-plumb walls or gaps you can't seem to seal, it’s time to call for backup. A team like AmeriGlass has seen it all and can turn a potential disaster into a flawless installation.
Common Questions We Hear All the Time
Even with the best instructions, you're bound to have a few lingering questions. It's only natural. Getting these final details ironed out is what separates a good installation from a great one, giving you the confidence to do the job right. Let's dig into the questions that come up most often.
How Thick Does the Glass Need to Be?
The heart and soul of a frameless shower is its glass. It's not just for looks; it is the structure. Because of this, you really only have two choices that meet industry safety and performance standards: 3/8-inch (10mm) or 1/2-inch (12mm) tempered safety glass.
For almost every residential project, 3/8-inch glass is the gold standard. It’s incredibly strong, feels solid and substantial, and provides all the rigidity you need for a standard-sized door. It's the most common choice for a reason—it hits the sweet spot between premium feel and practical cost.
So when do you need to go bigger? The upgrade to 1/2-inch glass makes sense for oversized designs. If your door is going to be exceptionally tall or wider than usual, that extra thickness adds serious rigidity and prevents any hint of flexing. It gives the door an unmistakably robust, high-end feel. Anything less than 3/8-inch just isn't an option for a true frameless system; it's simply not safe.
Can I Mount a Frameless Door on Just Any Wall?
This is probably the single most important safety question you can ask, and the answer is an emphatic "no." These doors are seriously heavy, and that entire weight hangs off two or three hinges. Those hinges must anchor directly into solid wood—either the wall studs themselves or dedicated blocking installed behind the tile.
There are no shortcuts here. Trying to hang a heavy glass door from drywall, or even cement board alone, is guaranteed to fail. The anchors will rip out, and the door will come crashing down. It's a catastrophic failure you can't risk.
Before you even think about ordering glass, grab a good stud finder and map out exactly where your framing is. The location of your studs dictates where your hinges can go, period. If they aren't in the perfect spot, you'll need to open up the wall to add reinforcement. For many homeowners, this is the point where calling in a pro becomes the right move.
How Do I Keep My New Shower Looking Brand New?
You’ve got this stunning new centerpiece in your bathroom, and keeping it pristine is actually pretty simple. It just takes a couple of good habits.
First, get a good quality squeegee and use it after every single shower. This is, by far, the most effective thing you can do. It takes less than a minute and stops hard water spots and soap scum from ever getting a foothold on the glass.
For weekly cleaning, skip the harsh chemicals. A simple spray bottle with a 50/50 mix of white vinegar and water or a dedicated pH-neutral glass cleaner is all you'll ever need. Never use abrasive pads or acidic cleaners, as they can permanently scratch the glass or damage the finish on your hardware.
Have more questions? We’ve compiled answers to dozens of other common queries on our full AmeriGlass Industries FAQ page. It's a fantastic resource for diving deeper into the specifics.
When you want the peace of mind that comes with a flawless, professional installation, the team at AmeriGlass Industries is ready to step in. Contact us today for a free, no-obligation estimate and let our experts bring your vision to life. Find out more at https://ameriglassindustries.com.