

Let's be honest, that old shower door isn't just an eyesore—it's probably a daily frustration. The good news is that swapping it out is one of the most impactful upgrades you can make to your bathroom, instantly taking it from dated and dingy to modern and bright. It’s more than a simple fixture swap; it’s a complete aesthetic overhaul.
Knowing When It's Time for a New Shower Door
That cloudy, rattling, or leaky shower door is more than a minor annoyance. It's a clear signal that your bathroom is due for an update. While a shattered panel is an obvious emergency, many signs are far more subtle yet just as critical—especially here in the humid climate of Southwest Florida.
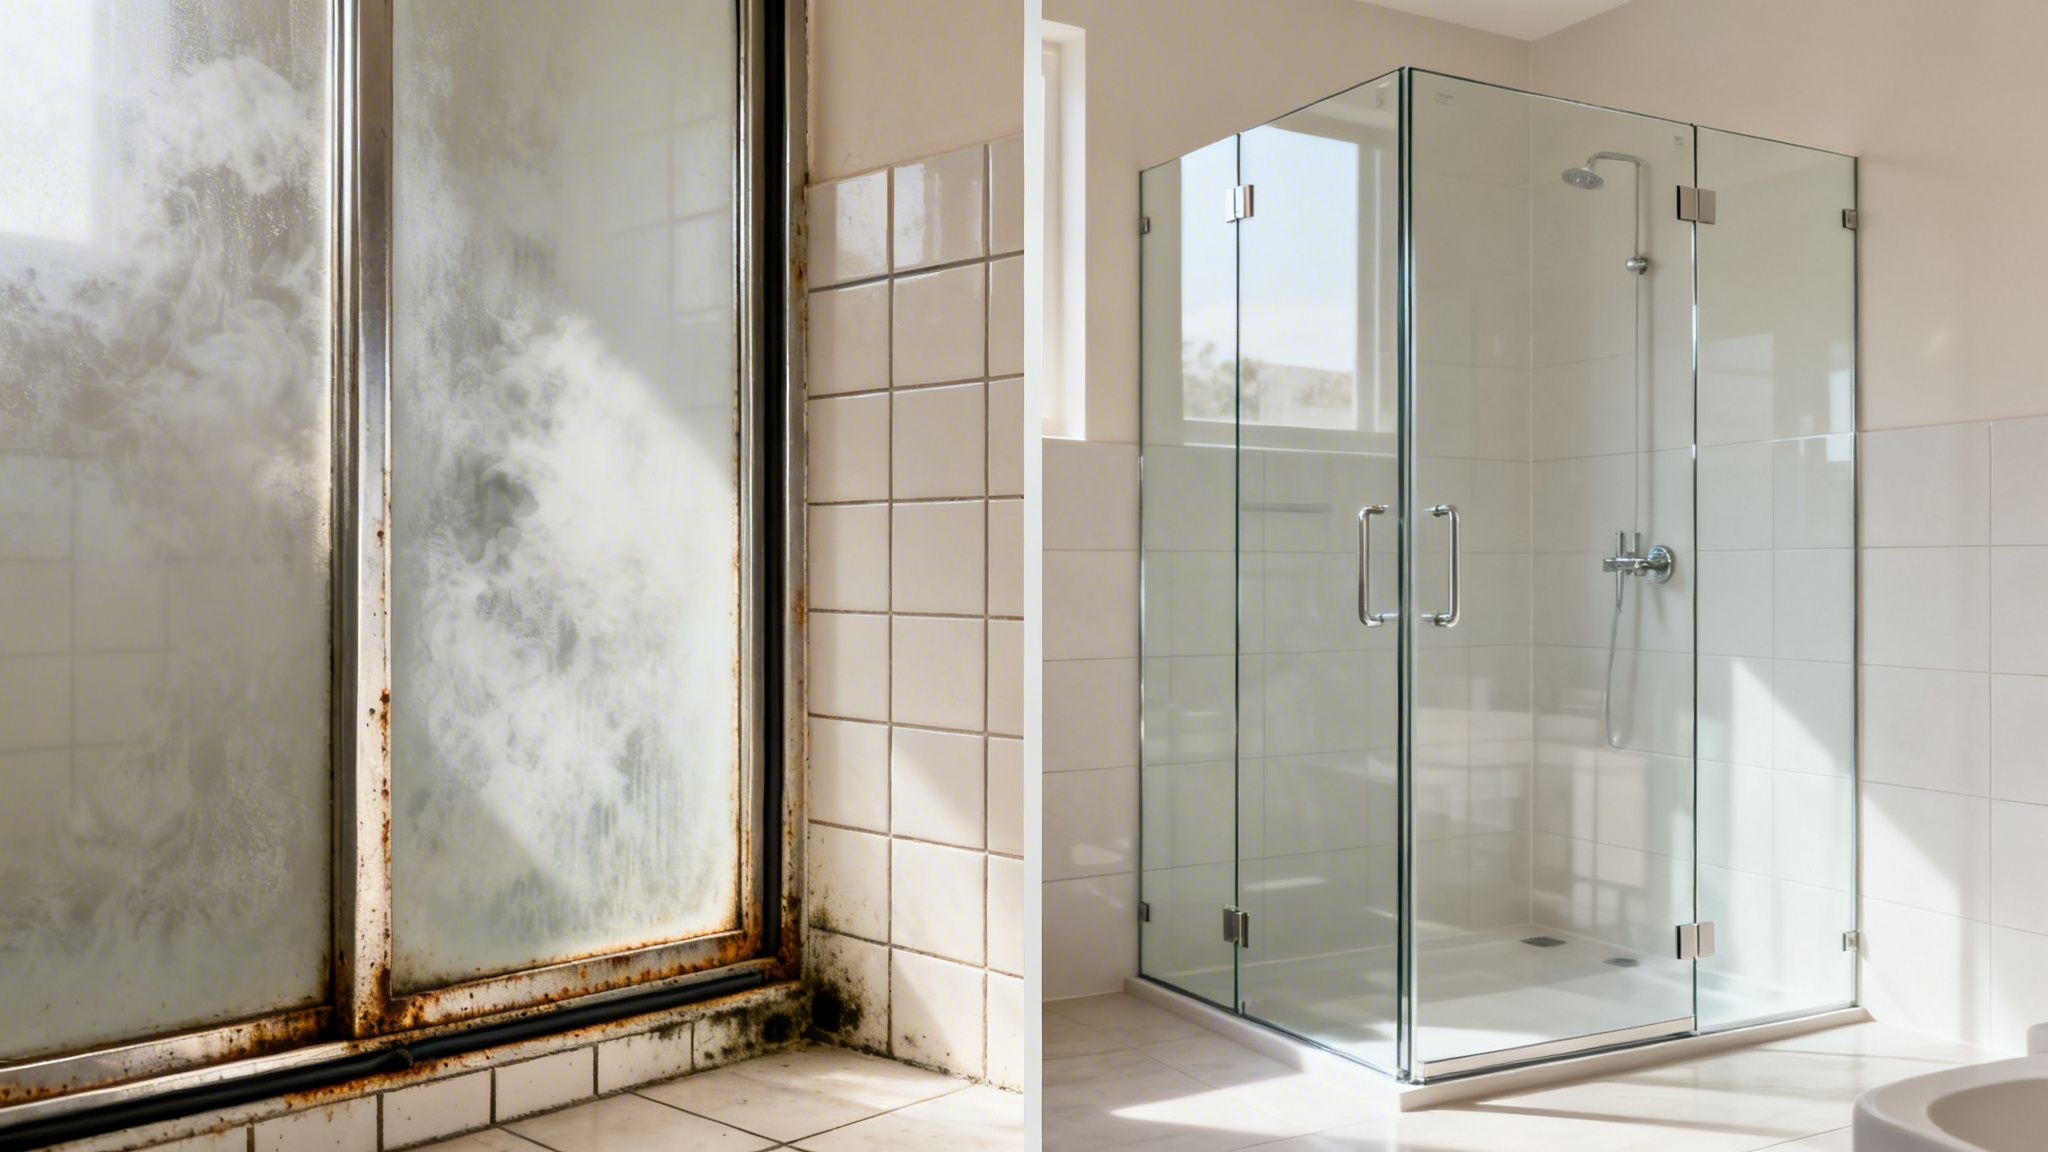
Learning how to replace a shower door really starts with spotting the red flags. It's rarely one dramatic failure but rather a slow decline that can compromise your bathroom's style and even its structural health.
More Than Just a Crack in the Glass
A big crack is an undeniable safety hazard, but don't overlook the smaller, persistent issues. Keep an eye out for these tell-tale signs that it's time for a replacement:
- Puddles on the Floor: If you're constantly mopping up water after a shower, the seals are failing or the door is no longer aligned correctly. This is a recipe for water damage.
- Rusty, Grimy Hardware: Corrosion on hinges, handles, and frames isn't just ugly—it's a sign of metal fatigue. Rusted hardware is weak hardware.
- Permanently Foggy Glass: If no amount of scrubbing gets that glass clear, you're likely dealing with microscopic etching and years of soap scum buildup. Older glass is more porous and holds onto grime.
- A Door That Fights You: A door that sticks, squeaks, or jumps off its track is more than just annoying. It's a safety risk waiting to happen.
We see these problems constantly in Florida's coastal areas. In fact, local data shows a 15-20% annual rise in professional service calls, driven by our unique climate and aging homes. Seal failure, which often leads to hidden mold, accounts for a staggering 65% of replacements in our humid environment. You can dig into some of the broader shower door market trends to see the bigger picture.
Deciding Between a Quick Fix and a Full Upgrade
Not sure if your door's issues are a quick fix or a sign of a bigger problem? It can be tough to tell. Sometimes a simple hardware adjustment or seal replacement is all you need. Other times, you're just putting a band-aid on a problem that demands a real solution.
Here’s a quick guide to help you decide.
Upgrade or Repair: Deciding Your Next Step
| Symptom | Potential Cause | Repair or Replace? | AmeriGlass Recommendation |
|---|---|---|---|
| Occasional drips | Worn-out vinyl seals or sweeps | Repair | Usually a simple, inexpensive DIY fix. Replace the seals. |
| Rusty frame/hardware | Constant moisture exposure | Replace | Once corrosion starts, it’s a losing battle, especially in our salty air. It will only get worse. |
| Cloudy, etched glass | Hard water and soap scum buildup over years | Replace | The glass surface is permanently damaged. No amount of cleaning will restore its clarity. |
| Door won't stay closed | Misaligned hinges or worn magnetic strip | Repair | First, try adjusting the hinges. If that fails, a new magnetic strip might do the trick. |
| Water pooling on the floor | Failed seals, poor installation, or wrong door type | Replace | This indicates a fundamental failure. A new, professionally installed door is the only way to ensure a watertight fit. |
Ultimately, while a repair might buy you a little time, a full replacement is often the smarter long-term investment for both function and home value.
A Smart Investment in Your Home
Thinking of this project as just another repair misses the point entirely. Upgrading from a clunky, framed door to a sleek frameless or semi-frameless design is one of the most powerful ways to modernize your entire bathroom. It's a true investment that pays dividends in both aesthetics and home value.
A new shower door isn't just a functional fix—it's a design statement. It opens up the space, showcases your beautiful tilework, and creates a clean, spa-like atmosphere that significantly enhances your daily routine and your home’s appeal.
Instead of fighting with an old, leaky door, imagine enjoying the clean lines and effortless maintenance of a modern glass enclosure. This is especially true with innovative options like Diamond-Fusion coatings, which make cleaning up to 90% easier. Suddenly, the choice becomes clear: a replacement isn't just a reactive fix, it's a proactive upgrade you'll appreciate every single day.
Mastering the Measurements: Your Tools and Game Plan
Let's be honest—a successful shower door replacement comes down to preparation. Getting your measurements right and having the proper tools laid out isn't just the first step; it's the most critical one. Think of it as creating the blueprint for the entire project. This is where you prevent those frustrating, mid-install trips to the hardware store and avoid costly mistakes.
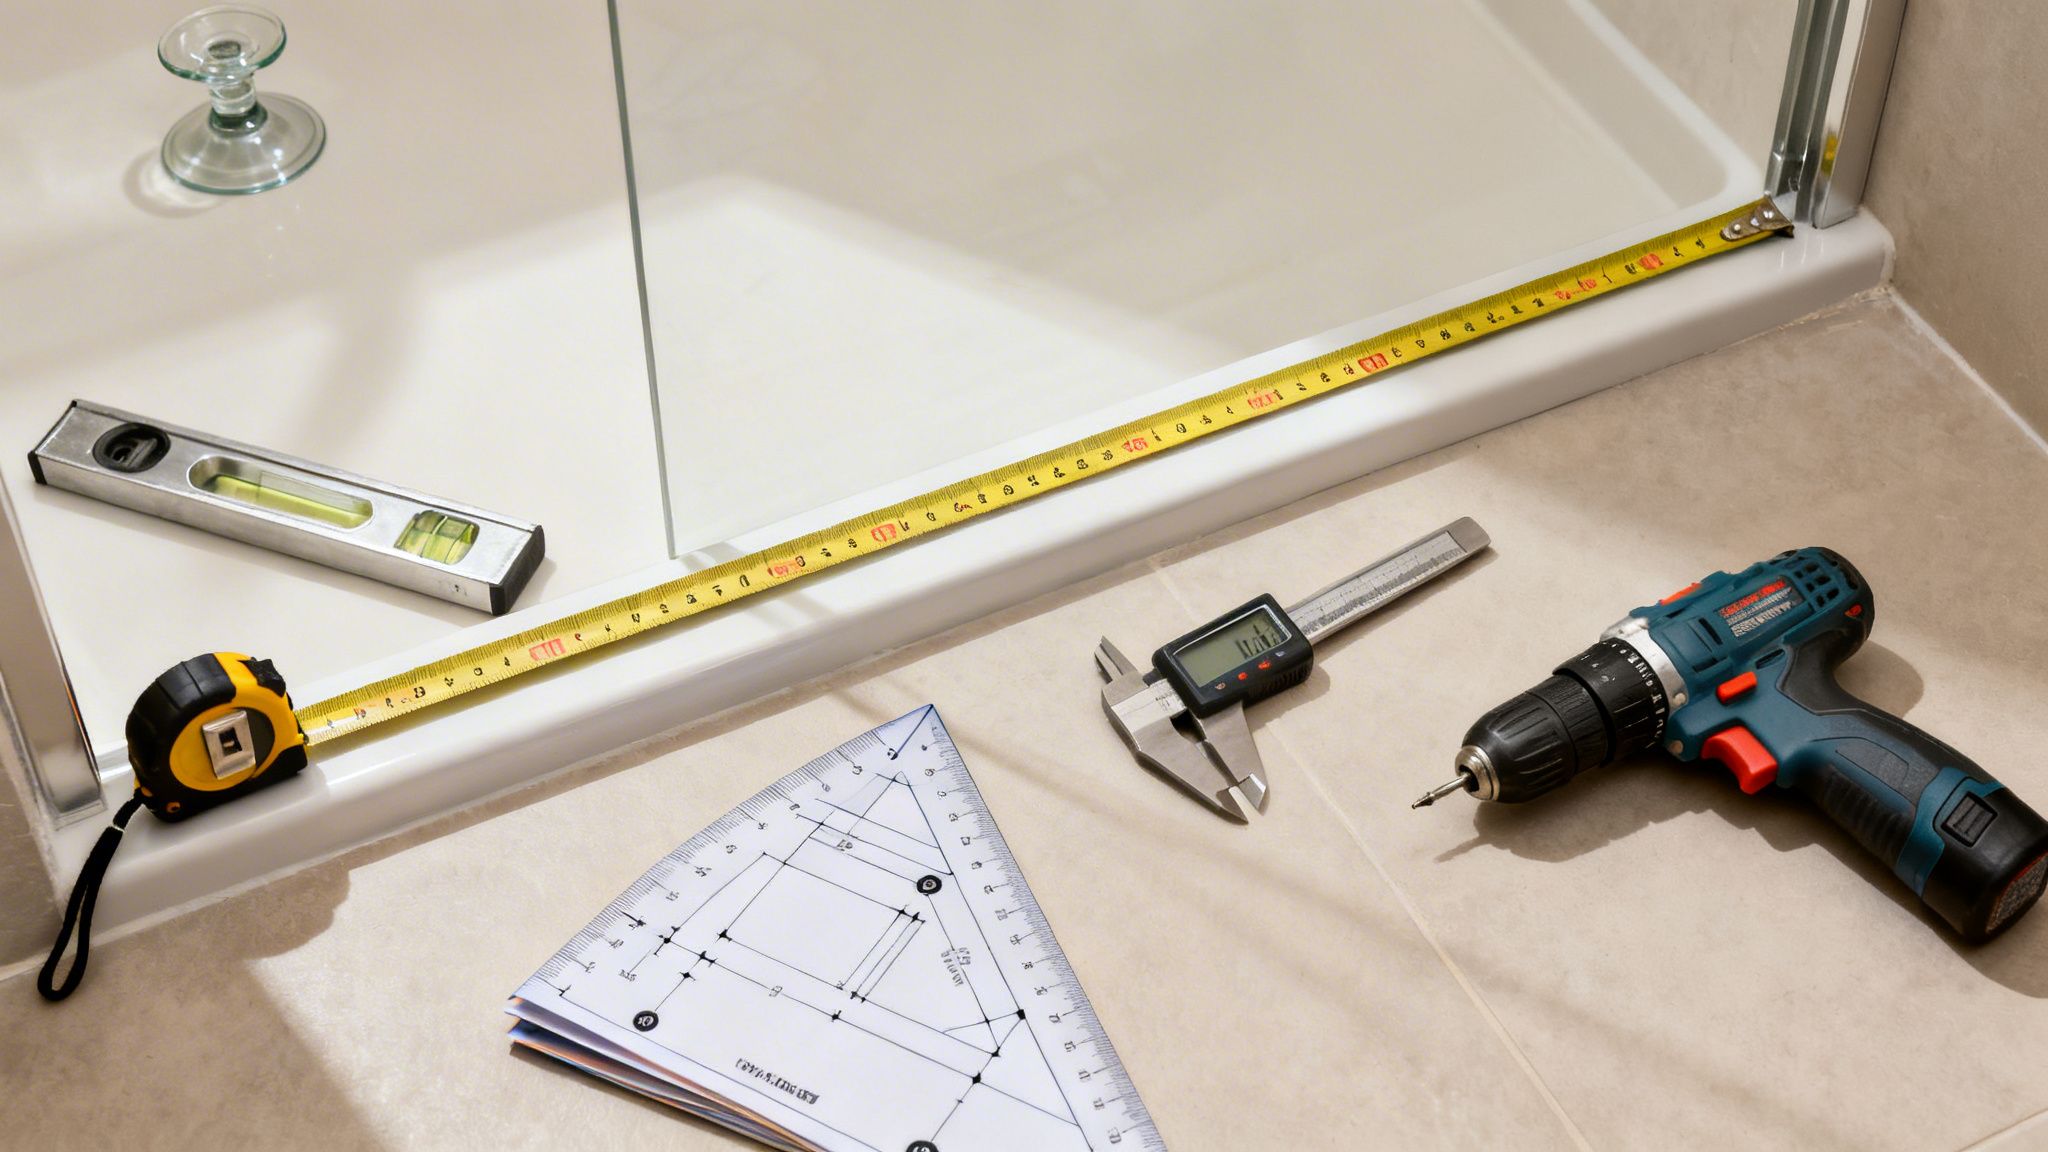
I've seen it time and time again: a beautiful, expensive door that just won't fit because of a simple measurement error. This is especially true with frameless doors, where the margin for error is practically zero. You can't just fudge it.
Assembling Your Project Toolkit
Before you even think about touching the old door, get your tools in order. Having everything you need within arm's reach transforms this job from a potential headache into a smooth, methodical process. Here’s a rundown of what I always have on hand for both removal and the new installation.
Your Must-Have Tool Checklist:
- A Good Tape Measure: This is your best friend. Don't skimp on a flimsy one.
- Level: A 4-foot level is perfect. It’s long enough to give you a true read on walls (plumb) and the curb.
- Power Drill & Quality Bits: You'll need masonry bits for tile and standard bits for everything else. Make sure you have Phillips and hex heads for the various screws.
- Caulking Gun: A decent, drip-free gun makes applying silicone sealant so much cleaner.
- Utility Knife & Putty Knife: These are for the grunt work—slicing and scraping away that stubborn old caulk without gouging your tile or fiberglass.
- Safety First: Seriously. Get heavy-duty gloves for handling glass and always wear safety glasses.
If you’re tackling a frameless door, a pair of glass suction cups is worth every penny. They give you a solid grip and make moving those heavy glass panels much safer and less awkward.
My Pro Tip: When you're ready to drill into tile, lay a strip of masking tape over your mark first. It gives the drill bit something to bite into, stopping it from "walking" across the slick surface. This simple trick prevents cracked tiles and ensures your hole is exactly where you planned it.
The Art of Precision Measurement
Measuring a shower opening isn't just about width and height. It's about understanding that your walls and curb probably aren't perfectly square. In my experience, especially with Florida homes, they rarely are. Ignoring these slight imperfections is the number-one reason DIY shower door installations fail.
With a frameless door, we're talking about tolerances as tight as 1/16 of an inch. There's no frame to hide a gap. It has to be dead-on.
How to Measure Your Shower Opening Like a Pro
To get that perfect, custom-fit feel, you need to take multiple measurements. This accounts for any bows in the walls or slopes in the curb.
- Measure the Width in Three Spots: Get a horizontal measurement at the top of the opening, one in the middle, and one right along the bottom curb. Always use the smallest of these three numbers for your final width. It’s the tightest point the door has to clear.
- Measure the Height on Both Sides: Measure vertically from the top of the curb to where you want the door to end. Do this on the left wall and the right wall. They might be different, and you need to know that.
- Check if Your Walls are Plumb: Press your level vertically against the left wall, then the right. Is the bubble perfectly centered? If a wall leans in or out at all, that "out-of-plumb" condition is critical information for ordering the right door.
- Check if Your Curb is Level: Now, lay the level flat along the curb where the door will sit. An unlevel curb can throw off the entire installation, affecting how the door hangs and seals.
Nailing these details is what separates a leaky, frustrating door from a professional, watertight installation that looks incredible. With these precise numbers, you can order a door that truly fits your unique space. For homeowners who want that absolutely pristine, crystal-clear look, it's also worth looking into premium options like ultra-clear glass that can really elevate the final aesthetic.
Safely Removing Your Old Shower Door
Alright, you've got your tools and your measurements are double-checked. Now for the fun part: demolition. But let's be clear, this is a surgical operation, not a sledgehammer job. The whole point is to get the old door out without chipping a single tile or scratching your fiberglass surround. It’s all about patience.
Think of it as deconstruction, not destruction. You're taking it apart piece by piece, which is not only cleaner but a whole lot safer.
First Things First: The Door Panels
Before you even think about touching the frame, the glass panels have to go. These things are heavier and more awkward than they look, so if you have a helper, now’s the time to call them in.
For a standard sliding door, it's usually pretty simple.
- Lift and Tilt: You'll need to lift the door panel straight up into the top track. This gives you enough clearance to swing the bottom of the door out toward you and off the lower track.
- Handle with Care: The second that panel is free, get it out of the bathroom. Lean it against a wall on a soft towel or a piece of cardboard. Never lay it flat on the floor where someone could accidentally step on it.
If you have a hinged or pivot door, you've got to support the full weight of the door while you're unscrewing the hinges. Seriously, don't try this alone. A second set of hands is non-negotiable here.
Dismantling the Metal Frame
With the glass out of the picture, you can focus on the metal frame. It’s held on by a combination of screws and a whole lot of silicone caulk. This is where your utility knife and drill earn their keep.
The secret to a clean removal is dealing with the caulk first. Old, hardened caulk acts like a powerful adhesive. Trying to pry the frame off without cutting the seal is a surefire way to damage your shower surround.
Take your utility knife and carefully slice through the caulk line on both the inside and outside of the entire frame. You might need to make a few passes to cut all the way through. Once that seal is broken, start hunting for all the screws anchoring the frame to the shower walls and curb.
Tackling Stubborn Screws and Old Caulk
Down here in Florida, humidity is a fact of life. That means you're almost guaranteed to run into a rusted screw that won’t budge or caulk that’s as hard as a rock. Don't force it—just change your strategy.
Pro Tips for Removal Challenges:
- For Rusted Screws: If your Phillips head bit just spins, switch to a screw extractor. Sometimes, a few firm taps on the end of your screwdriver with a hammer can be just enough to break the corrosion's grip.
- For Hardened Caulk: After you've scored it with the knife, use a plastic putty knife or a dedicated caulk removal tool to scrape the residue away. Stay away from metal scrapers on fiberglass or acrylic surfaces unless you want to scratch them.
Once the screws are out and the caulk is gone, the frame pieces should come off with a little gentle persuasion. You’ll be left with a clean opening and a pile of old glass and aluminum. If you'd rather not deal with the pile, you might consider professional junk removal services to get it out of your hair.
This is the part of the project that really makes you appreciate what goes into it. It’s definitely a manageable DIY, but the sheer weight of the glass and the stubbornness of old hardware are exactly why many people decide leaving the deconstruction to an insured pro is money well spent.
Installing Your New Frameless Shower Door
Alright, the old door is out, and the opening is clean and ready. This is the fun part—where you start to see the real transformation happen. Installing a frameless shower door isn't about muscle; it's a game of precision and taking your time. Every step builds on the last, so patience here will pay off with that clean, high-end look you're going for.
Think of the removal process you just finished as setting the stage. A clean slate is essential for a perfect installation.
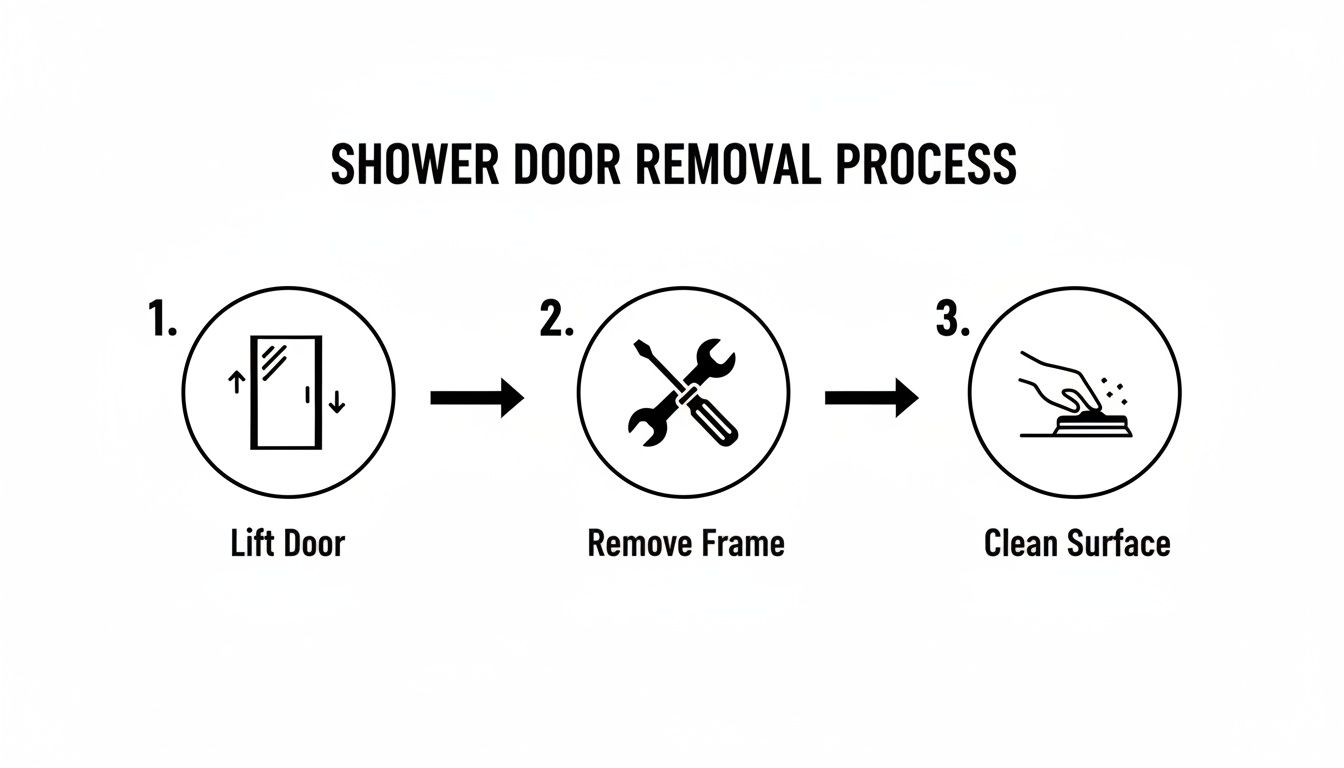
This just goes to show that a methodical deconstruction, not a demolition, is what paves the way for a smooth and successful installation.
Getting the Stage Ready for Glass
Before a single piece of glass gets near your shower, there's one last prep step that’s absolutely critical. Grab some denatured alcohol and a clean rag, and wipe down every surface where the new hardware and silicone will touch the tile or fiberglass. This gets rid of any stubborn soap scum, dust, or oils from your hands, ensuring you get the strongest possible bond.
Next up, carefully unbox your new door and hardware. I always lay everything out on a soft blanket or a big piece of cardboard to prevent any scratches. Go through the parts list from the manufacturer and make sure every single screw, anchor, and seal is accounted for. Trust me, there’s nothing worse than getting halfway through a project only to realize you’re missing a tiny but crucial part.
Precision Marking for a Flawless Fit
This is where all that careful measuring you did earlier really comes into play. With your level and a pencil, you're going to mark the exact spots for the wall channels or hinge mounting plates.
Hold the stationary panel's mounting channel against the wall, slap your level on it to make sure it's perfectly plumb (straight up and down), and then lightly mark where you need to drill. Repeat this for the door hinges. Double-check, and then triple-check, every single mark. A slightly off-kilter mark here will be glaringly obvious once the door is hanging.
My Go-To Pro Tip: Never, ever assume your shower curb is perfectly level—most aren't. When you're positioning the stationary glass panel, use a few small, stackable plastic shims under the glass to get it perfectly level. This is the secret to making sure the door hangs correctly and lines up beautifully with the fixed panel.
Setting the Stationary Glass Panels
With your drill points marked, it's time to make some holes. If you're drilling into tile, you absolutely need a new masonry bit. Go slow, apply steady pressure, and let the bit do the work to avoid cracking the tile. Once your holes are drilled, pop in the plastic anchors from the kit and gently tap them with a hammer until they're flush with the wall.
Now, grab your high-quality, 100% silicone sealant and apply a thin, continuous bead to the back of the wall channel. You can also apply it directly to the tile where the panel will sit. Carefully lift the stationary glass panel into place and secure it with the mounting hardware. Here's a key tip: don't tighten the screws all the way down just yet. Leaving them a little loose gives you some wiggle room for fine-tuning later.
Hanging the Frameless Door
Do not attempt this alone. Seriously. Frameless glass doors are incredibly heavy and awkward. This is a two-person job, period.
It’s easiest to attach the hinges to the door panel first, while it's still safely resting on your blanket. Then, with your helper taking the full weight of the door, carefully lift it and align the hinges with the holes you drilled in the wall. Thread the screws in, but again, leave them just a little loose for those final micro-adjustments.
Once the door is hanging, step back and check the alignment. Is the gap between the door and the fixed panel perfectly even from top to bottom? Does the door swing open and closed without rubbing? Put your level on the door one last time to confirm it's plumb. Nudge it into the perfect position, and only then should you tighten all the hinge and panel screws down securely.
Waterproofing: The Final, Critical Seal
Applying the final bead of silicone is what makes or breaks your installation, especially here in Florida where our humidity will exploit any tiny gap. You need to run a clean, consistent bead of silicone along every seam—inside and out—where the glass and hardware meet the tile and curb.
For a sharp, professional-looking seal, follow these steps:
- Work in Sections: Don't try to do it all at once. Apply silicone to just one seam at a time.
- Smooth the Bead: Lightly mist the fresh silicone with a little soapy water in a spray bottle.
- Use a Finishing Tool: Dip a caulk finishing tool (or even your finger) into the soapy water and run it smoothly along the bead. The soap acts as a release agent, preventing the silicone from sticking and smearing, giving you a perfect, clean line.
Finally, install the handle and any vinyl sweeps or seals that came with your kit. Now for the hardest part: let the silicone cure for a full 24-48 hours before you even think about using the shower. I know it's tempting, but this patience is what ensures a durable, waterproof seal that will last for years.
Now, I'll be honest. While it might look straightforward on a weekend TV show, replacing a shower door is a job where precision is everything. Little mistakes can lead to big problems. Industry experts report that improper installation is the cause of leaks in up to 30% of amateur jobs, which can lead to water damage and costly repairs down the road.
Frameless doors, in particular, demand incredibly tight tolerances of 1/16 of an inch or less—a level of accuracy that professional technicians achieve with specialized laser levels and experience. It's why so many homeowners in Southwest Florida choose to trust a specialist. You can see the difference that expertise makes by learning about a professional frameless shower door installation in Naples, Florida and how we handle these precise projects.
Applying the Finishing Touches for a Professional Look
You’ve done the heavy lifting, and the new door is in. Great job! But don't put the tools away just yet. These final details are what separate a good-enough DIY job from one that looks truly professional and is built to last.
First things first, let's get that new glass sparkling. Grab a quality glass cleaner and a microfiber cloth and wipe away all the fingerprints, smudges, and installation dust. Now, take a critical look at the new silicone bead. If you see any spots where it squeezed out, carefully trim away the excess with a sharp utility knife. You're aiming for a perfectly straight, clean line.
The Waiting Game: Curing and Upkeep
Now for the hardest part: patience. You absolutely must let the silicone sealant fully cure for at least 24-48 hours before a drop of water hits it. I know it's tempting to test it out, but exposing the sealant to moisture too soon will ruin the bond, leading to leaks you'll be chasing for weeks. A little wait now prevents a big headache later.
Once it's cured, keeping that brand-new look is all about a simple routine—especially here in Southwest Florida, where humidity and hard water are relentless.
- Squeegee, Squeegee, Squeegee: This is non-negotiable. A quick 30-second wipe-down after every shower is the single most effective thing you can do to stop soap scum and mineral spots before they even start.
- Gentle Weekly Clean: Skip the harsh, abrasive chemicals. A simple mix of white vinegar and water or a pH-neutral cleaner is all you need to keep the glass and hardware pristine without causing damage.
- Seal Check-Up: Every couple of months, just glance at the vinyl sweeps and seals. Make sure they’re still flexible and haven't cracked or pulled away from the glass.
Protecting Your Investment for the Long Haul
If you're someone who values your time and wants that pristine look with minimal effort, a protective coating is a fantastic investment. We're not talking about a temporary spray you get at the store; these are professionally applied treatments that molecularly bond to the glass.
A high-quality hydrophobic coating acts like permanent rain-repellent for your shower. Water can't cling to the surface—it just beads up and rolls right off, taking dirt and soap scum with it. This dramatically cuts down on cleaning and keeps the glass looking immaculate.
Here in the Naples area, we often recommend and apply advanced Diamond-Fusion coatings because they're specifically designed to combat our high humidity. A treatment like this can reduce your cleaning time by up to 90%. It’s a game-changer for maintaining the clarity and beauty of your new shower for years to come.
Combining these final steps with a smart, simple maintenance plan ensures your weekend project pays off beautifully. For a deeper dive into long-term care, take a look at our complete guide on shower door maintenance.
Why Trust a Professional With Your Installation
While I’ve laid out the steps to replace your shower door, it's also my job to be honest about when a DIY project can go sideways. I've seen it happen. A seemingly straightforward installation can quickly turn into a frustrating, and expensive, mess.
The biggest headaches almost always come from things you can't easily see. A wall that looks straight but is actually a quarter-inch out of plumb, or a shower curb that has a slight, imperceptible slope. These tiny imperfections are where DIY jobs fail, leading to leaks, gaps, or a door that just won't ever hang right. Then there’s the very real risk of handling massive, heavy panes of glass. If you drop one, you’re not just out the cost of the door—you’ve got a serious safety hazard on your hands.
The Professional Advantage: Peace of Mind Included
Handing the job over to a seasoned installer completely changes the dynamic. It's not just about getting it done; it's about getting it done right, with zero stress on your end.
Here’s what you're really paying for:
- Guaranteed Precision: Pros live and breathe this stuff. They have the laser levels, the specialized tools, and the experience to compensate for any quirks in your bathroom walls, ensuring a perfect, watertight seal.
- Insured Workmanship: If a panel breaks or something goes wrong during installation, it's on them, not you. That peace of mind alone is worth a lot.
- Superior Materials and Access: Installers get their hands on commercial-grade hardware and sealants that you just won’t find at the local hardware store.
A professional installation isn't just about hanging a door. It's an investment in the longevity, safety, and polished look of your bathroom—one that truly adds value to your home.
Navigating the Modern Shower Door Market
The world of shower doors has changed a lot. Back in the 1970s, you'd have been hard-pressed to find anything but a framed door—they made up 80% of U.S. installations. Fast forward to today, and the clean, open look of frameless glass is what everyone wants, now making up over 50% of the premium market. It's a massive $2.5 billion global market, and with that growth comes a demand for much greater precision.
In the end, while this guide is here to empower you, sometimes a single project is just one piece of a much larger puzzle. If you're planning a full bathroom gut and remodel, it’s always smart to look into professional bathroom remodeling services. But for a specialized task like this, trusting a team that installs glass day-in and day-out—like the experts who have shaped our company’s history at https://ameriglassindustries.com/about-us/—is the surest way to get a flawless result the first time.
Got Questions? We've Got Answers
Even after walking through the steps, you probably still have a few things on your mind. That's completely normal. Let's dig into some of the most common questions we get from homeowners, so you can feel totally confident tackling this project.
What's the Real Cost of a New Shower Door?
The price tag can really swing depending on what you're looking for. You could grab a basic, off-the-shelf framed sliding door from a big-box store for somewhere in the $300 to $600 range.
But if you're aiming for that high-end, spa-like feel, a custom-measured frameless door is the way to go. For a professional job with thick, quality glass and premium hardware, you're typically looking at a range of $1,200 to $3,000+. It’s a bigger investment, but the visual payoff is huge.
How Much Time Should I Block Out for This?
If you're going the DIY route, give yourself a full weekend. Don't rush it. You'll likely need one whole day just to carefully remove the old door and meticulously prep the surfaces—getting rid of every last bit of old silicone is key. Then, plan for another full day for the installation itself, making sure everything is perfectly level and aligned.
Remember, after all that work, you have to let the silicone sealant cure for a solid 24-48 hours. No exceptions!
On the flip side, a professional installer can usually get the entire job done in just 3 to 5 hours. They have the process down to a science, which means a perfect, leak-free fit without you losing your weekend.
Can I Swap My Old Framed Door for a New Frameless One?
Absolutely, and it's one of the best upgrades you can make to a bathroom. The main thing to confirm is that your walls are up to the task. Frameless doors are heavy, so they need to be anchored securely into wall studs or a solid tile backer board. As long as your structure is sound, it's a fantastic switch that completely opens up the space.
Have a question we didn't cover here? We've answered dozens more on our main frequently asked questions page.
Ready to see how a stunning, professionally installed frameless shower door can transform your bathroom? The experts at AmeriGlass Industries are here to make it happen. Reach out today for a free, no-obligation estimate and let our craftsmanship speak for itself.
Want it done for you? AmeriGlass Industries removes old doors and installs new frameless shower doors across Naples, Fort Myers, Bonita Springs and Cape Coral. Call (239) 426-6884 for a free estimate.