

You're usually here for one of three reasons. The shower door is coming out for a remodel, the hardware has failed, or you've realized that most online advice is really about framed doors, not heavy frameless glass.
That distinction matters. A framed unit comes apart in light aluminum pieces. A frameless unit has thick tempered glass tied into hinges, clamps, or rollers, and the hardest part isn't scraping caulk. It's controlling the panel when the hardware stops holding it.
In Southwest Florida homes, that gets even more unforgiving. Custom tile, stone walls, humidity, and tight bathroom layouts leave very little room for a sloppy move. If you want to learn how to remove frameless glass shower doors safely, the job starts with preparation and a clear read on the hardware in front of you.
Gather Your Tools and Prepare Your Workspace
Preparation decides whether this job feels controlled or dangerous. A frameless door can weigh 80 to 120 lbs, and the safe process starts with cutting silicone seals using a 5-inch utility knife, then loosening hinge screws, often with 1/4-inch Allen keys, in sequence from top to bottom. It also requires two people to do it safely, based on the verified removal guidance provided above.
What you actually need on hand
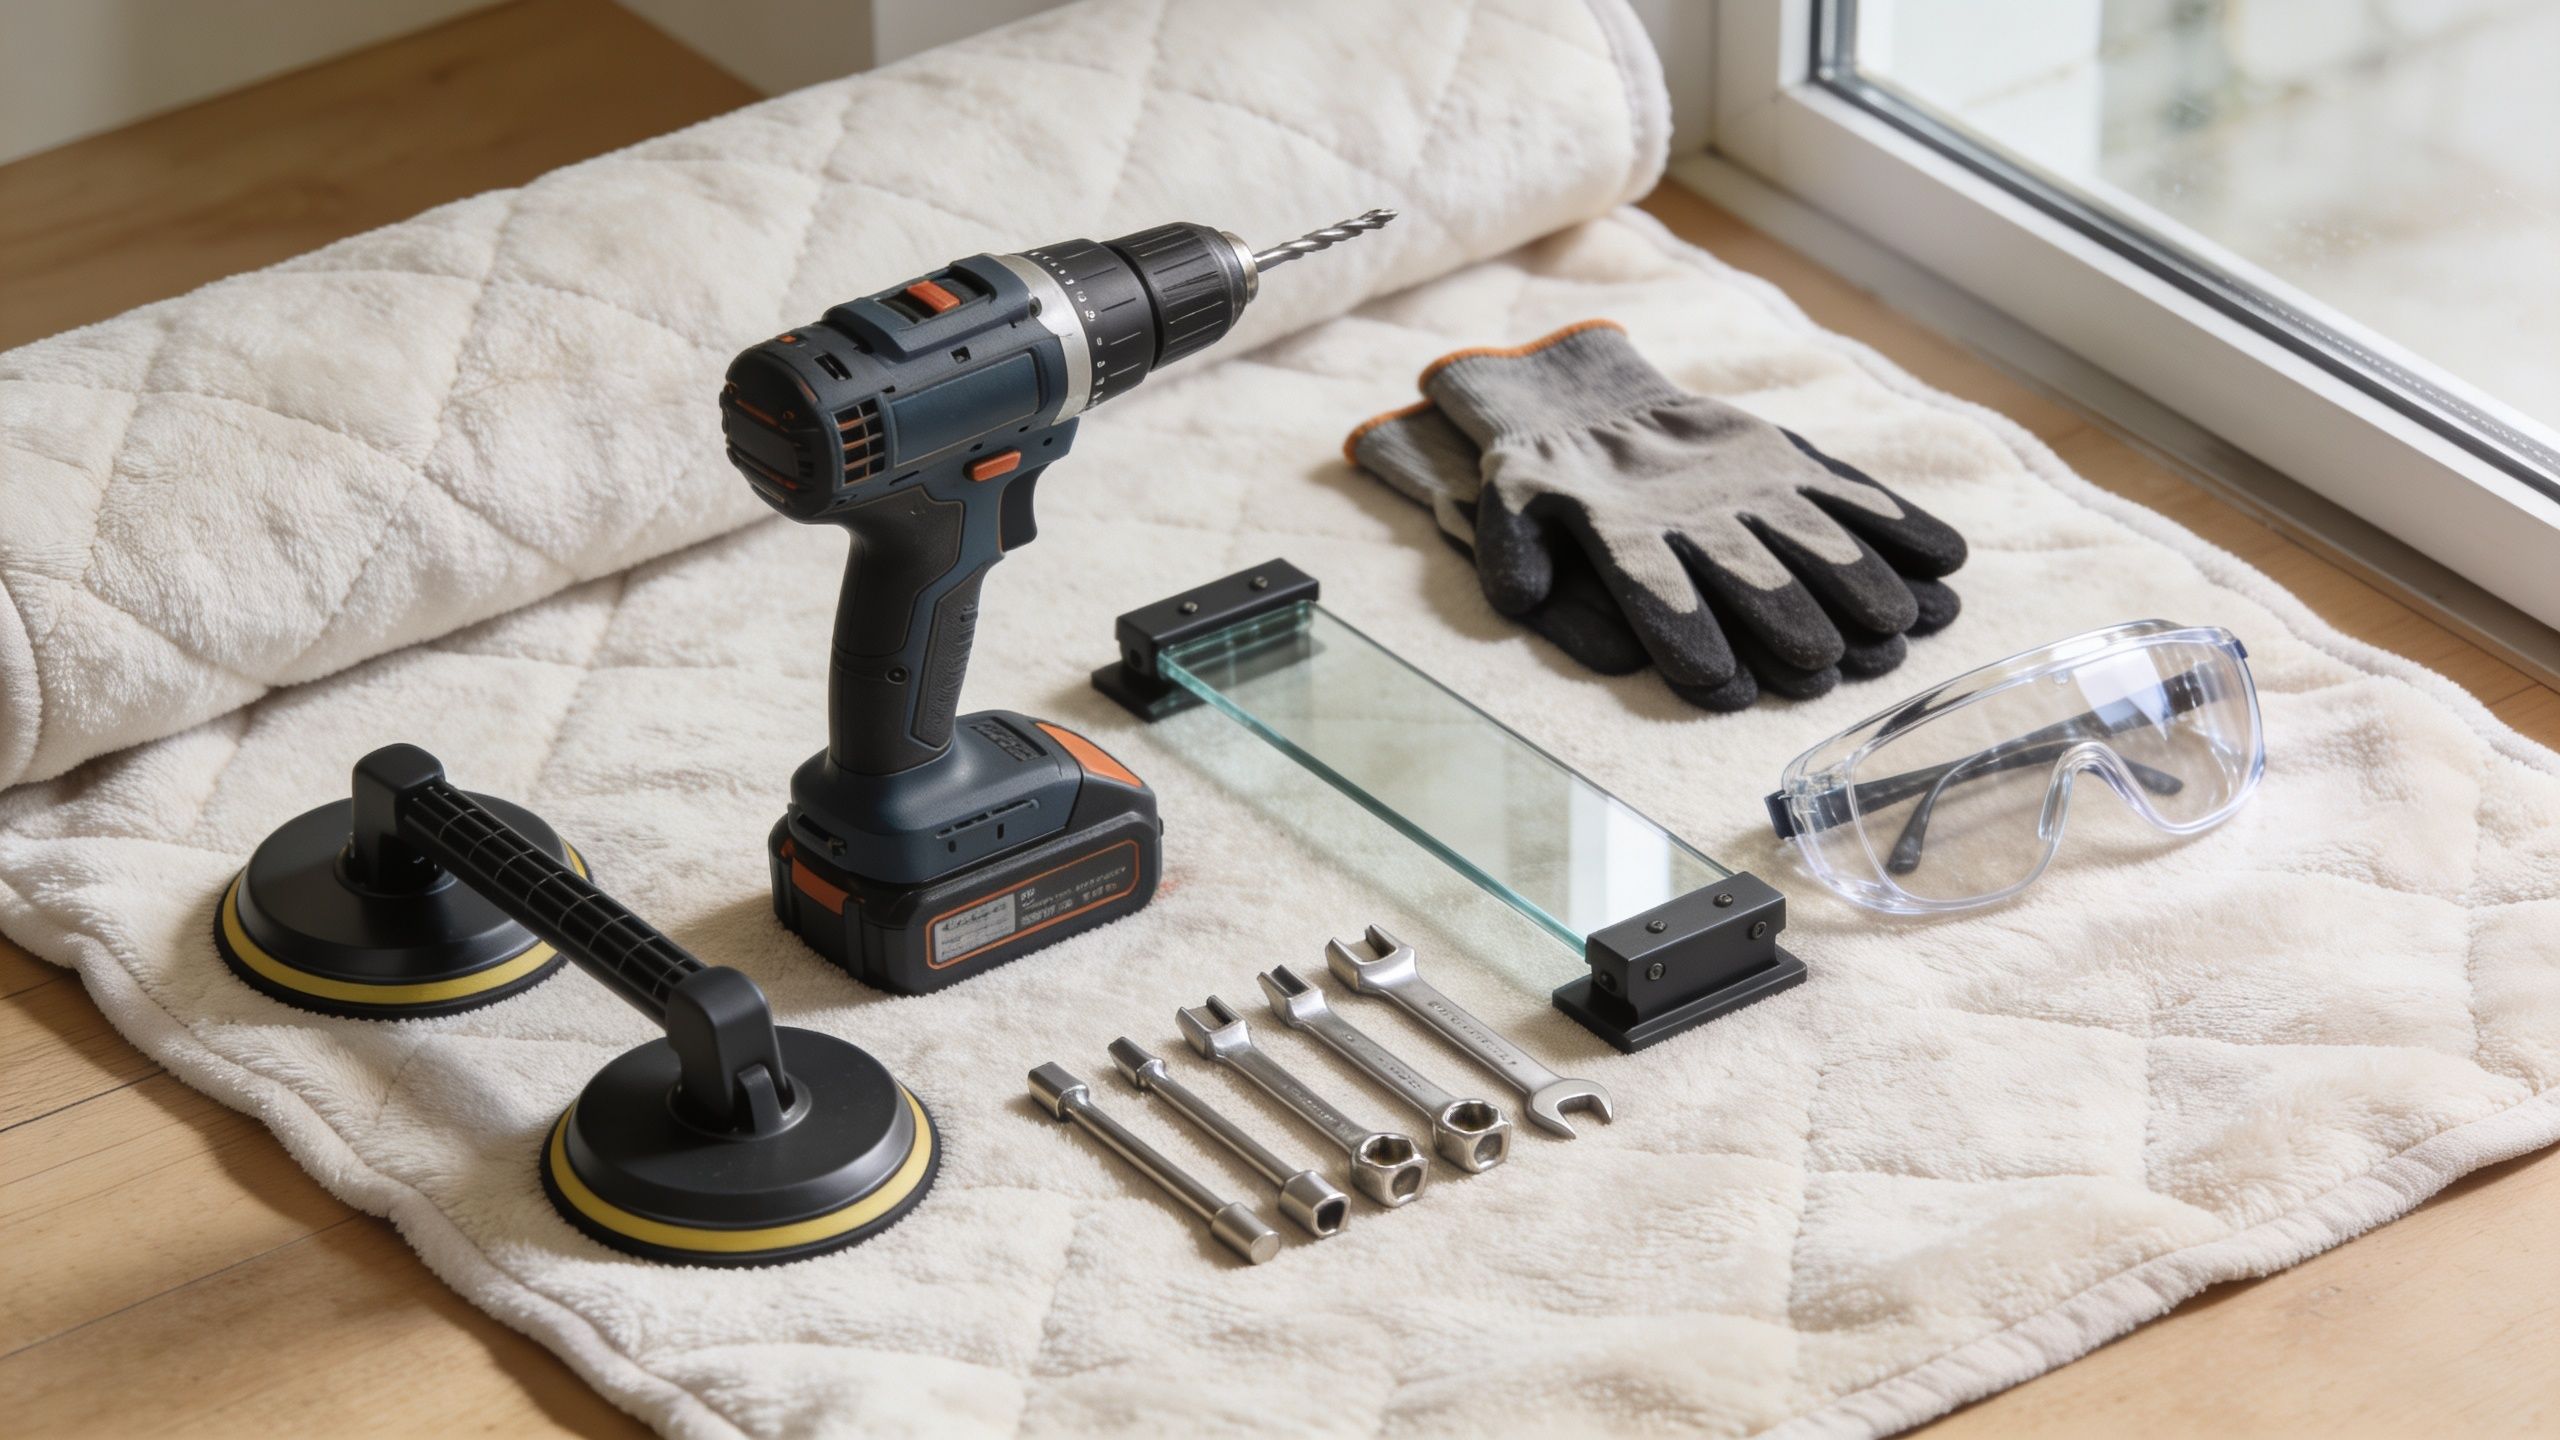
A basic screwdriver and a hope-for-the-best attitude won't cut it. Set up with tools that let you control the glass and protect the room.
- Sharp cutting tool: A 5-inch utility knife with fresh blades works for slicing silicone cleanly along glass and tile lines.
- Correct driver bits: Frameless hardware often uses Allen set screws or Phillips screws. If the bit doesn't fit tightly, stop.
- Suction cup lifters: These give you a secure handhold on smooth glass and let two people move the panel without grabbing edges.
- Plastic putty knife or plastic wedges: These help separate silicone-bonded parts without chewing up tile or metal finishes.
- Painter's plastic, drop cloths, and towels: Protect the floor, vanity, curb, and nearby fixtures before the first cut.
- Gloves and eye protection: Tempered glass is safe glass, but if it fails, it fails fast.
Practical rule: Your second person isn't a helper. They're part of the lifting system.
Prep the bathroom like a work zone
Cover the drain first. Small screws, anti-rattle clips, and set screws love to disappear into it. After that, protect the shower floor and the bathroom path from the shower to wherever the panel will be staged.
Clear everything you might bump into. Trash can, bath mat, scale, hamper, stool. Remove them now, not while you're carrying a heavy sheet of glass sideways through a wet room.
Use padding where the glass might touch down by accident. I like moving blankets, folded cardboard, or a protected wall area nearby. Frameless panels don't tolerate edge impacts well. The panel may look solid, but one sharp tap on a corner can end the project immediately.
Check the condition before you start
Inspect the glass edges, hinge plates, and wall-mounted hardware. If you see movement in the wall, corrosion around screws, or cracking in tile around anchor points, slow down. Those are signs that the removal won't be routine.
If your enclosure has heavy mineral buildup or old sealant, clean enough around the hardware to see what you're doing. Good visibility matters more than speed. If you're planning a replacement later, it also helps to review shower door maintenance guidance so you can spot the wear that probably caused the issue in the first place.
Identify Your Frameless Shower Door System
Most mistakes happen before a tool touches the door. People assume all frameless doors come off the same way, then they start unscrewing random hardware. That's how panels shift unexpectedly.
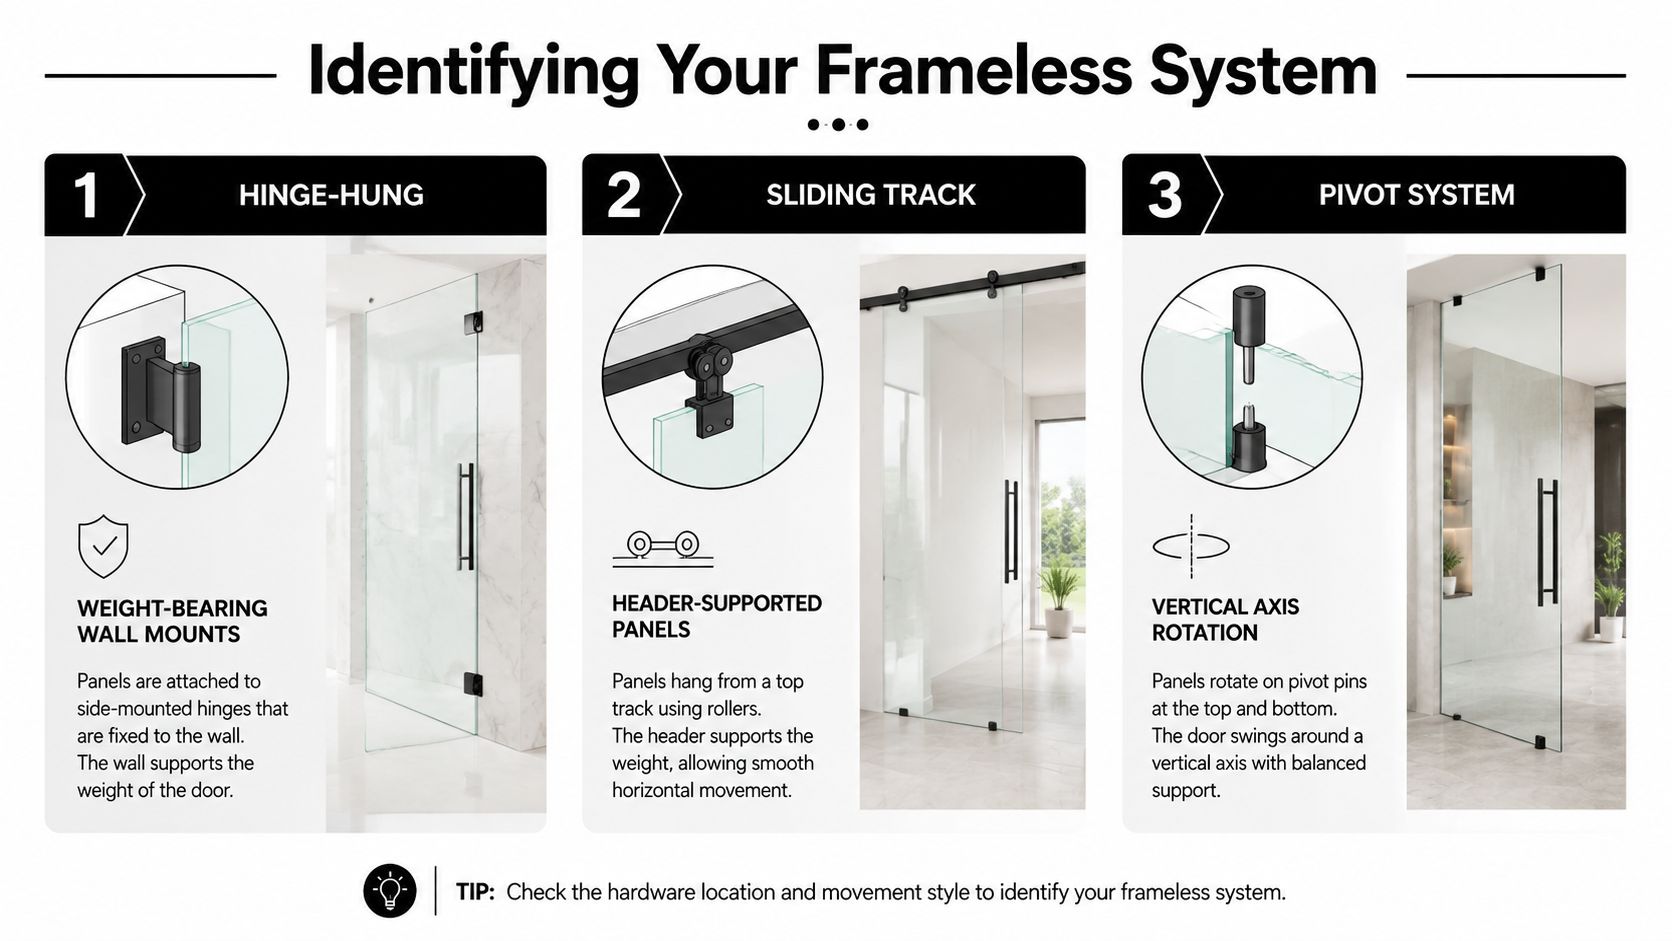
There are two systems homeowners most often run into: pivot or hinged doors and frameless sliding or bypass doors. They look similar from across the room. Mechanically, they're very different.
How to spot a pivot or hinged system
A hinged frameless door swings open like a standard door. The weight is carried by wall-mounted hinges, glass-to-glass hinges, or clamp-style fittings. You'll usually see visible hinge plates along one vertical edge and very little structural metal elsewhere.
Sometimes a fixed panel sits beside the door. That can complicate removal because the door may need to come off first, while the fixed panel stays supported in a U-channel or clamp set.
With this setup, the question is always the same: is the glass released from the hinge, or does the entire hinge come off the wall with the glass? The answer depends on the hardware model, and that's why identifying the exact mechanism matters.
How to spot a frameless slider
A frameless slider hangs from top rollers or glides. It may have a minimal bottom guide, but the panel weight is carried from above. If you see an overhead bar or header and doors that pass each other, you're looking at a sliding system.
That system has its own removal sequence. For frameless sliding doors, the technical protocol includes removing anti-jump stops first, then lifting the outer panel 4 to 6 inches straight up at an angle less than 10° to disengage the rollers. When followed correctly, that sequence has a 95% success rate according to Basco's sliding shower door removal guidance.
If a slider won't lift cleanly, don't twist it to “find” the track. Twisting is what binds the hardware.
A fast comparison before you start
| System type | What carries the weight | First thing to inspect | Main removal risk |
|---|---|---|---|
| Pivot or hinged | Hinges, clamps, wall mounts | Set screws and hinge design | Door dropping when final hardware loosens |
| Sliding or bypass | Top rollers and header | Anti-jump stops and top access | Roller bind from lifting at the wrong angle |
If you want a visual reference for modern frameless layouts, galleries of high-end shower screen installations can help you compare hardware styles and identify what kind of enclosure you have before you begin.
For replacement planning, it also helps to browse current frameless shower door product styles so you can tell whether your enclosure is a simple hinge job or part of a larger custom assembly.
The Methodical Process for Detaching the Glass
The job shifts here from a bathroom task to a glass-handling task. The right sequence keeps the panel supported from the first cut to the final carry. The wrong sequence leaves a heavy sheet of tempered glass hanging on one fastener.
A professional 7-step removal process for pivot doors has a 98% success rate and includes cutting the silicone bead with a utility blade at a 45° angle, supporting the glass with suction cups, and lifting the panel vertically to disengage it from the top channel before tilting it out, according to this pivot-door removal guide.
Phase one, cut the bond before touching the hardware
Silicone is often the hidden fastener. The door may look loose, but that bead is still holding tension between glass, tile, curb, and metal.
Run a fresh blade along every visible silicone line where the panel meets the wall, curb, or channel. Stay deliberate. Short strokes give you more control than long sweeping cuts.
If residue becomes a mess later, some of the best practical cleanup methods come from adjacent trades. These Arizona window experts' caulk removal tips are useful for stubborn silicone cleanup after the panel is already free.
Phase two, release the hardware in a controlled order
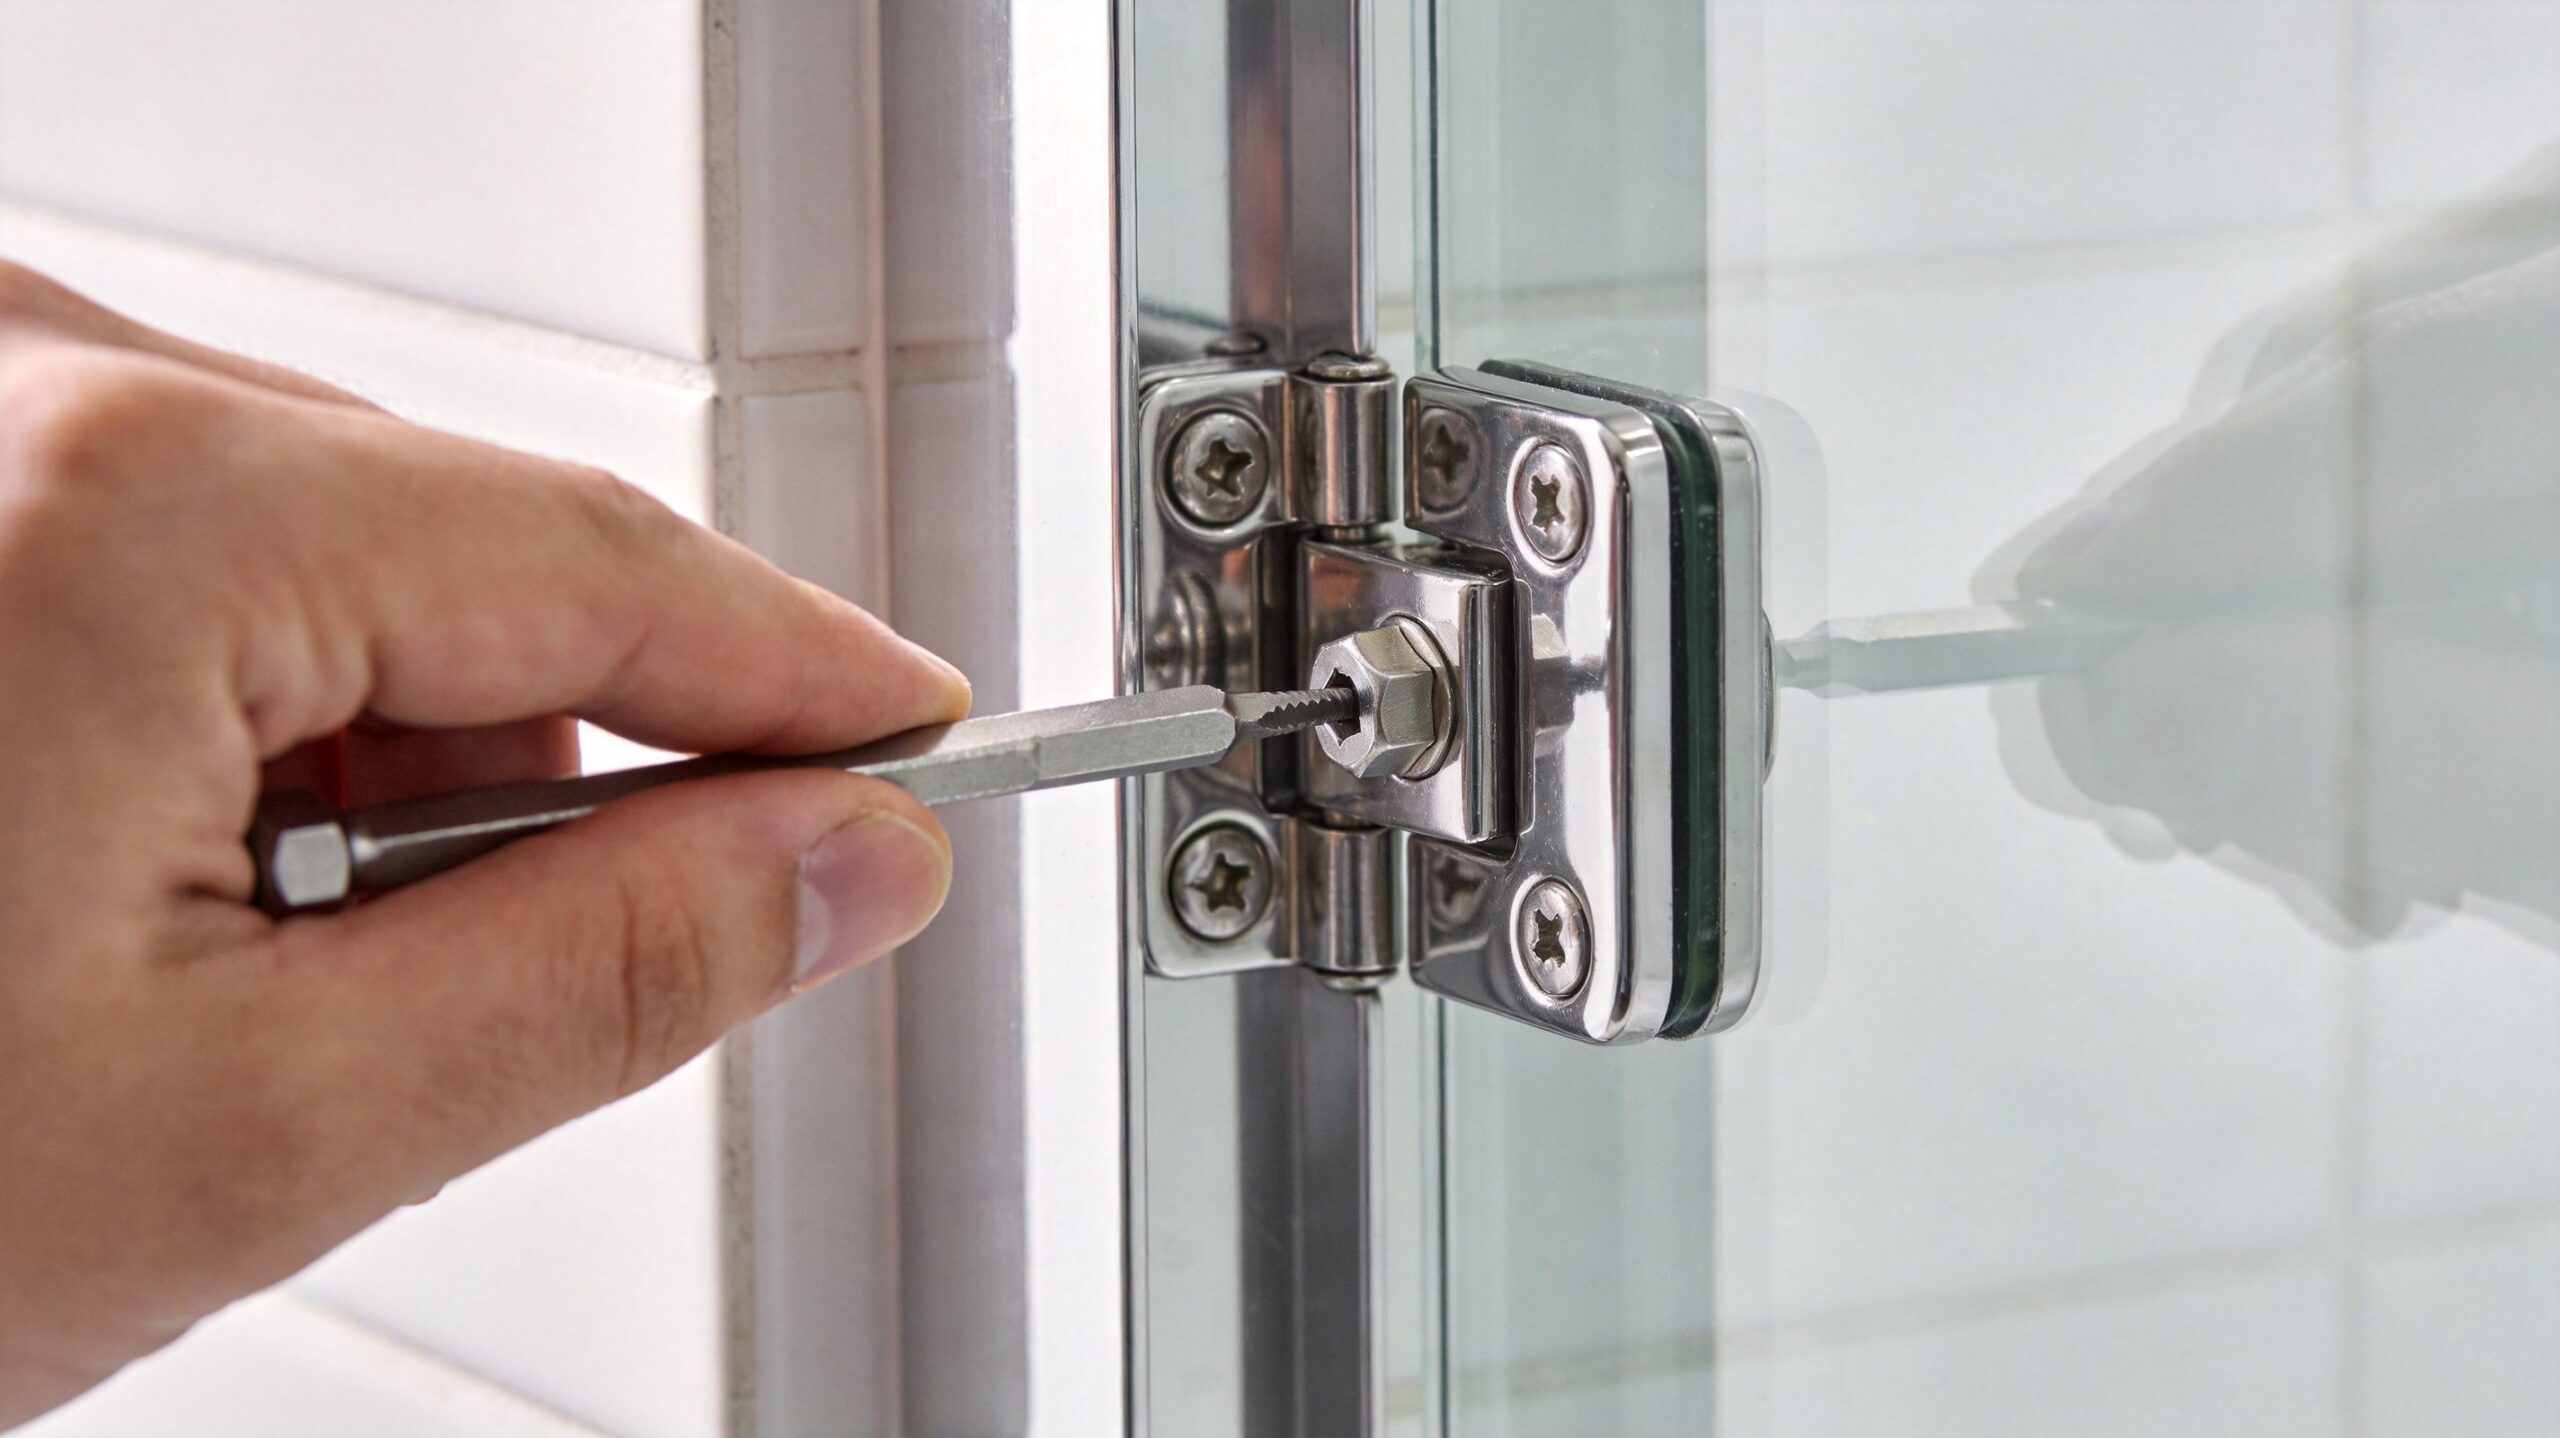
Once the silicone is cut, attach suction cups and have your second person take the glass load before you loosen the final fasteners. This is the point where people get overconfident because the door still looks stable.
For a typical hinged door, work in a sequence that keeps the panel from shifting suddenly:
- Open the door slightly: This often gives you better access to hinge screws and a better lifting path.
- Confirm support first: One person stabilizes with suction cups. The other works the hardware.
- Loosen set screws gradually: Don't fully remove everything at once.
- Work top to bottom when required by the hardware: That keeps the panel from hanging awkwardly on a lower point.
- Watch for movement: If the glass settles even slightly, stop and reset your grip.
The last screw should never be a surprise. By the time it comes out, the glass should already be fully under your control.
For some systems, the cleanest move is removing the hinge from the wall while the glass remains attached to the hinge body. For others, the glass is released from the hinge itself. If you can't tell which style you have, stop there. Guessing is how corners get chipped and tile gets cracked.
A close look at common single frameless shower door configurations can help you compare layouts and understand how different hinge placements affect removal.
Phase three, lift off and clear the opening
When the hardware is free, don't drag the panel across the curb or threshold. Lift it cleanly. For pivot-style assemblies, the proven move is vertical lift first, then a controlled outward tilt.
Lead with communication. Count the move out loud. One person controls the top, the other the lower edge. Set the panel into your prepared staging area immediately. Don't stand there holding it while you decide where it's going.
This walkthrough gives a useful visual reference for the kind of hand positioning and pacing that matters during removal.
Properly Handling and Disposing of the Glass Panel
A lot of DIY jobs go sideways after the “hard part” is supposedly over. The panel is off, everyone relaxes, and then someone sets it down flat on tile or leans it on an unprotected corner. That's a preventable mistake.
Carry frameless glass on its edge, not flat. Edge-carrying keeps the panel in the orientation it handles best and reduces the stress that comes from unsupported flat handling. It also gives both people a more predictable grip and line of sight.
Where to set it down safely
Pick the staging spot before removal. The best temporary storage is a dry area with padding under the full edge, plus a stable surface behind the panel if it's being leaned upright.
Use materials that cushion without creating wobble:
- Moving blankets: Good for protecting edges and finished floors.
- Cardboard sheets: Useful under the glass when you need a quick buffer.
- Wall protection: A padded wall lets you lean the panel upright without point-loading the corner.
- No bare concrete or tile: Hard surfaces punish tiny mistakes.
Tempered glass is strong in service and unforgiving during transport. Most damage happens at the edge.
Don't assume disposal will be simple
Once the glass is out, decide whether it's being reused, stored, or discarded. Reuse requires organized hardware, labeled parts, and a panel that came out clean without edge damage. If the project is a remodel, the panel may still be worth keeping until the new opening is confirmed.
If you're discarding it, contact your local waste or recycling provider first. Large tempered panels aren't handled the same way as a broken household mirror. Some facilities won't accept them without special handling or prep.
If the bathroom remodel includes upgrades elsewhere, it's worth looking at options for custom mirrors and specialty glass features so the removal and replacement phases are planned together instead of pieced together room by room.
Troubleshooting Common Removal Problems
No frameless door removal goes perfectly every time. Old sealant hardens. Stainless fasteners gall. Mineral deposits lock parts together. The mistake is assuming resistance means you should apply more force.
That's the wrong instinct. Improper frameless shower door removal accounts for 15% of job-related injuries in the glass installation industry, largely from 50 to 150 lb door drops. Those injuries usually happen when someone tries to solve a stuck panel or stripped screw with brute force instead of protocol, based on the verified industry data provided above.
When the silicone won't let go
Old silicone can feel like adhesive instead of sealant. If your blade is cutting but the panel still won't release, assume there's still bonded material somewhere you haven't reached.
Try these fixes:
- Re-score every seam: Especially at the bottom edge and inside corners.
- Use plastic wedges carefully: Gentle separation shows you where silicone is still holding.
- Apply controlled heat if appropriate: Warm sealant cuts easier, but don't overheat finished surfaces.
- Stop if tile starts to move: A loose tile is a different repair entirely.
When screws strip or hardware seizes
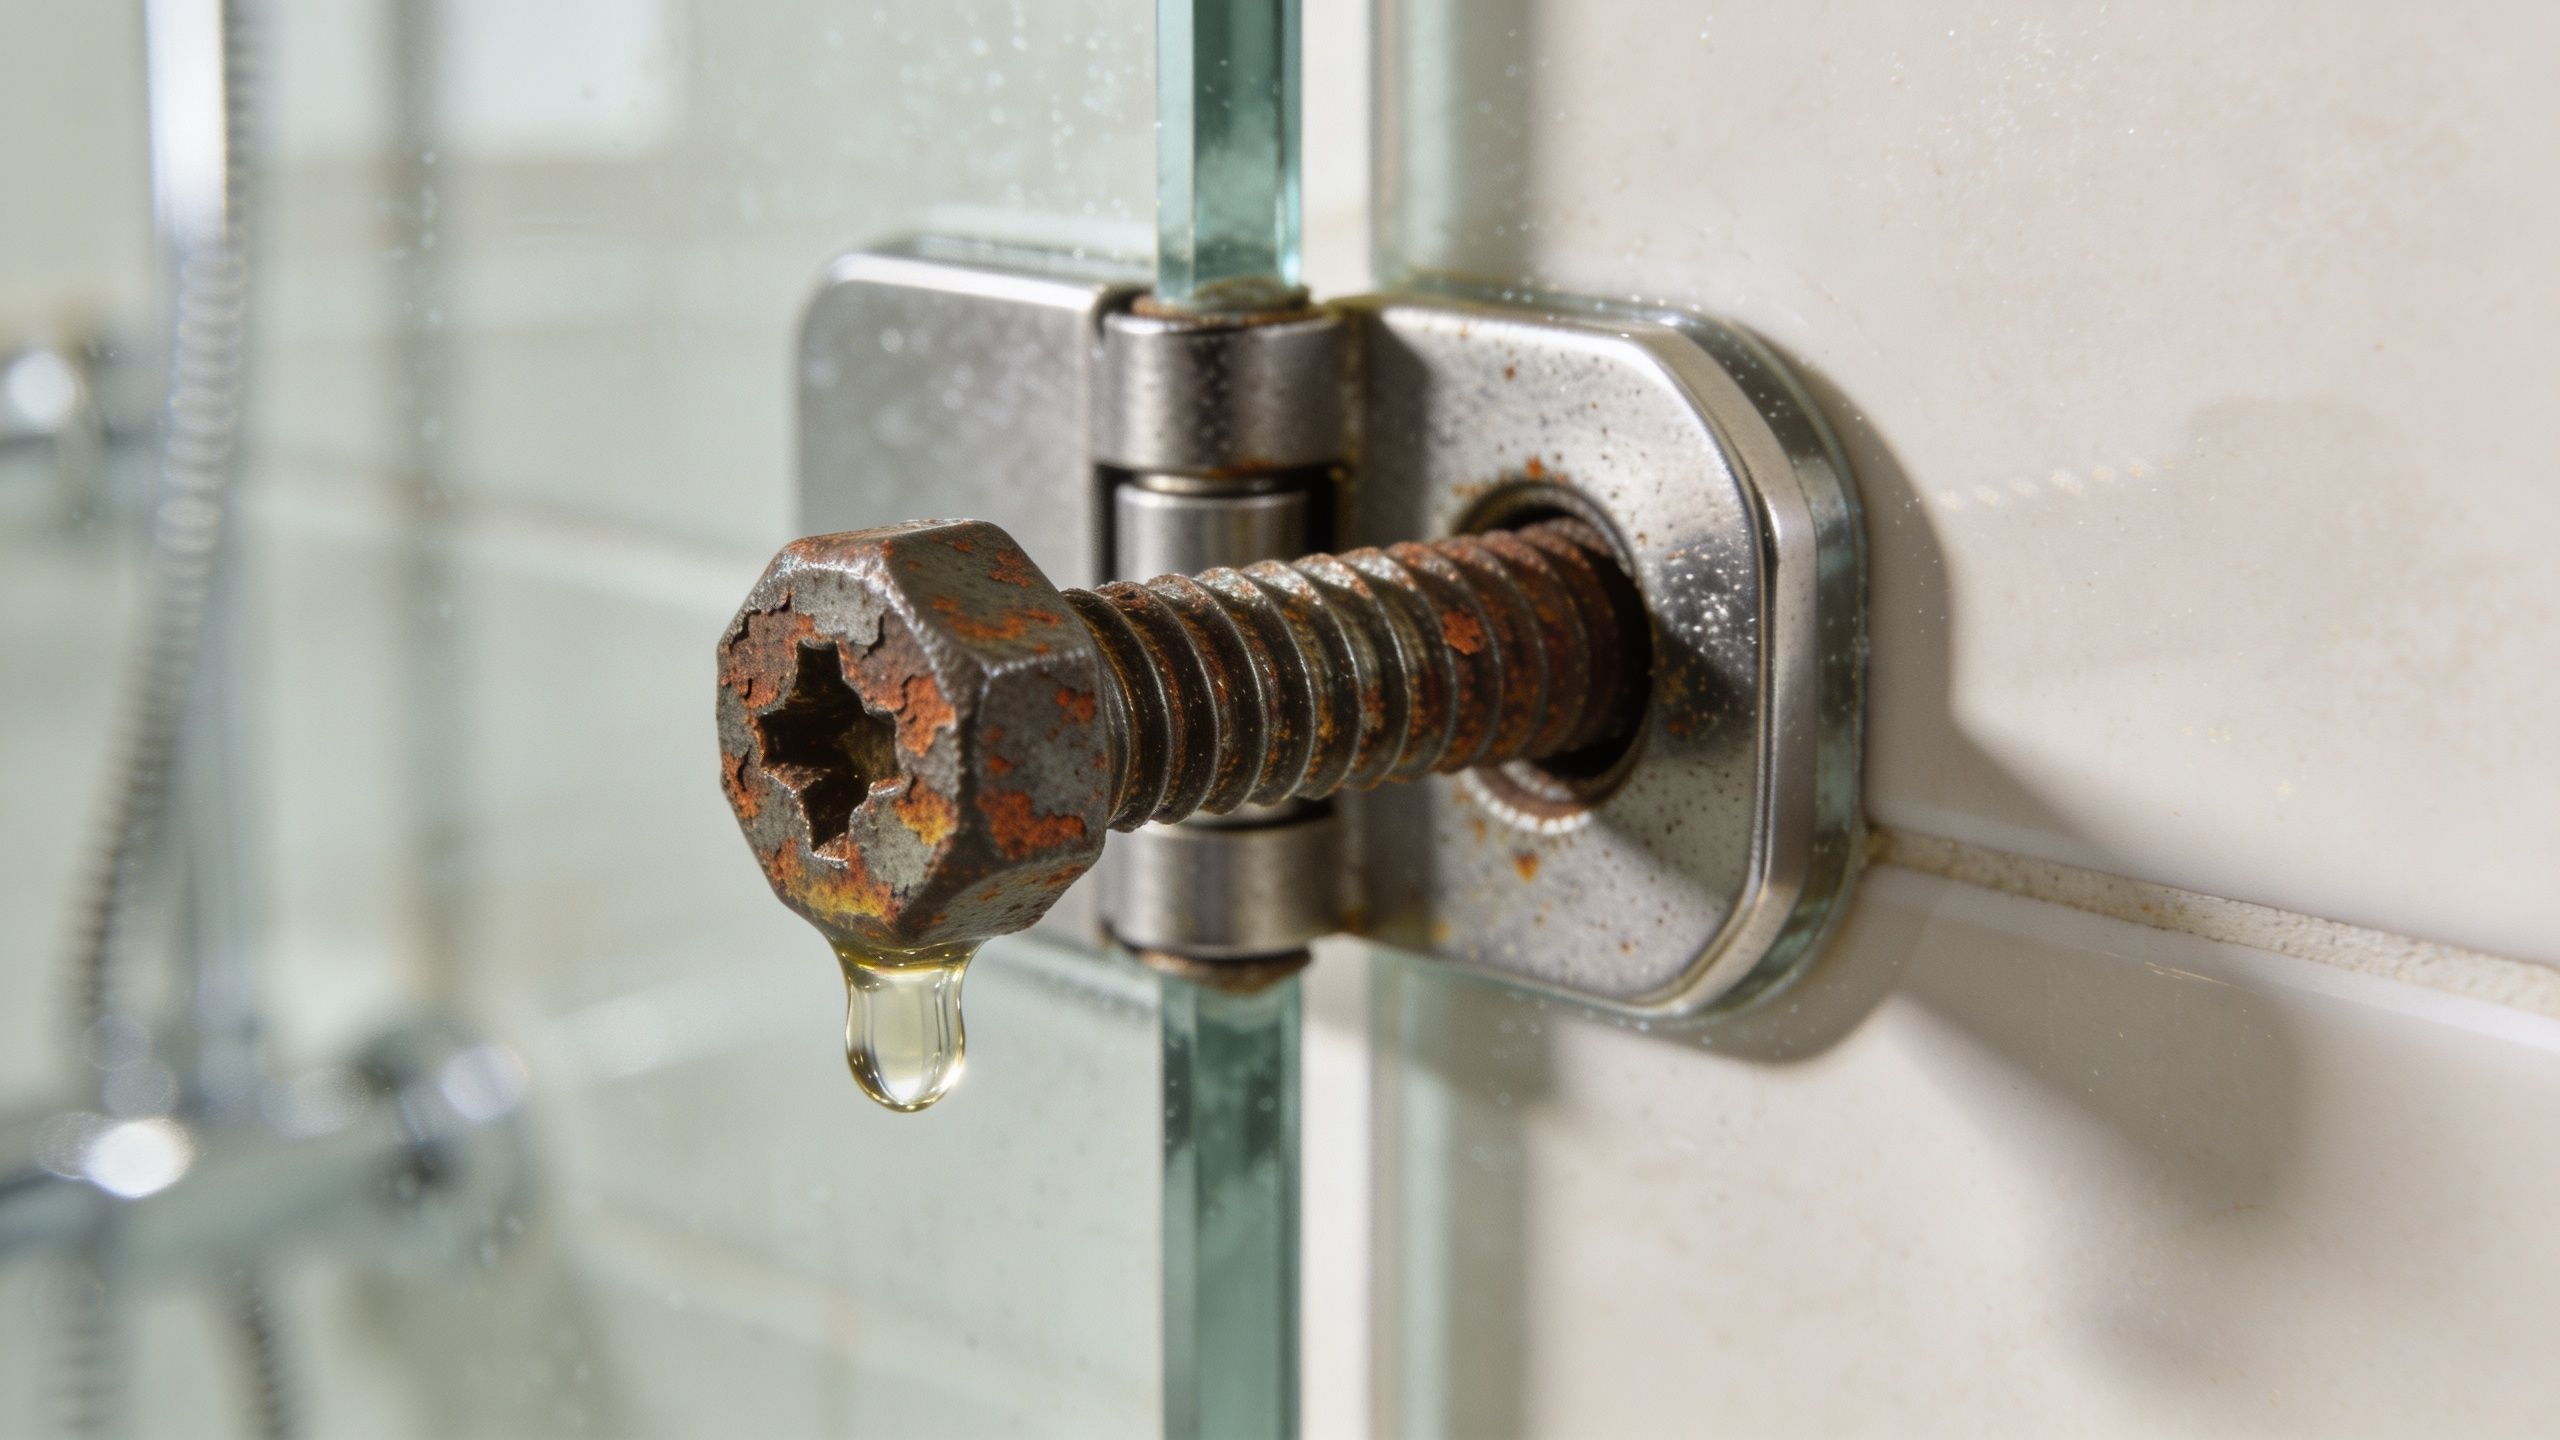
A stripped set screw changes the job fast. Don't keep spinning it and rounding it further. Move to extraction tactics or stop before you make a simple service call into a tile-and-hardware replacement project.
A seized hinge area can also be a symptom, not the actual problem. If there's staining below the enclosure or recurring dampness nearby, it's smart to rule out water migration behind the installation. If that's on your radar, these professional shower pan leak diagnostics can help you separate a removal problem from a larger waterproofing problem.
A stuck screw is manageable. A moving wall anchor is the signal to stop.
When the panel still feels fused in place
Sometimes the hardware is loose, the silicone is cut, and the glass still won't move. That usually means one of three things: hidden sealant remains, the panel is trapped in a channel, or mineral buildup has locked the fit tight.
At that point, the safe move is patience. Use opposing hand pressure with suction cups, gentle wedge pressure, and tiny movements. If the panel won't release cleanly, don't force a dramatic lift. Frameless glass punishes sudden decisions.
When to Call a Professional in Southwest Florida
A capable homeowner can handle a straightforward removal. Not every job is straightforward. The trick is knowing the difference before the room gets expensive.
In Southwest Florida, the biggest risk isn't only the glass. It's the combination of heavy frameless hardware, custom tile, moisture exposure, and post-removal repairs that need to be done cleanly. A major issue missed by DIY guides is wall repair after removal, especially in humid climates like Florida, where average relative humidity is 75%. Anchor holes need to be filled properly to prevent moisture intrusion and mold, as noted in this shower door removal discussion that highlights post-removal repair concerns.
Jobs that cross the DIY line
Some removals are poor candidates for trial and error.
- Large or unusually heavy glass: Extra-thick doors and oversized fixed panels are harder to support and harder to stage once free.
- Multi-panel enclosures: Steam units, return panels, and glass-to-glass connections create dependencies that aren't obvious until parts start moving.
- Marble or high-end tile surrounds: One slipped tool or shifting anchor can do cosmetic damage that's much harder to fix than the glass work itself.
- Corroded or spinning wall anchors: If the wall hardware moves inside the substrate, the repair is no longer just about door removal.
- Tight spaces and HOA settings: Condos and managed properties often require cleaner handling, better protection, and organized debris control.
Why wall repair matters more here
After the door is off, the wall still has penetrations from hinges, clamps, or channels. In a dry climate, a rough patch might hold for a while. In a humid bathroom, that shortcut can invite moisture where you don't want it.
That's why professional removal isn't just about taking glass down. It's about what happens next. Fastener holes need to be cleaned, filled correctly, color-matched when visible, and sealed in a way that won't telegraph through expensive tile work or let moisture creep behind the finish.
If you're already leaning toward replacement, it's usually smarter to have the removal handled by a team that also understands fit, hardware spacing, and finish protection for the next installation. Homeowners comparing options in Southwest Florida can review what that process looks like with frameless shower door installation services in Fort Myers.
If you're hesitating because the door feels too heavy, the hardware doesn't make sense, or the wall finish is too valuable to risk, that hesitation is good judgment.
A clean professional removal protects more than the glass. It protects the tile, curb, waterproofing, and the schedule for everything that follows.
If you'd rather avoid the risk of dropped glass, damaged tile, or moisture problems after removal, AmeriGlass Industries can help. Their licensed and insured team serves Southwest Florida with frameless shower door expertise, careful on-site handling, and precise follow-through for homeowners who want the job done cleanly the first time.
Rather leave heavy glass to the pros? AmeriGlass Industries safely removes and replaces glass doors across Naples, Fort Myers, Bonita Springs and Cape Coral. See our shower door repair and frameless shower door installation services, or call (239) 426-6884.