
Before you swing a single hammer, the most crucial part of any bathroom remodel happens on paper—or a screen. A successful project hinges on a rock-solid plan that covers your goals, budget, design, and timeline. Without it, you're just guessing, and that’s a quick way to end up with costly surprises and a finished space that doesn't quite hit the mark.
Your Dream Bathroom Begins with a Real Plan
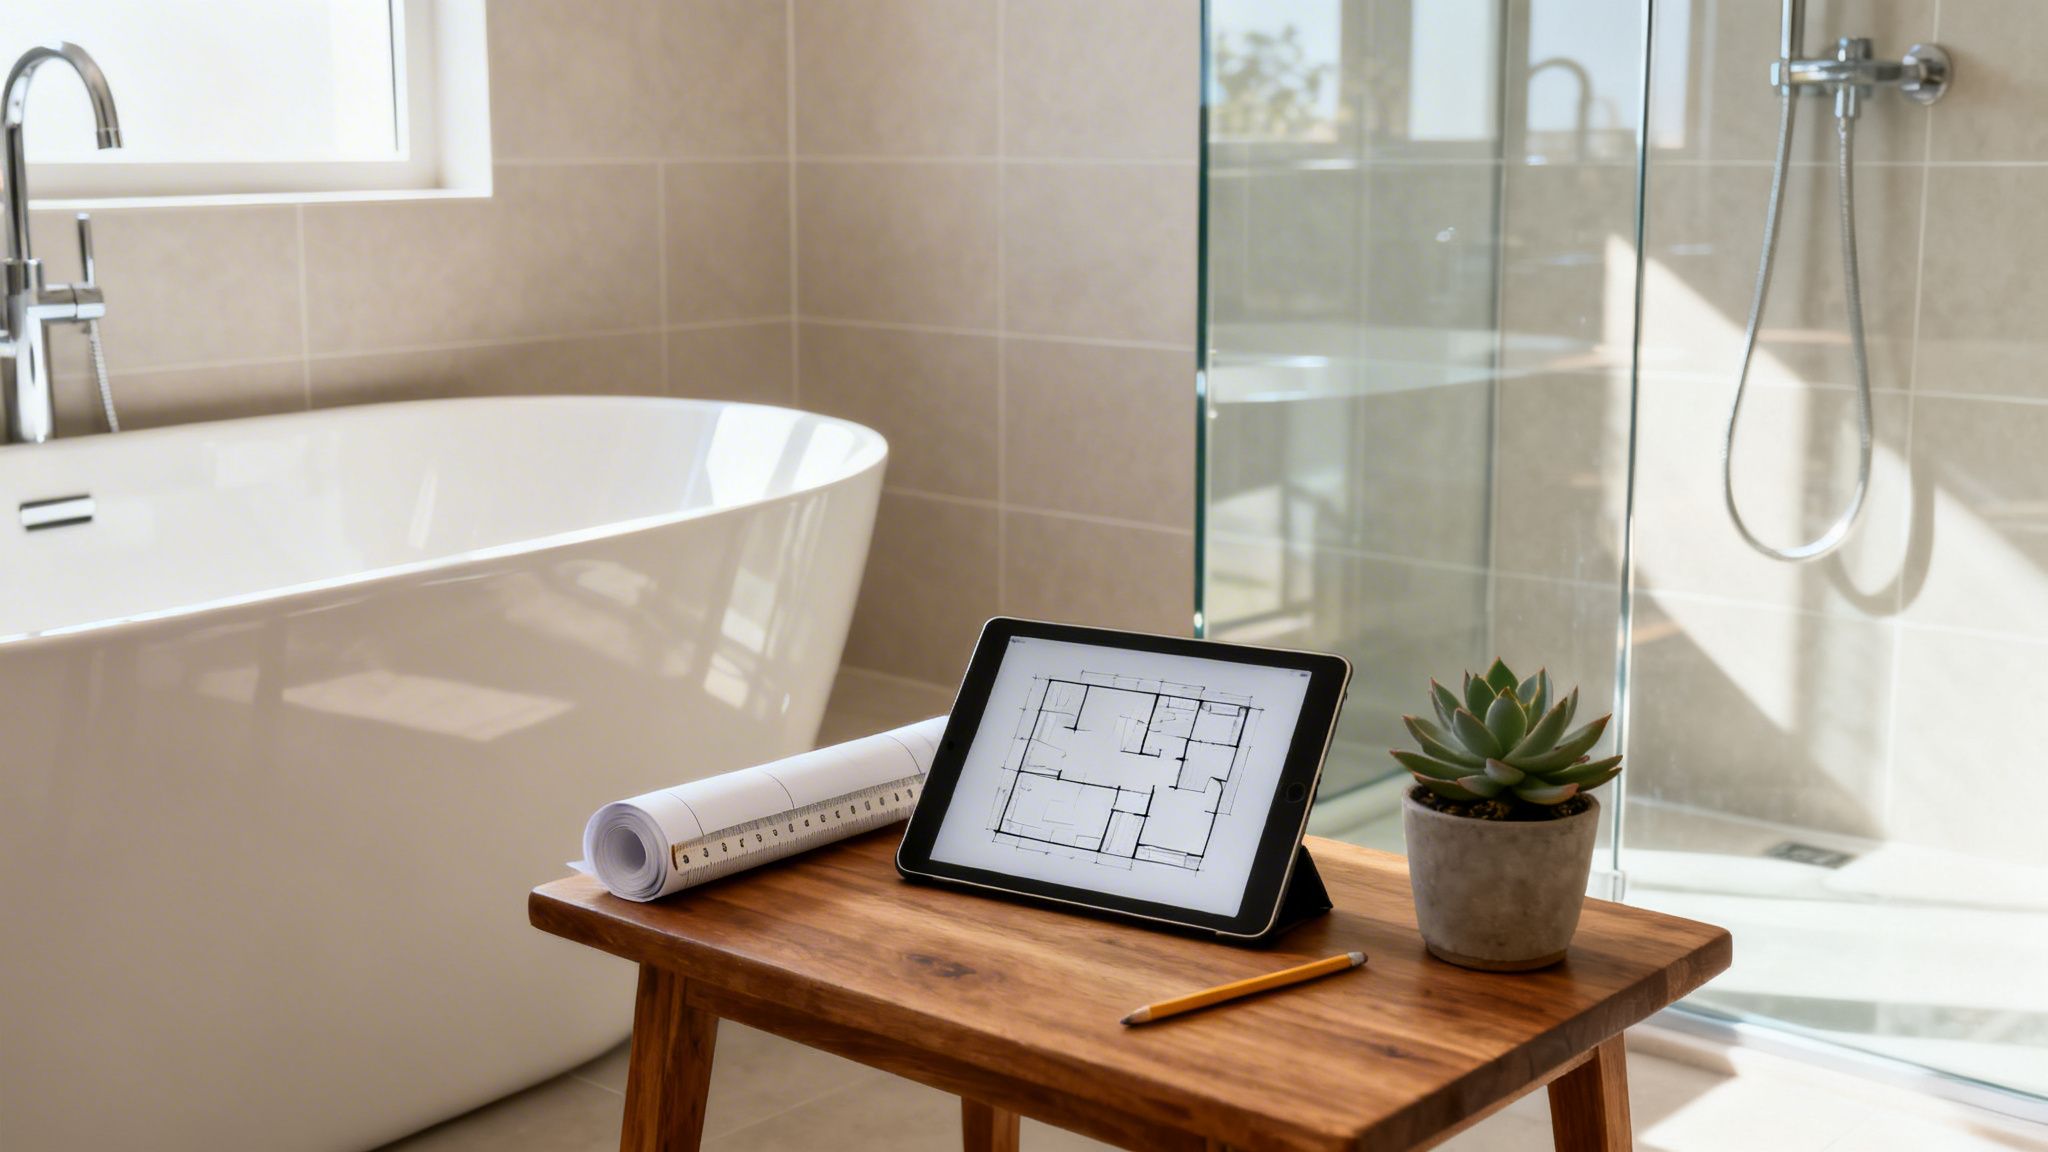
We've all been there—staring at an outdated, frustrating bathroom and dreaming of something better. But moving from that dream to reality requires more than just inspiration; it demands a clear, deliberate strategy. The most successful renovations I've seen are the ones that were meticulously planned before any demolition began.
Think of this planning phase as your project's blueprint. It’s what turns a vague wish from a Pinterest board into an organized, actionable process. A good plan will be your North Star, guiding every decision from major layout changes down to the finish on the cabinet pulls. It's the key to preventing budget blowouts, minimizing headaches, and ensuring the final result is a space you truly love.
For us here in Southwest Florida, this planning is even more critical. We have to think about materials that can stand up to our unique coastal climate and high humidity, which adds another layer to the decision-making process.
Define Your Remodel's True Purpose
So, where do you start? Before you get lost in tile samples and faucet designs, take a step back and ask the most important question: Why are you remodeling? Seriously. Your answer is the foundation for the entire project.
What's driving this change?
- Creating a Spa-Like Retreat: Are you dreaming of a personal escape? This means focusing on luxury features like a deep soaking tub, a rain showerhead inside a stunning frameless glass shower, and a serene color palette.
- Improving Family Functionality: Maybe the goal is pure practicality. For a busy shared bathroom, that could mean double vanities to end the morning chaos, clever storage solutions, and ultra-durable, easy-to-clean surfaces.
- Boosting Home Value: Perhaps you're making strategic updates with an eye on resale. This approach prioritizes modern fixtures, timeless design choices, and layout improvements that give you the best return on your investment.
- Addressing Accessibility: Is the remodel about adapting for the future? This requires integrating safety and comfort with features like a curb-less walk-in shower, strategically placed grab bars, and non-slip flooring.
Your "why" is your filter. By nailing down your primary goal, you create a simple test for every choice you make. When you're stuck between two vanities, you can just ask, "Which one gets me closer to my spa-like retreat?" This clarity is the best tool you have for staying on track and on budget.
Getting a feel for how a glass company can make your home feel luxurious is a great way to start gathering ideas, especially if a high-end feel is your goal. A clear purpose ensures your money and effort go exactly where they should, creating a bathroom that genuinely improves your day-to-day life.
Nailing Down Your Remodel Scope and Budget
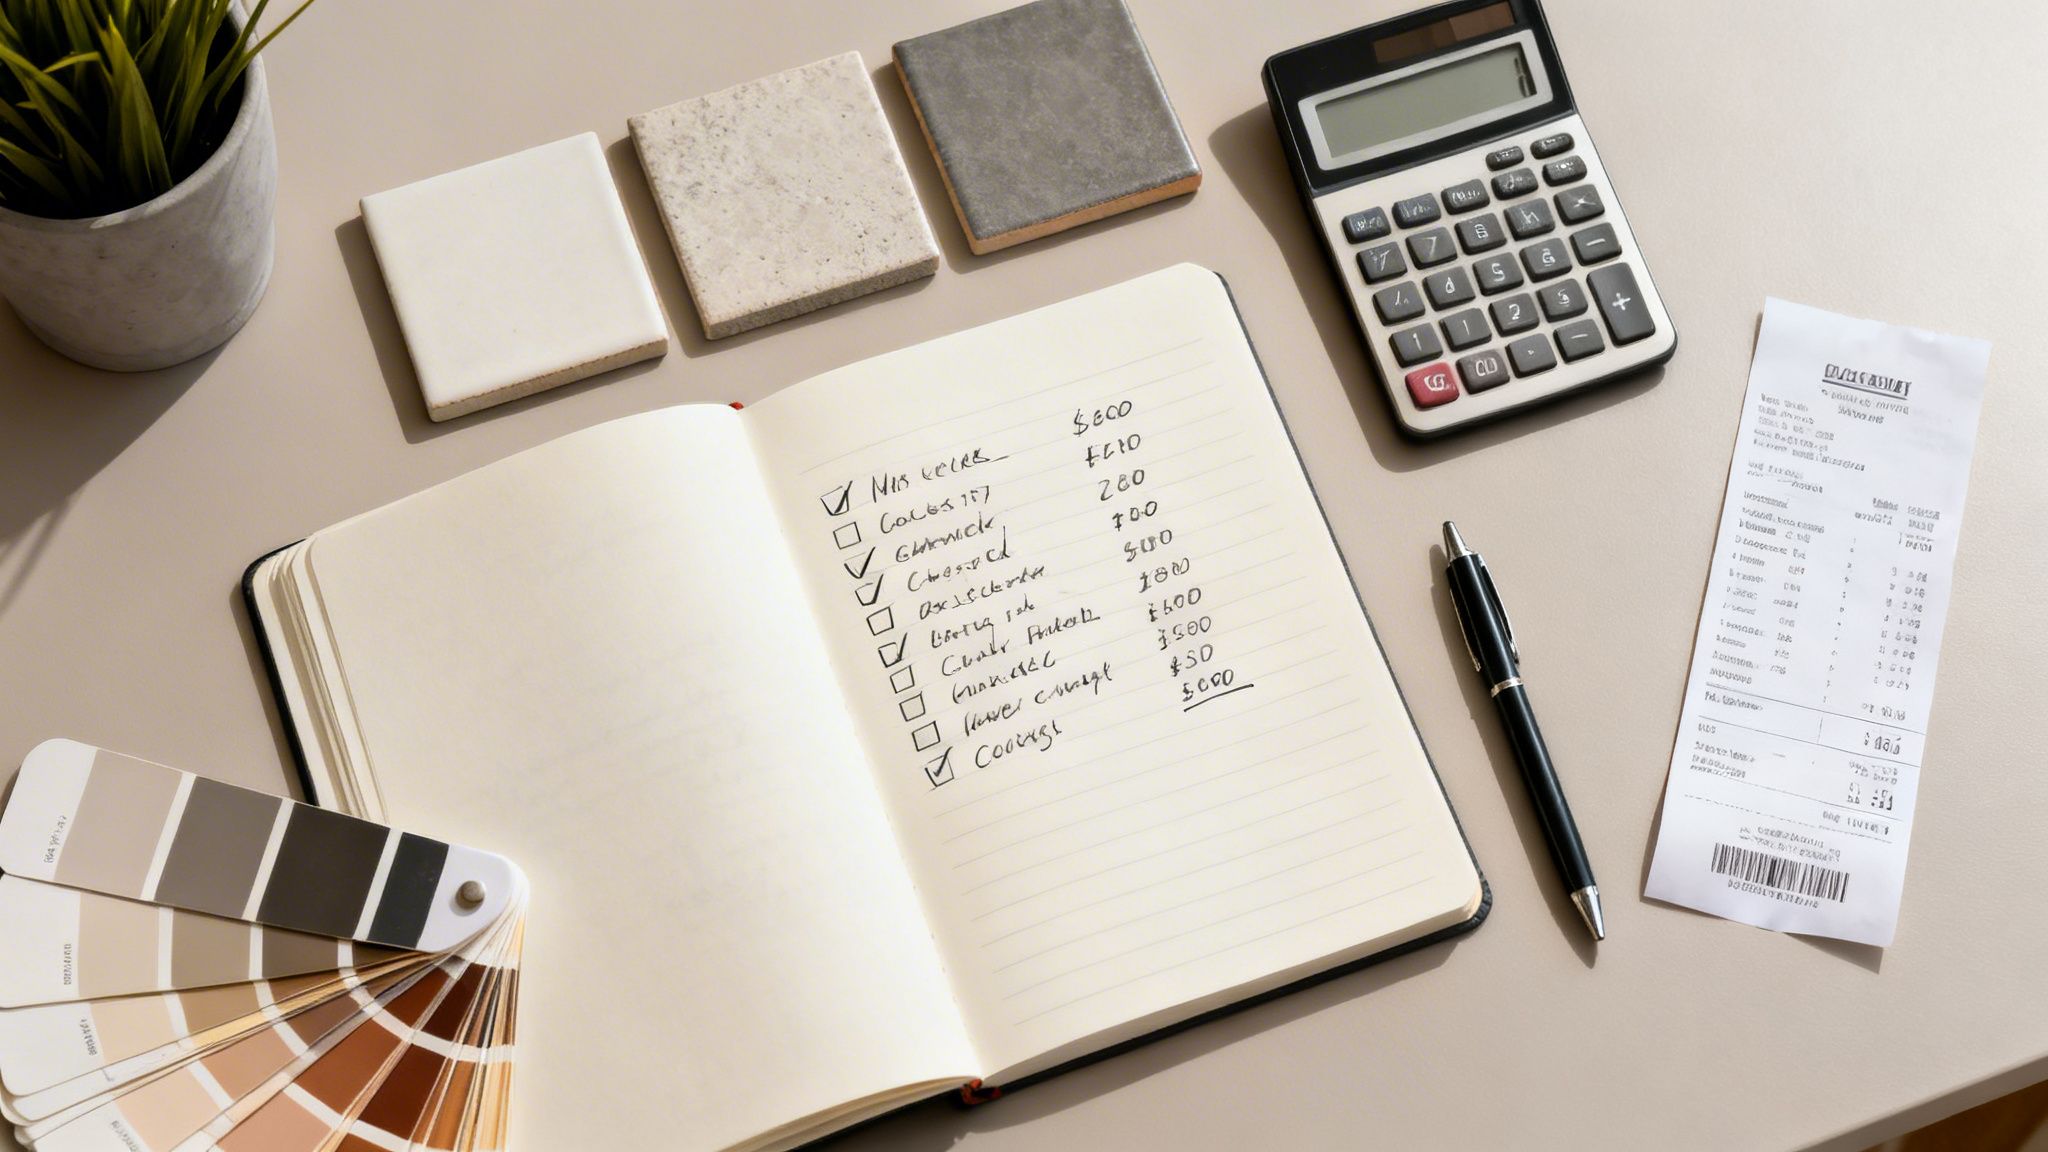
Alright, this is where the dream meets the details. Figuring out what you actually want to do (your scope) and what you can realistically spend (your budget) are hands down the most critical parts of this whole process.
Get this right, and you're on your way to a smooth project. Get it wrong, and even the most beautiful design can turn into a source of major stress. Think of your scope as the detailed to-do list and the budget as the financial guardrails that keep everything on track.
Defining Your Project Scope
Before you can even think about getting quotes, you have to lock in the scale of your project. This is your best defense against "scope creep"—that sneaky process where one small "while we're at it" addition turns into another, and another, until your budget is blown.
So, what's the plan? Generally, remodels fall into one of three buckets:
- The Cosmetic Refresh: This is your most wallet-friendly route. We're talking surface-level changes: a fresh coat of paint, a new vanity, updated light fixtures, and modern faucets. The key here is that the plumbing and electrical stay exactly where they are.
- The Pull-and-Replace: This is a step up. You're swapping out all the big stuff—the tub, toilet, and vanity—but you're putting the new ones right back in the same spots. It gives you a brand-new feel without the major expense of moving utility lines.
- The Custom Overhaul: Now we're talking. This is the full-gut reno where you might be moving walls, relocating the shower, adding a window, or ditching the tub for a spacious walk-in shower. This is the most transformative—and most expensive—option because it involves heavy-duty plumbing, electrical, and maybe even structural work.
Once you know your category, it's time to get granular. I mean really granular. Write down every single thing you want to change, from the type of floor tile to the finish on the drawer pulls. This detailed list is gold when you start talking to contractors.
Building a Realistic Bathroom Remodel Budget
With your scope in hand, you can start putting real numbers on the page. The final cost of a remodel can swing wildly depending on your bathroom's size and the quality of materials you pick.
A simple powder room update might only run a few thousand dollars, while a full-blown master suite renovation can easily soar past $30,000. To give you a starting point, a smaller bathroom remodel (20-40 square feet) typically lands somewhere between $4,500 and $8,500. For a larger master bath, that range jumps to $8,000 to $30,000 and beyond.
Remember, nationally, labor alone can eat up 40-65% of your total budget. Here in Southwest Florida, our local market plays a role, but you can get a high-end feel by being smart about where you spend. For a deeper dive into costs, you can explore average bathroom remodel expenses.
The Contingency Fund: Your Financial Safety Net
If you take one piece of advice, let it be this: Always, and I mean always, set aside a contingency fund of 15-20% of your total budget. This isn't "if" money; it's "when" money. It’s for the surprises that are inevitably hiding behind the drywall—hidden water damage, outdated plumbing, or that last-minute tile upgrade you just have to have. It's the buffer that keeps a small problem from becoming a financial disaster.
To keep things manageable, break your budget down by category. A typical project budget often shakes out like this:
| Expense Category | Typical Budget Allocation |
|---|---|
| Labor | 40% – 65% |
| Fixtures & Finishes | 20% – 35% |
| Cabinetry & Countertops | 10% – 20% |
| Permits & Design Fees | 3% – 8% |
| Contingency Fund | 15% – 20% |
Where to Splurge and Where to Save
A great budget isn't just about cutting costs—it's about spending your money where it counts the most. Focus your bigger spends on the high-impact, high-touch items you interact with every single day.
Areas to Consider Splurging:
- Shower System & Glass Enclosure: Let's be honest, the shower is the star of the show. A quality showerhead paired with a beautiful frameless glass door elevates the entire room and makes your daily routine feel like a spa experience. Investing in something like ultra-clear glass is a pro move; it avoids the green tint of standard glass and makes the whole space feel brighter and more open.
- Vanity & Countertop: This is a workhorse piece. A well-built vanity and a durable, beautiful countertop will stand up to daily use and serve as a major design statement.
- Tile: You don't need to wrap the whole room in designer tile. But using a fantastic tile in a high-impact area, like the shower walls or as a feature behind the vanity, can make the entire space look incredibly luxurious.
Areas Where You Can Often Save:
- Toilet: You can find high-efficiency, great-looking toilets that work just as well as designer models for a fraction of the price. Nobody will know the difference.
- Lighting & Mirrors: Good lighting is a must, but you don't have to break the bank. There are endless affordable and stylish options for sconces, vanity lights, and custom mirrors that give you a high-end look.
- Standard-Sized Fixtures: Sticking to standard-sized tubs and vanities will always be more cost-effective than going the custom-built route.
4. Designing a Layout with High-Impact Features
Alright, this is the fun part—where the daydreaming starts to look like a real plan. We're going to take all those ideas and translate them into a layout that's not just beautiful but works for your real life. A great layout feels intuitive and makes your daily routines feel just a little bit easier.
And forget the myth that you need a massive footprint for a stunning bathroom. I've seen some incredible transformations in tight spaces. The secret is smart planning and focusing on the features that give you the most bang for your buck, both visually and functionally.
Maximizing Space and Functionality
When I start sketching out a new layout, I always think in terms of "wet" and "dry" zones. Your shower and tub make up the wet zone, while the vanity and toilet are the dry zone. Separating these areas just makes sense—it helps contain moisture and creates a natural, easy flow through the room.
Sometimes, the smallest changes have the biggest impact. Swapping a standard inward-swinging door for a pocket door is a classic move that instantly frees up valuable floor space. And while you're planning, remember that the "behind-the-walls" stuff matters just as much as what you see. Knowing the basics of how to plumb a shower drain ensures your beautiful design is practical from the start.
Here are a few tricks of the trade I always recommend:
- Go Vertical. Instead of wide, clunky cabinets, think tall and narrow. Floating shelves or a tower-style linen cabinet draw the eye up, making the room feel taller while giving you great storage.
- Float Your Fixtures. A wall-mounted vanity or toilet is a game-changer. It opens up the floor, which creates an amazing illusion of space and, let's be honest, makes cleaning underneath a thousand times easier.
- Get Smart with Mirrors. Nothing opens up a room like a big mirror. Don't just hang a small one over the sink—consider a custom, wall-to-wall mirror to really double the feel of your space.
Here's a pro tip that gets overlooked all the time: lighting. Don't just stick a single fixture in the ceiling. You need layers—ambient light from recessed cans, task lighting like sconces by the mirror, and a dedicated waterproof light in the shower. Put them all on dimmers, and you have total control over the atmosphere.
The Transformative Power of Custom Glass
If you want to know the single element that screams "modern, high-end bathroom," it's glass. The strategic use of custom glass, especially from a specialist like us here at AmeriGlass Industries, is what separates a nice bathroom from a truly exceptional one. It just opens everything up, bounces light around, and adds a level of sophistication you can't get any other way.
The frameless shower door is the heart of this look. Getting rid of all that clunky metal framing creates a clean, seamless view into your shower. The whole bathroom instantly feels bigger, brighter, and more cohesive. The effect is stunning.
This is also one of the smartest places to invest your money, especially here in Southwest Florida. Shower upgrades are a well-known winner for ROI. A professionally installed frameless enclosure, which is our specialty, typically runs between $800-$1,600. According to national data, homeowners often recoup 60-74% of that cost when they sell. That's a fantastic return that outperforms a lot of other home projects.
Specifying Your Glass and Finishes
Once you've decided on a frameless shower, the details are what make it perfect. The specific glass and hardware you choose will define the final look and ensure it holds up beautifully for years.
- Glass Type: You might not notice it, but standard glass actually has a slight green tint because of its iron content. For that truly spa-like, crystal-clear look, you need to upgrade to ultra-clear (or low-iron) glass. It lets the true color of your tile shine through and makes the whole space feel cleaner and brighter.
- Hardware Finishes: The handles and clips for your glass door should be a conscious choice, not an afterthought. Match them to your faucets and other fixtures for a cohesive design. Whether you love the bold look of matte black, the classic feel of brushed nickel, or the trendy warmth of brushed gold, consistency is what pulls it all together.
- Protective Coatings: Living in Florida means a constant battle with humidity, soap scum, and hard water spots. A protective coating like Diamond-Fusion is, in my opinion, non-negotiable. It's applied at the factory and seals the microscopic pores in the glass, making it repel water. It drastically cuts down on cleaning time—a small upfront cost that pays for itself over and over.
And don't stop at the shower. Glass can be used in so many other creative ways. A simple glass partition can give the toilet area a little privacy without closing it in. And a custom-cut mirror, perfectly measured for your vanity wall, can act as a stunning piece of art. You can check out all kinds of mirror and specialty glass styles to get ideas.
Ultimately, combining a smart layout with high-impact glass features is the recipe for a bathroom that's not just gorgeous, but a genuine joy to use every single day.
4. Mapping Out a Realistic Project Timeline
You can have a brilliant design and a rock-solid budget, but without a realistic timeline, your bathroom remodel plan is just a wish list. A well-thought-out schedule is the command center for your entire project. It dictates the flow of work, coordinates your tradespeople, and keeps everyone's expectations in check.
Frankly, it’s the difference between a project that runs like a well-oiled machine and one that spirals into a mess of frustrating delays.
The first thing to wrap your head around is the logical sequence of events. You can't install that beautiful new vanity before the drywall is finished, and you certainly can’t tile a shower wall before the plumbing and electrical rough-ins are inspected and approved. This predictable order of operations is your secret weapon for preventing costly rework and keeping things moving forward.
The Typical Construction Sequence
Every bathroom remodel, no matter how big or small, follows a similar path from demolition day to the final finishing touches. The time spent on each phase will change based on your project's complexity, but the order almost never does. Understanding this flow helps you anticipate what’s next and spot potential bottlenecks before they throw your whole schedule off track.
Here's how a typical project unfolds:
- Demolition and Prep (1-3 Days): This is where the magic begins, and it's always messy. The old bathroom gets carefully dismantled—fixtures come out, tile gets torn up, and some walls might be taken down to the studs.
- Rough-Ins and Framing (2-5 Days): With a blank slate, any new wall framing goes up. Then, the plumbers and electricians work their magic, running new pipes, drains, and wires for the sink, shower, toilet, and lights. This is a crucial step that almost always requires a municipal inspection.
- Drywall, Insulation, and Tiling (4-7 Days): Once the rough-ins get the green light, insulation is installed, and new drywall is hung, taped, mudded, and sanded. This is immediately followed by waterproofing the "wet areas" (like the shower) before the meticulous work of installing floor and wall tile begins.
- Cabinetry, Trim, and Painting (2-4 Days): Now that the dusty, wet work is done, things start to look like a real bathroom again. The vanity, countertops, and any custom cabinetry are installed. Baseboards, trim, and doors are fitted, and then the painters come in to prime and paint the walls and ceiling.
- Final Fixtures and Finishes (2-4 Days): This is the final, transformative phase where everything comes together. The toilet, faucets, and light fixtures are installed. It's also when specialists, like our team, come in to professionally install your custom frameless shower door and mirrors.
Anticipating Delays and Bottlenecks
Listen, even the best-laid plans can hit a snag. The real key to managing a timeline successfully is to see these common issues coming.
Custom-ordered items, for example, have notoriously long lead times. A special-order vanity could take 6-10 weeks to arrive, and that perfect designer tile might take just as long. You need to order these big-ticket items the moment your design is locked in.
Permit approvals are another classic slowdown. Depending on where you live, getting a permit can take anywhere from a few days to several weeks. A word of advice: don't schedule a single day of demolition until you have that approved permit in your hands.
A common mistake I see homeowners make is underestimating the time needed for professional measurement and fabrication, especially for precision items. A frameless glass shower door, for instance, can only be measured after the tile is completely installed to guarantee a perfect, watertight fit. This measure-to-install process can easily add 1-2 weeks to the final phase of your project.
To see how these key features influence your design and timeline, take a look at this process flow for high-impact bathroom elements.
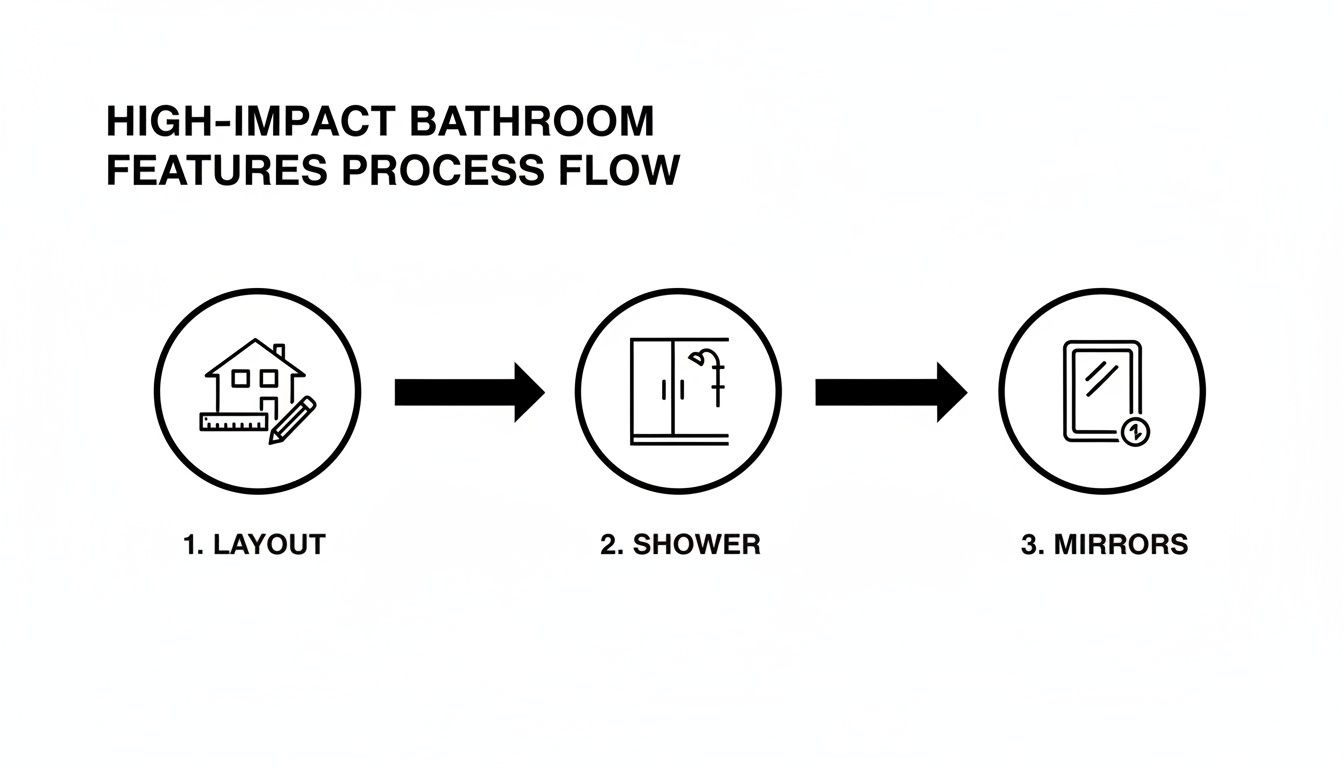
As you can see, the big layout decisions have to come first. They directly influence your shower and mirror selections, which are often the final, show-stopping pieces to be installed.
When you're planning your remodel here in Southwest Florida, factoring in these hard numbers is crucial. On average, a standard project takes about 4-6 weeks. But if you're doing a more upscale remodel with custom glass features like frameless doors, you should probably budget for up to 8 weeks to allow for that precise, high-quality installation work.
Don’t let a lack of planning derail your dream bathroom. Contractors will tell you that a staggering 40% of budget overruns come from nothing more than poor scheduling. You can get ahead of this by requesting a free estimate for your custom glass early in your process to understand lead times and costs.
Assembling Your Remodel Dream Team

Let's be honest: your beautifully crafted plan is only as good as the people who bring it to life. The absolute make-or-break factor in any bathroom remodel is finding skilled, reliable pros who can execute your vision with precision and care. This is your project's dream team, and putting it together is the most critical decision you'll make.
From the general contractor running the whole show to the specialists who handle the fine details, every single person plays a crucial part. Thoroughly vetting these professionals isn't just a good idea—it's your best defense against costly mistakes, maddening delays, and work that just doesn't hold up.
Vetting Your General Contractor and Trades
Think of your General Contractor (GC) as the quarterback of the operation. They're the ones hiring and managing all the subcontractors—plumbers, electricians, tilers—as well as pulling permits and making sure the project doesn't go off the rails with the timeline or budget. A great GC is a master communicator and a creative problem-solver.
So, where do you find one? Word-of-mouth referrals from friends and neighbors are gold, but that's just the starting line. You absolutely must do your own homework. Always, always verify that any contractor you're considering is licensed and insured in the state of Florida. This is completely non-negotiable.
Pro Tip: Be extremely wary of a bid that's dramatically lower than the others. A rock-bottom price is often a red flag for cutting corners, using cheap materials, or not having the proper insurance. Always get at least three detailed, itemized quotes to make a fair comparison.
Assembling the right team is crucial; you can learn more about finding the perfect fit by understanding how to hire a general contractor for your renovations. This guide is packed with expert tips to help you make the right choice.
Key Questions to Ask Every Professional
Once you have a shortlist, it's interview time. Your goal here is to gauge more than just their technical skills—you need to know if their communication style and professionalism are a match. A contractor who’s impossible to reach during the bidding process will likely vanish once they have your deposit.
Come to the conversation prepared with some direct questions:
- Can I see a portfolio of your recent bathroom remodels? Look for projects with a similar scope and style to what you're planning.
- Can you provide references from your last three clients? Don't just get the names—actually call them! Ask about communication, job site cleanliness, and whether they stayed on budget.
- How do you handle unexpected issues or changes? Surprises happen. Their answer will tell you a lot about their flexibility and problem-solving approach.
- What does your payment schedule look like? Any reputable pro will have a clear, milestone-based payment plan. Run from anyone demanding a huge chunk of the money upfront.
- Who will be my main point of contact on-site every day? Clear communication depends on knowing exactly who to talk to.
The Power of Using Specialists
While a top-notch GC can manage the big picture, some of the most impactful features demand a specialist's touch. This is especially true for custom glass elements, which require a level of precision that most generalists simply don't have.
Take a frameless shower door installation, for example. Getting that flawless, clean look is both an art and a science. A specialized glass company like AmeriGlass Industries has the specific tools, training, and deep experience to get it perfect. Our technicians understand that final measurements must be taken after the tile is set to account for every tiny imperfection, ensuring a truly custom, watertight fit.
This dedicated approach is what prevents common headaches like leaks, misaligned doors, or, even worse, damage to your brand-new tile. The same goes for large, custom-cut mirrors or sleek glass partitions. Trusting an expert ensures these critical finishing touches are executed flawlessly, elevating your bathroom from just "nice" to absolutely stunning.
If you’re considering this kind of upgrade, you can see exactly how we handle the process by learning more about our frameless shower door installation in Naples, Florida.
Answering Your Biggest Remodel Planning Questions
Even the best-laid plans come with questions. It’s just part of the process. Getting ahead of the common sticking points can save you a ton of headaches (and money) down the road. Let's tackle some of the most frequent questions I hear from homeowners trying to figure out how to plan a bathroom remodel.
Do I Really Need a Bathtub?
This one comes up all the time, usually when a client is picturing a huge, spa-like walk-in shower. For years, the conventional wisdom was that you had to keep at least one tub in the house for resale. Honestly, that thinking is a bit outdated.
These days, a bathtub is often optional. If it’s the only full bathroom in the house, yeah, keeping a tub is probably the safe bet for appealing to future buyers, especially families with small kids. But if we're talking about the primary bathroom or a guest bath? Ditching that tub for a spacious, beautifully designed shower can be a massive lifestyle upgrade.
My advice? Be honest about your daily routine. If you never take baths and that tub is just a glorified laundry hamper, that square footage is prime real estate. Let's use it for something you'll actually enjoy every single day, like a larger shower with a built-in bench.
Where Should I Put the Electrical Outlets?
Please, don't let outlet placement be a last-minute decision you make with your electrician while standing in a cloud of drywall dust. A little foresight here makes a world of difference. Think about how you actually use the space.
- Inside the Vanity: This is my favorite trick. An outlet inside a drawer or cabinet keeps your electric toothbrush and shaver charging and completely out of sight. No more cord clutter.
- Near the Toilet: You might not be installing a bidet or a fancy smart toilet right now, but adding a dedicated outlet in the water closet is a smart, forward-thinking move. It's an incredibly popular feature and a pain to add later.
- At Seating Height: If your design includes a sit-down vanity or makeup area, place an outlet lower on the wall. It keeps cords for hair dryers and curling irons from draping all over your new countertop.
What’s the Best Way to Handle Tile and Grout?
The sheer number of tile options can be paralyzing, I get it. But a few simple rules of thumb will point you in the right direction. First and foremost, buy all your tile at once and always order 10-15% overage. This is non-negotiable. It guarantees all your tile comes from the same dye lot, so you won't end up with subtle—but maddening—color variations.
When it's time to talk grout, let function be your guide.
Grout Selection Tips:
- Avoid Light Grout on Floors: Trust me on this. White or light-beige grout on a bathroom floor is a cleaning nightmare. Go for a medium-gray or a complementary color to mask the inevitable dirt and grime.
- Prioritize Traction: Inside the shower, safety comes first. Smaller tiles or mosaics are the way to go on the shower floor. More grout lines mean more grip, which dramatically reduces the risk of slipping.
- Consider Epoxy Grout: Yes, it costs more upfront. But epoxy grout is non-porous, making it incredibly resistant to stains, mold, and mildew. In a high-moisture area like a shower, it’s an investment that truly pays off.
Making these calls during the planning stage is what separates a good remodel from a great one. It ensures your new bathroom isn't just stunning on day one, but also practical and a breeze to live with for years to come.
Ready to bring your vision to life with stunning, professionally installed custom glass? The experts at AmeriGlass Industries are here to help you select and install the perfect frameless shower door, custom mirror, or glass partition to complete your dream bathroom. Get your free, no-obligation estimate today!