

You’re probably standing in a bathroom with a boxed shower door kit leaning against the wall, wondering if this is a satisfying weekend upgrade or the start of a very expensive mistake. That’s the right mindset to have, because how to hang sliding shower doors is one of those jobs that looks simple until the glass is in your hands, the tile is under the drill bit, and every small error starts stacking up.
A good sliding door feels effortless. It glides without chatter, closes where it should, and keeps water inside the shower instead of creeping onto the bath floor. A bad one binds, rattles, leaks, and slowly punishes the rollers and track every time someone uses it.
In Southwest Florida, I also tell homeowners to think about the room itself. Many bathrooms in Naples, Bonita Springs, and Fort Myers look square at a glance, but the walls can drift out of plumb and the curb can run slightly off level. That doesn’t always kill a job, but it changes how carefully you need to lay it out. The difference between a clean installation and a callback usually happens before the glass ever leaves the cardboard.
Before You Unbox Prep Tools and Mindset
A sliding shower door install isn’t a quick after-dinner project. Major home improvement guidance says it typically takes about one weekend, requires a two-person team, and includes a 24-hour curing period for silicone before the shower can be used. That timing matters because it tells you what this job really is: careful measuring, controlled lifting, precise fastening, and patient finishing, not a rush job with a drill and a tube of caulk. You can review that baseline in Lowe’s guide on installing a shower door.
That two-person requirement also isn’t optional. Glass panels are awkward, fragile at the edges, and hard to control in a tight bathroom. One person trying to muscle through the lifting phase is how panels get chipped, hardware gets bent, and tile gets cracked.
Set up the room before you cut the box open
Clear the floor. Get bath mats, trash cans, décor, and loose rugs out of the room. Put down a drop cloth or thick cardboard where parts can rest without touching hard tile.
Leave enough open space to lay out the header, bottom track, wall jambs, rollers, screws, bumpers, guides, and handle hardware in order. If parts stay mixed in one pile, people start grabbing the wrong fasteners and forcing things that should never be forced.
Practical rule: If you don’t have a helper, stop before unboxing the glass.
What I keep within arm’s reach
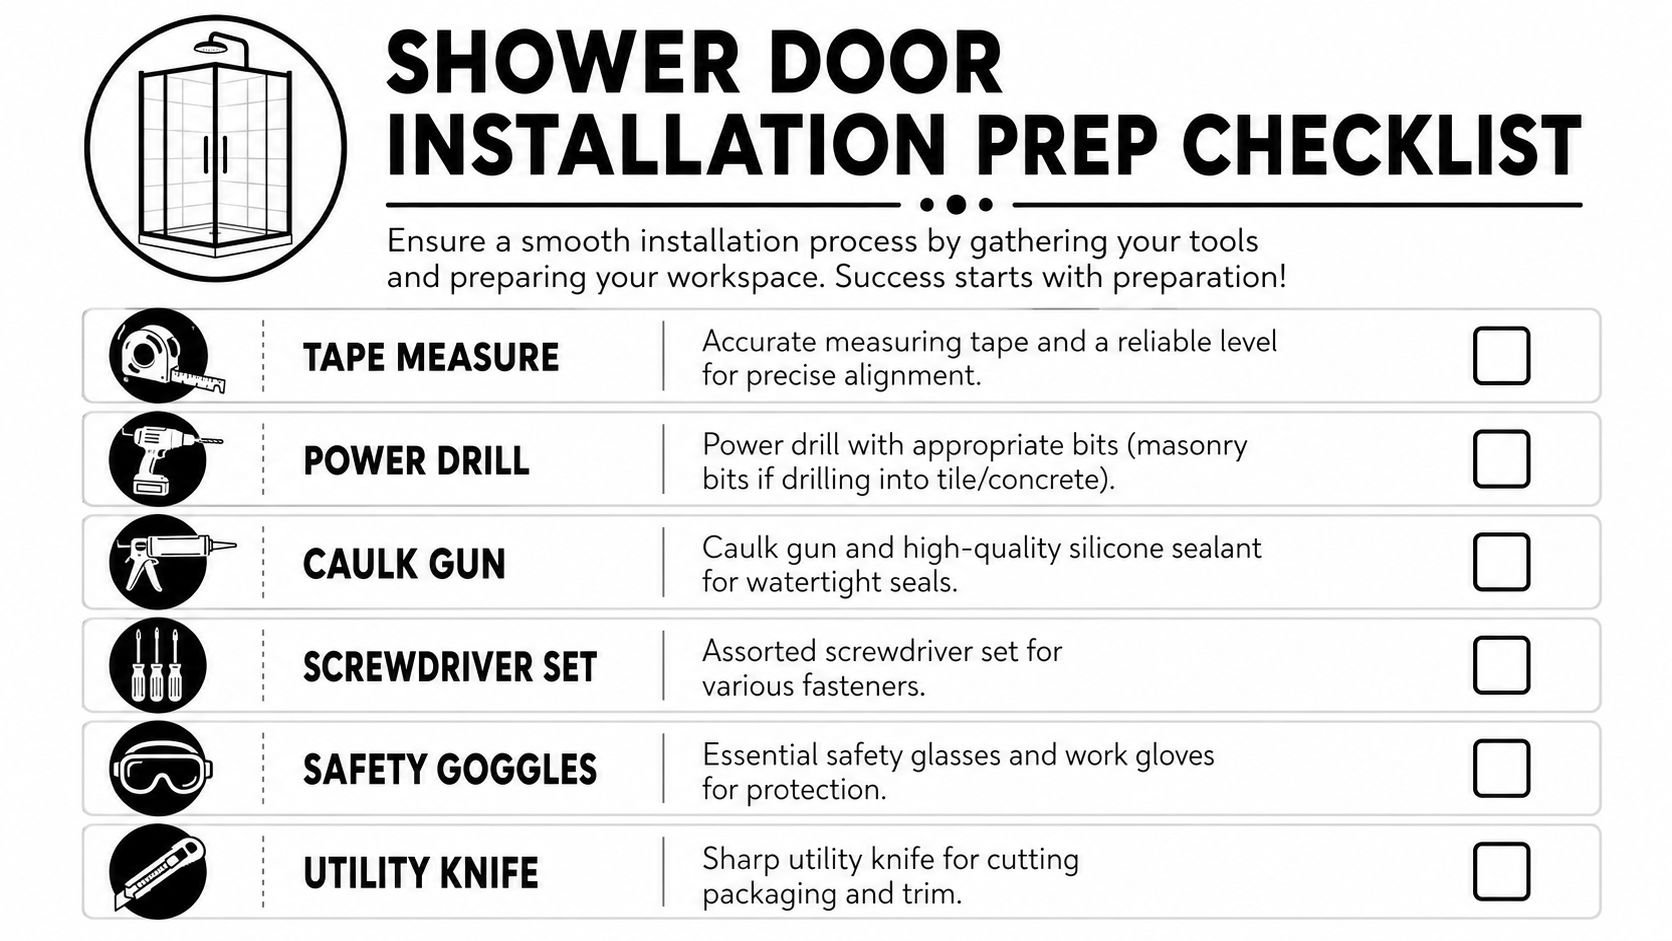
You don’t need a truck full of specialty gear, but you do need the right basics, and they need to be ready before the first mark goes on the wall.
- Measuring and layout tools: Tape measure, level, pencil or non-staining marker, and painter’s tape for temporary marks on tile.
- Drilling gear: Power drill, correct bits for the wall surface, and a driver bit that fits the supplied screws properly.
- Hand tools: Screwdrivers, utility knife, adjustable wrench if the hardware calls for it, and a soft mallet if the manufacturer allows one for trim seating.
- Seal and cleanup materials: Caulk gun, bathroom-grade silicone sealant, clean rags, and denatured alcohol or another approved cleaner for prep.
- Safety equipment: Gloves, eye protection, and closed-toe shoes. Glass doesn’t forgive sloppy handling.
Check the kit before the glass comes out
Open the hardware carton first, not the glass packaging. Confirm the rollers, guides, wall profiles, screws, anchors, bumpers, and handle parts are all there. Read the manufacturer instructions all the way through once before you start. Then read the hanging section a second time.
This is also the point where many homeowners figure out whether a stock kit is really the right fit for the opening they have. If you’re comparing off-the-shelf systems with more custom options, take a look at sliding and custom shower door product configurations. The main thing is to make sure the hardware style and enclosure type match the space you’re working with.
The right mindset saves more jobs than the right drill bit
Most shower door failures I see didn’t start with bad intentions. They started with impatience. Somebody assumed the wall was plumb, tightened hardware before checking alignment, drilled the wrong spot because they were balancing a level one-handed, or sealed before testing the slide.
Slow is smooth here. Smooth is what keeps the glass safe.
Measure Twice Install Once Layout and Track Placement
The layout is where the door starts becoming either a smooth slider or a daily irritation. Once holes are drilled in tile or stone, your room gets less forgiving. This is the point where clean pencil lines matter more than confidence.
Start with plumb and level, not with the door parts
Check both walls of the opening with a long level. Then check the curb or threshold. What you want to know is simple: are the walls vertical, and is the base flat enough that the system can be installed without fighting itself?
If a wall leans a bit, don’t ignore it and hope the rollers will sort it out later. Rollers don’t fix layout errors. They only reveal them. Mark your vertical jamb locations off a true reference, and compare both sides before committing to any holes.
A clean approach looks like this:
- Measure the opening width at the bottom, middle, and top.
- Confirm where the wall jambs or side profiles belong.
- Strike plumb lines for the verticals.
- Mark the header line from those references, not from visual guesswork.
- Dry-fit the tracks and side pieces before drilling.
Tiny layout errors become noisy doors
A crooked header doesn’t just look off. It changes the way the weight rides on the rollers. A bottom guide that isn’t centered can make the panel drag or pull away from the wall profile at one end.
That’s why I tell homeowners to stand back after marking and look at the opening from the doorway. Then come back in and verify every mark with the level again. Your eye catches weirdness. Your level confirms it.
If the marks only work when you squint, they aren’t right yet.
A lot of newer installations use clean, minimal configurations where the alignment has to look intentional from every angle. If you want a visual sense of how those openings are commonly structured, browse standard shower door layout options. It helps to see how the geometry is supposed to land before you start drilling into finished surfaces.
What works in the real world
In older homes, you may find one wall that’s decent and another that drifts. In that case, work from the truest reference and follow the manufacturer’s adjustment allowances without forcing the frame to hide a structural problem. If you have to overcompensate just to make the lines meet, that’s not a layout issue anymore. That’s a sign the opening may need pro handling.
Building the Frame Mounting the Top and Bottom Tracks
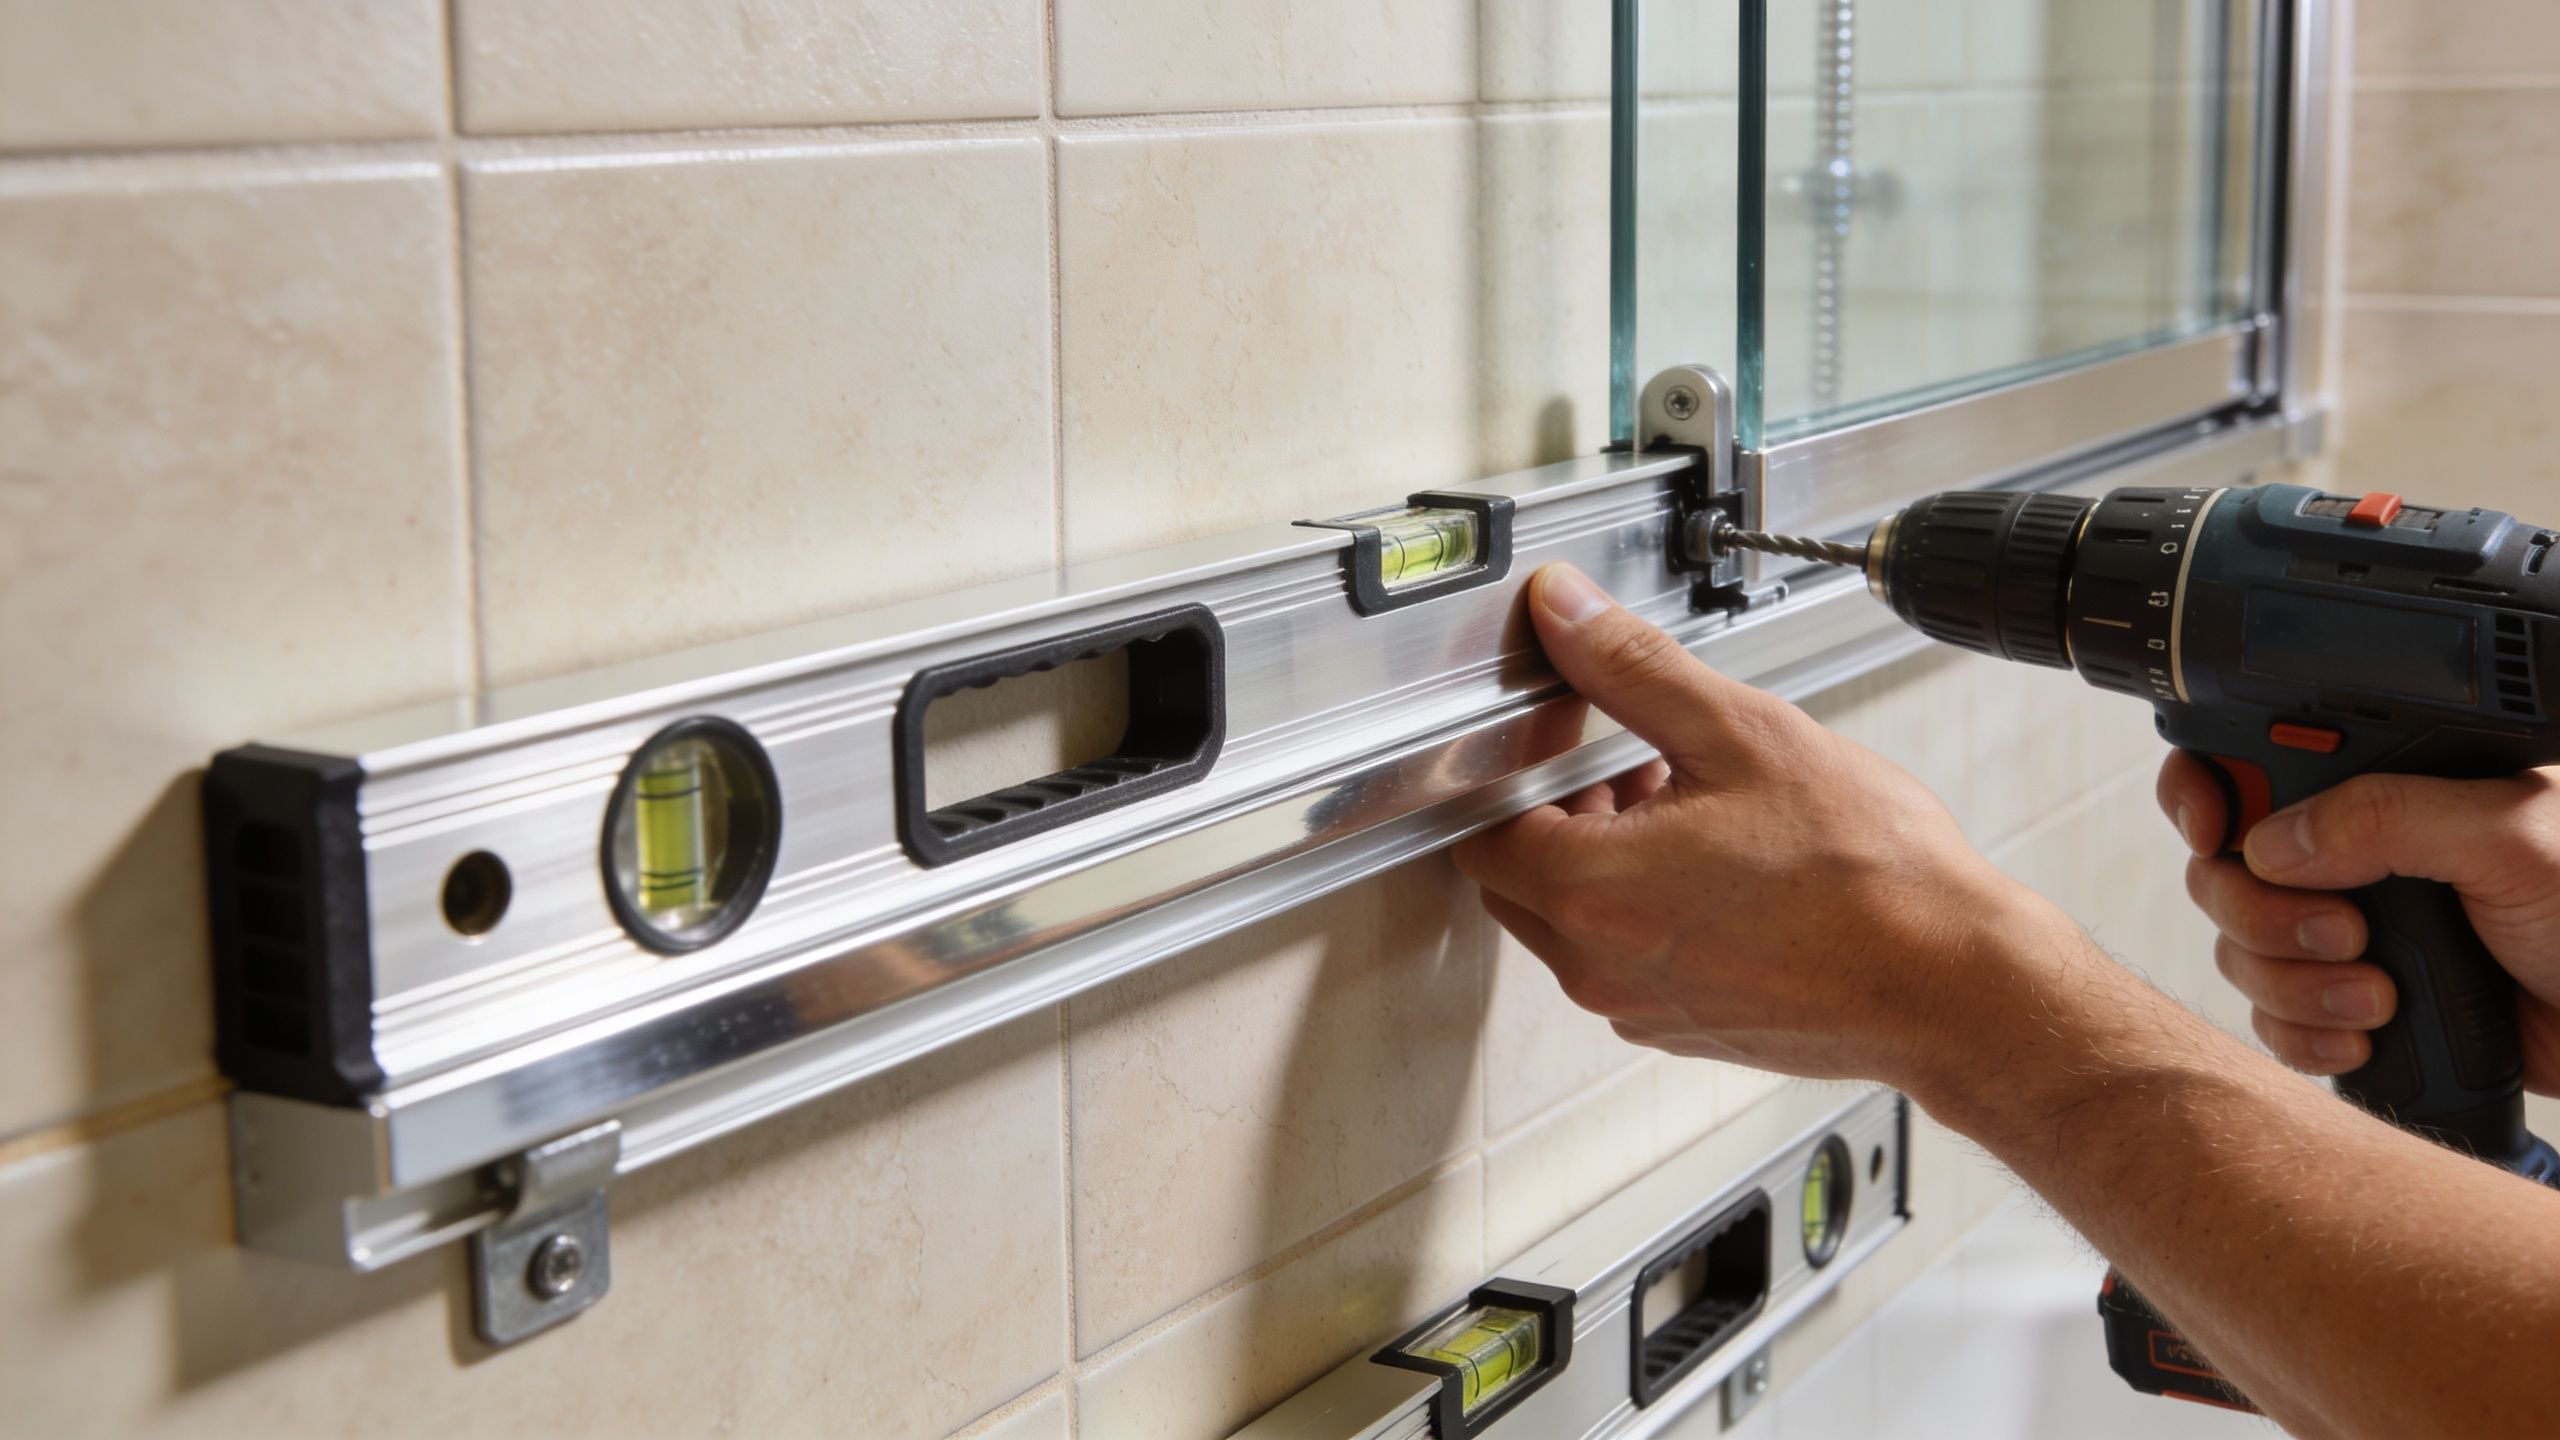
My approach differs from much common bad DIY advice. Install the top track first. That method gives the doors a chance to hang the way they were designed to hang instead of asking the lower guide to dictate the whole system.
According to Glass Doctor’s guide on how to install a sliding glass shower door, installers using the top-down method report field failure rates of less than 5%, compared with 15 to 20% when starting with the bottom track, and the top track must be level within ±1/16 inch to avoid roller binding and premature wear. Those numbers line up with what installers see in the field. Start at the top, and the door has a chance. Start at the bottom and hope for the best, and you often build misalignment into the system from the first screw.
Why the top-track first method wins
When the header goes in level and secure, the rollers can engage correctly and the panels can self-align as they drop into the lower guide. That reduces the chance of doors binding, jumping, or riding unevenly.
When installers start with the bottom track and then try to force the header to match later, the system can end up twisted. You may still get the door to move, but it won’t move happily. It’ll drag in one spot, chatter in another, and wear the rollers faster than it should.
Drilling and anchoring without damaging the room
Bathrooms don’t all give you the same substrate. Tile, stone, fiberglass, and drywall-backed surrounds all behave differently under a drill. The rule is the same, though. Let the bit do the work. Don’t rush the hole, and don’t hammer a fastener into a hole that isn’t clean and true.
Use painter’s tape over glossy tile if you need help starting the bit without skating. Keep the drill square to the wall. Vacuum dust as you go so you can see whether your hardware is seating flush.
A few habits matter here:
- Dry-fit before fastening: Hold the header and wall pieces in place first. Confirm the marks still make sense when real metal is against the wall.
- Match anchors to the wall condition: If the bracket hole doesn’t line up with framing, use wall-rated anchors appropriate for the surface and load.
- Check level repeatedly: Don’t trust the first position. Check the top track before the first fastener, after the first fastener, and again before final tightening.
Keep the bottom track honest
Once the top is secure and confirmed level, set the bottom track or guide so it stays parallel and centered under the path of the doors. This isn’t the place for “close enough.” If the lower component is off, the panel will tell on you every time it slides.
For homeowners comparing different inline enclosure styles and panel arrangements, inline shower door and panel configurations can help make sense of how the top support, side returns, and moving panels relate to one another. That’s especially useful when your opening isn’t a simple alcove.
A sliding shower door should hang from the top and be guided at the bottom, not rescued by the bottom.
The Main Event Hanging the Glass Panels
This is the part that makes people nervous, and for good reason. Once the glass comes up, every movement has to be deliberate. No twisting. No side loading. No last-second improvising.
The lift has a sequence, and the sequence matters
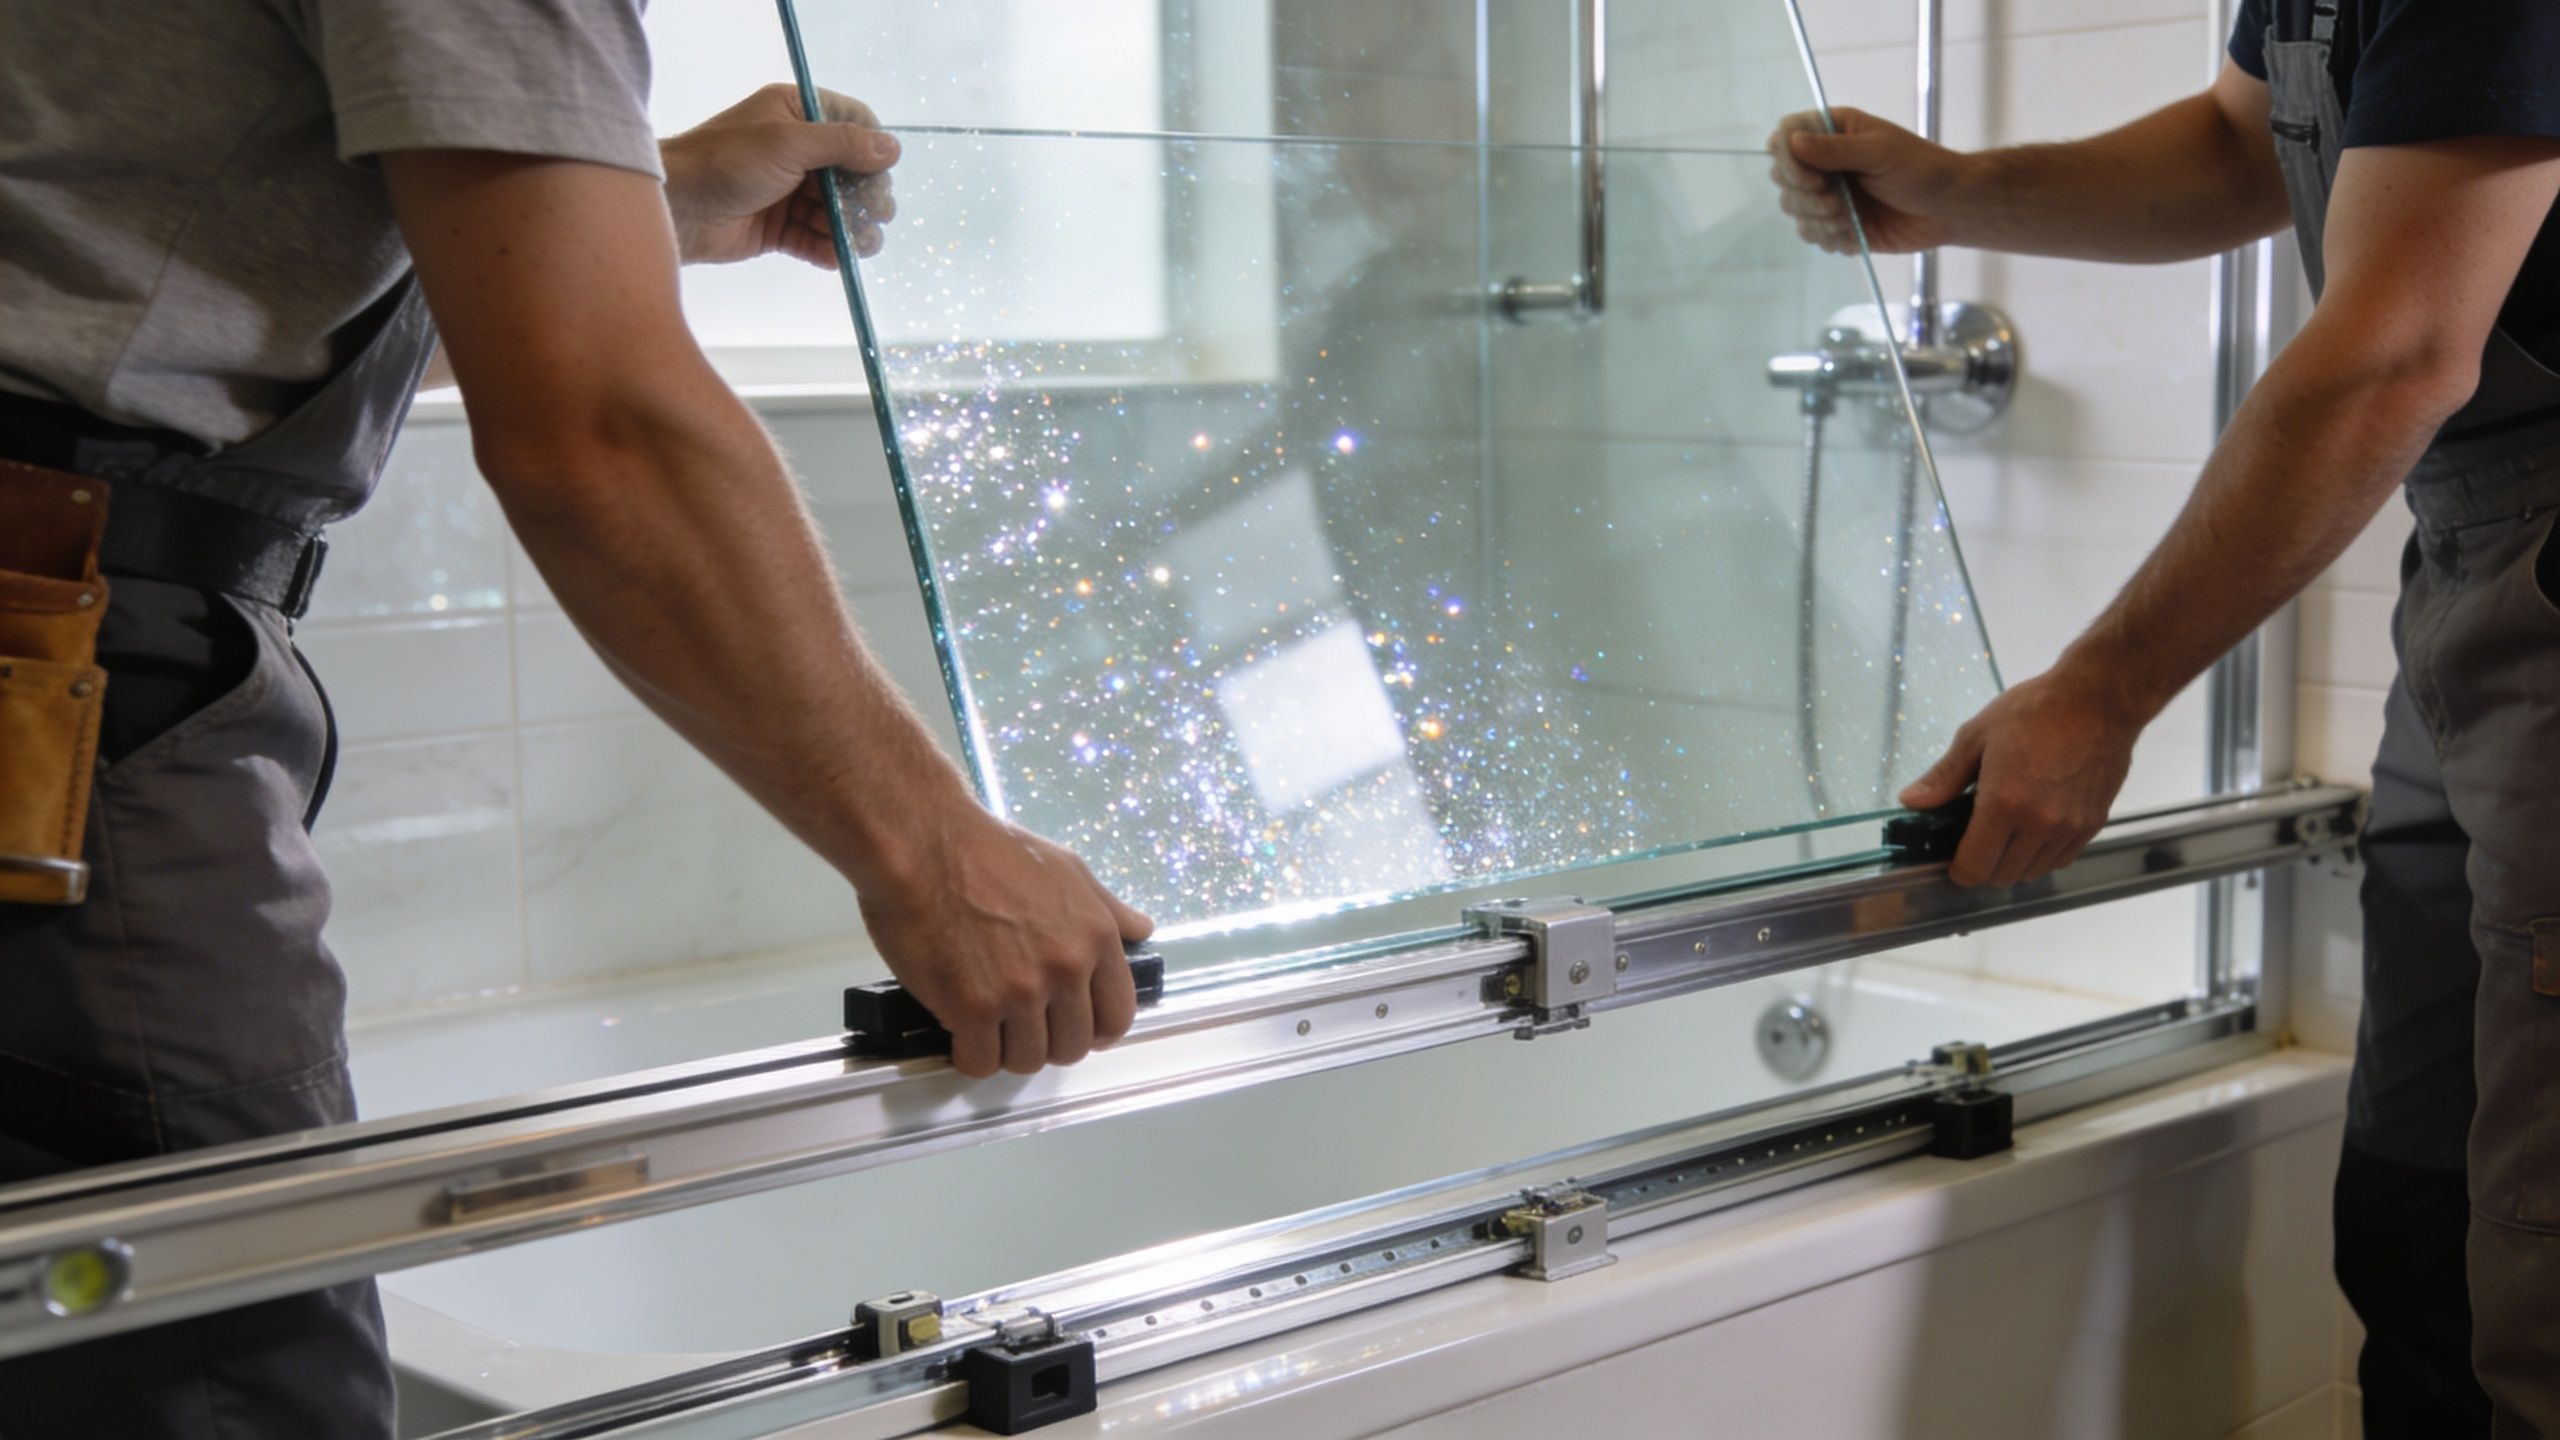
The correct method for hanging frameless sliding panels is very specific. The installers stand on the same side of the glass, one at each end, tilt the top of the panel slightly inward, lift vertically to engage the top rollers into the track, and then lower the bottom guide into position. Dreamwerks explains that sequence in its article on installing and moving a frameless sliding shower door, and it’s the right way to do it because it prevents lateral stress and hardware damage.
The wrong move is trying to slide the panel in from the side while holding it nearly vertical. That puts stress where you don’t want it, at the edge of the glass and the roller interface. If the panel catches at an angle, the hardware can take the hit before you even know what happened.
How the move should feel
One person takes each end of the panel. Both people stay on the same side so they can control the tilt together. The top edge comes slightly inward, not wildly tipped, just enough to let the upper hardware approach the track correctly.
Then the panel goes up. Straight up. Not in from the side.
Once the rollers engage, the panel’s weight transfers where it belongs. Only then do you bring the bottom into the guide gently and confirm it’s seated. If the panel resists, stop and reset. Never force the lower edge into place while the top is only half engaged.
Glass rewards controlled movement. It punishes rushed correction.
Before you release the weight
Keep your hands on the panel and test the slide lightly. You’re checking for smooth travel, proper seating in the guide, and any sign that a roller is not carrying evenly. A short test now is safer than discovering a problem after both people step away.
This walkthrough gives a helpful visual reference for the movement and pacing involved:
Don’t forget door order and hardware orientation
Many sliding systems have an intended inner and outer panel order. If the kit specifies that the inner door goes in first, follow it. Roller orientation, handle clearance, and water control details can depend on that sequence.
If you’re working with a more refined bypass system, sliding shower door styles and system options are worth reviewing before installation day. It helps to understand whether your hardware is meant for a lighter framed setup or a cleaner frameless look with tighter tolerances.
A clean hang looks calm. The panel rises, engages, lowers, and glides. If the process feels like a wrestling match, something earlier in the job is off.
Finishing and Sealing for a Leak-Proof Shower
A sliding shower door can be perfectly hung and still fail in daily use if the finishing work is sloppy. This stage is where the install becomes quiet, watertight, and polished instead of merely complete.
Adjust the rollers until the door tells you it’s right
Most sliding systems give you some roller adjustment. Use it. Raise or lower one side as needed so the reveals look even and the panel moves without scraping or drifting.
Open and close the door several times. Watch the gap at the jambs and check the meeting point between panels. You’re looking for smooth travel, even contact where the design calls for it, and no tendency for the panel to pull out of line at either end.
If the slide feels rough, don’t jump straight to blaming the rollers. Recheck guide position, hardware tightness, and whether the panel is sitting square in the opening.
Install the small parts like they matter
Handles, bumpers, center guides, and anti-rattle pieces often look minor in the box. They’re not minor once the shower is in service. They control impact, noise, and the way the door stops and rests.
Use the supplied washers where required so metal doesn’t bear directly on glass. Tighten hardware firmly, but don’t overdo it. Shower door hardware usually wants controlled snugness, not brute force.
Seal only after the mechanics are confirmed
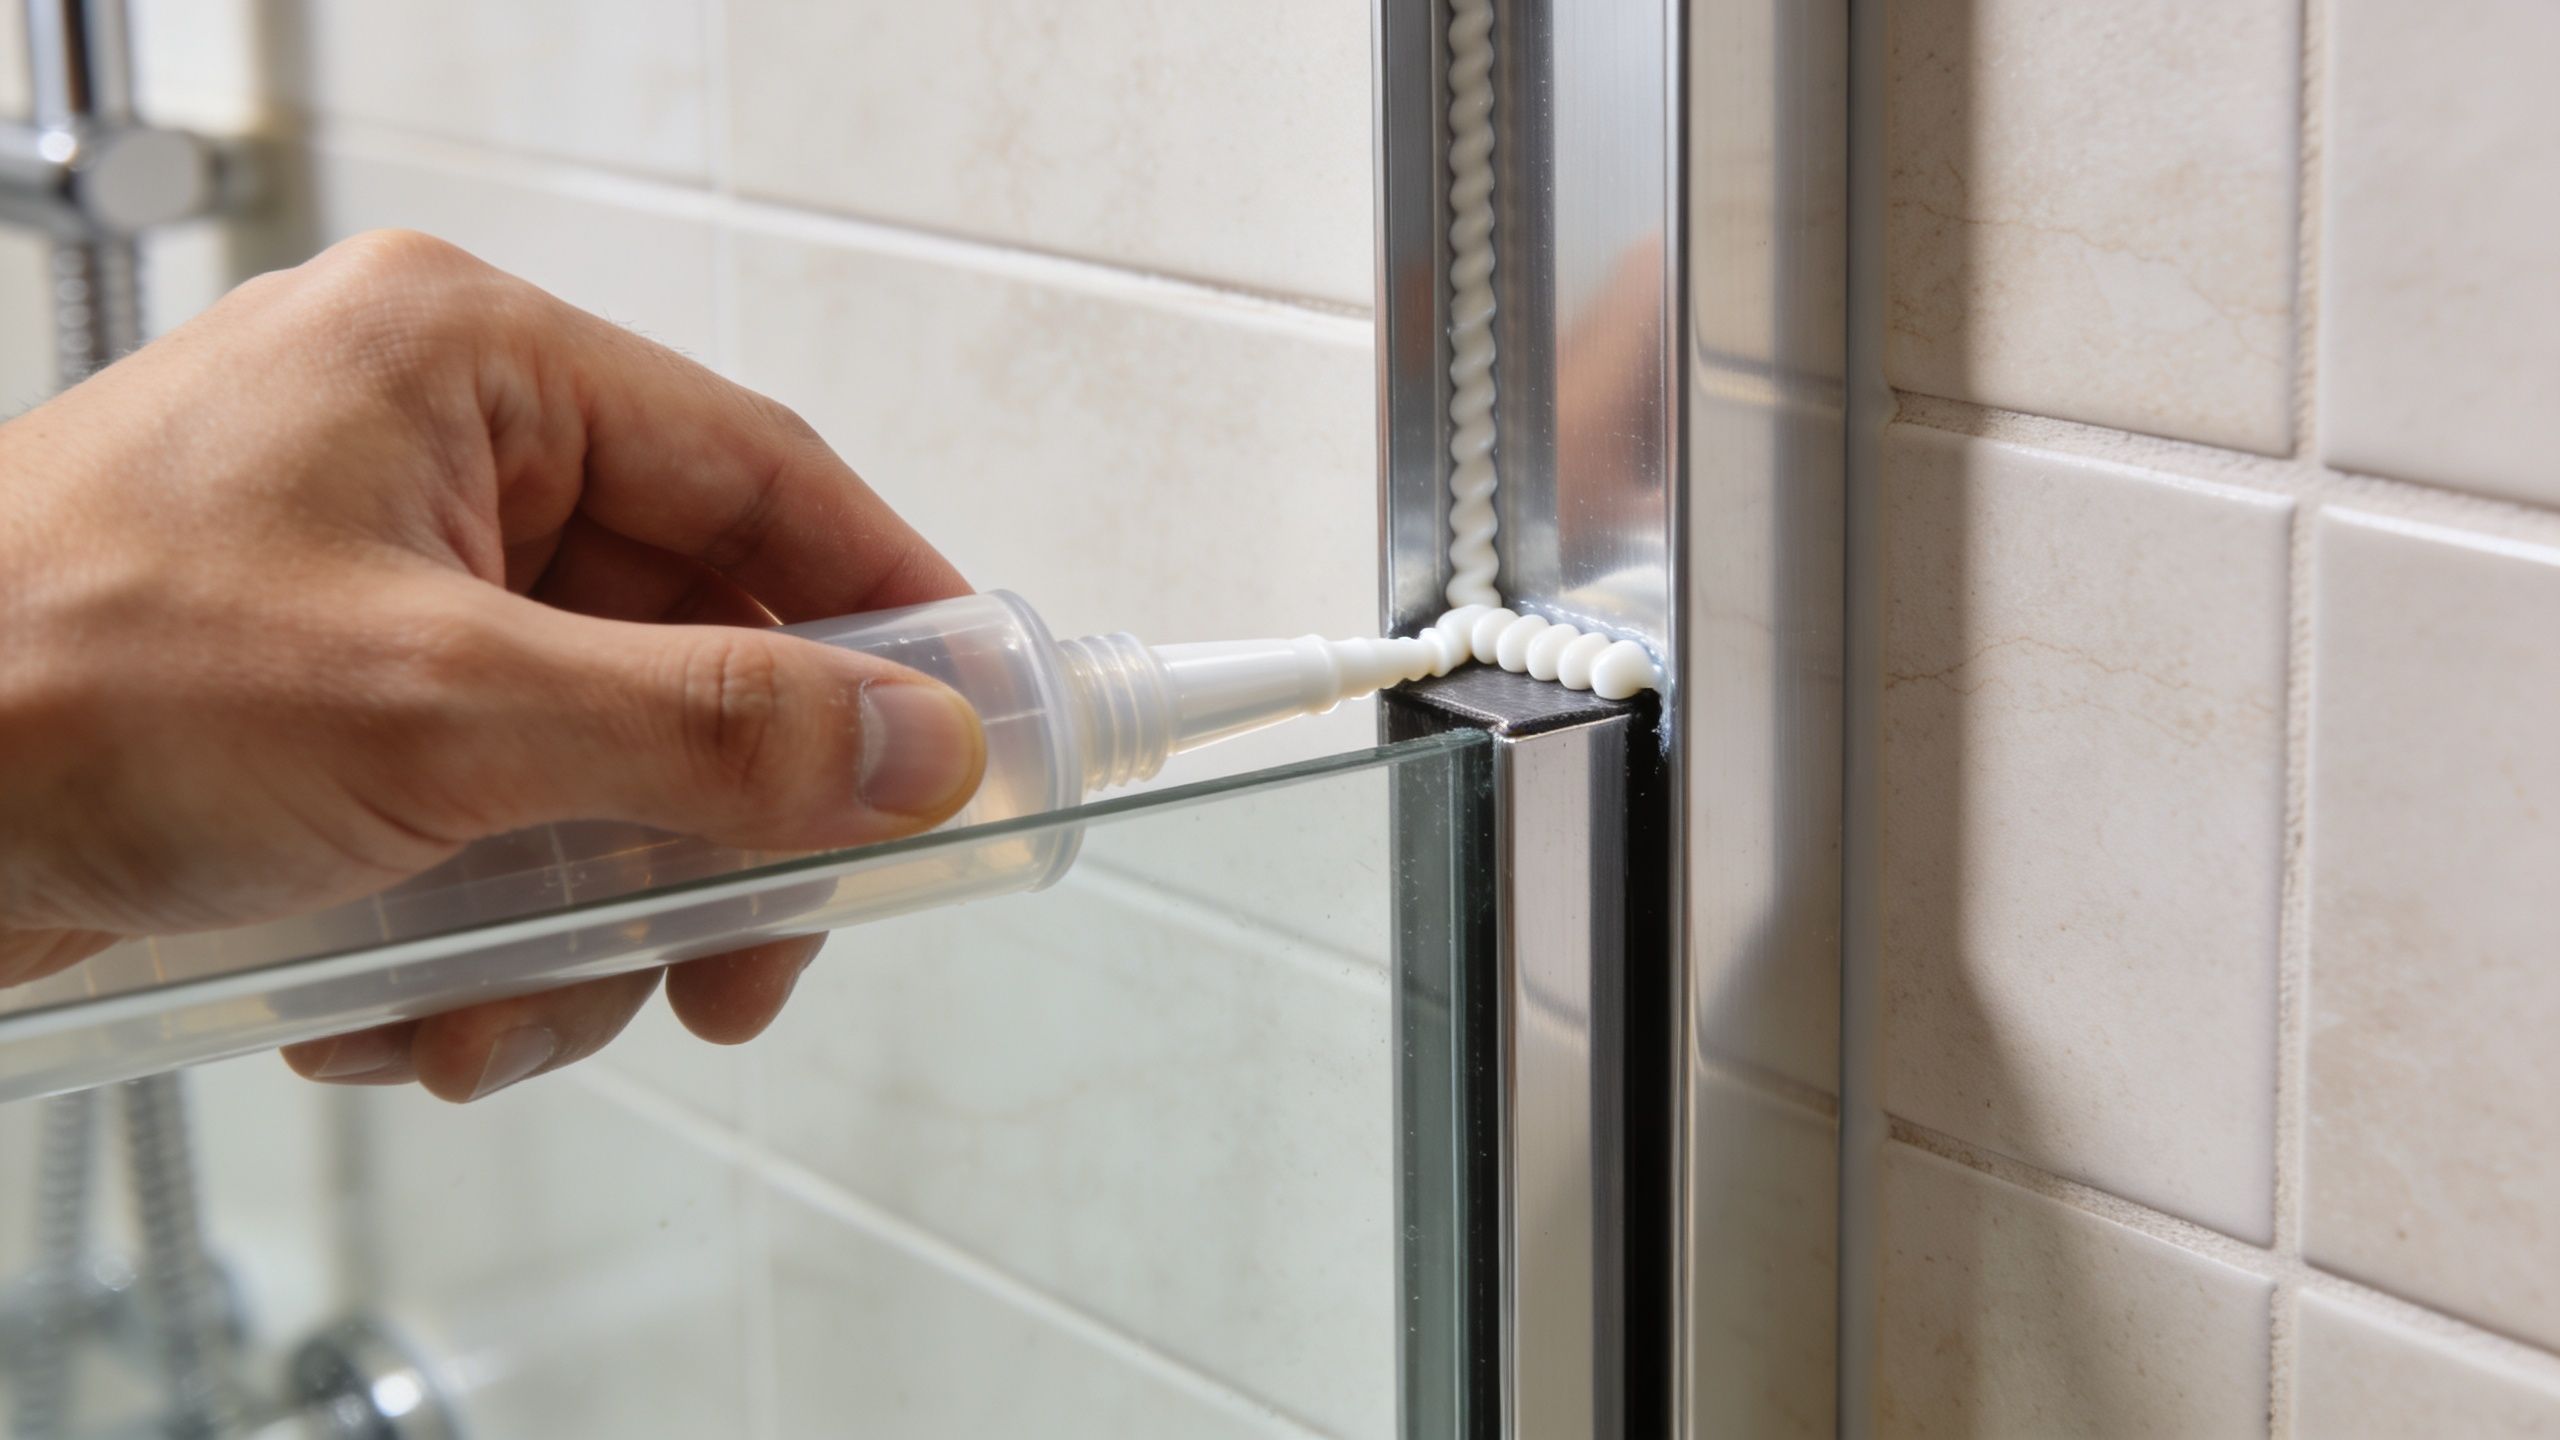
Clean the areas to be sealed so the silicone bonds well. Then run a consistent bead where the frame or profiles meet the wall and curb, following the manufacturer’s guidance on exactly which sides to seal.
A few habits help the bead come out clean:
- Cut the nozzle small: You can always add more sealant, but a huge bead gets messy fast.
- Move at a steady pace: Fast leaves gaps. Too slow leaves blobs.
- Tool the bead immediately: A smooth, continuous finish sheds water better and looks more professional.
- Keep the area dry: Moisture during sealing can ruin adhesion.
The hardest part for many homeowners is waiting after the silicone is on. Wait anyway. Don’t test the shower early just because the door looks done. If you want the enclosure to stay clean and keep sliding properly after installation, it’s worth reviewing practical shower door care and maintenance habits.
Fresh silicone is not a green light. It still needs undisturbed cure time.
When to Call a Professional Installer
Some sliding door jobs are good DIY candidates. Others turn into expensive lessons halfway through. The smart move is knowing the difference early enough to protect the tile, the glass, and your weekend.
Red flags that should stop a DIY install
If the wall is notably out of plumb, the curb is uneven, the opening seems out of square, or the hardware doesn’t sit where the manufacturer expects it to, the job may need more than patience. It may need custom measurement, shimming judgment, alternate anchoring, or a different enclosure configuration.
The same goes for homeowners who are uneasy about lifting heavy glass in a tight bathroom. That hesitation is useful. It’s your instincts telling you the risk is real.
A few common warning signs:
- The marks don’t agree: Your level says one thing, the tile lines say another, and the hardware only fits if you compromise one of them.
- The panel doesn’t want to seat cleanly: If the glass resists the proper hanging sequence, forcing it can damage the panel or hardware.
- The finished slide feels wrong: Binding, uneven gaps, or repeated contact with the guide usually means something foundational is off.
- You’re drilling into premium finished surfaces: If one bad hole will stare at you for years, it may be time to hand the job off.
Frameless and semi-frameless systems leave less room for error
The cleaner the look, the tighter the tolerances tend to feel in practice. Frameless designs don’t give you a bulky frame to disguise a bad opening. They put the accuracy of the measurement and installation on display.
That’s also why homeowners planning a larger bathroom remodel often coordinate the glass install with the rest of the work. If you’re still in renovation planning mode, Pacific Builders' bathroom services are a useful example of how contractors approach the full bathroom scope around finishes, layout, and sequencing.
Why local experience matters in Southwest Florida
In Naples and across Southwest Florida, the bathrooms vary more than people expect. Some homes have very straight, modern openings. Others have walls or curbs that need a practiced eye before any glass gets ordered or hung. A local installer sees those patterns repeatedly and knows when a stock approach will fight the room.
For homeowners in Naples, Bonita Springs, Fort Myers, and nearby communities, licensed and insured glass specialists prove their worth. If the enclosure needs expert measurement, careful adjustment, or a clean rescue after a DIY stall-out, bringing in a pro is often cheaper than replacing damaged tile, hardware, or glass.
The best time to call isn’t after the panel chips. It’s when you first see that the opening may not behave like the instructions assume.
If your shower opening is straightforward and you’ve got the tools, helper, and patience, a sliding door install can absolutely be done well. If the walls are off, the tile is high-end, or the glass lift feels beyond your comfort level, getting a professional measurement and installation is the smarter move. AmeriGlass Industries serves Southwest Florida with custom shower door solutions and installation support for homeowners who want the fit, finish, and water control handled correctly the first time.
Rather have it installed? AmeriGlass Industries installs sliding and frameless shower doors across Naples, Fort Myers, Bonita Springs and Cape Coral. Call (239) 426-6884 for a free estimate.