

Installing a frameless shower door isn't just a simple upgrade; it's a precision project. You're dealing with heavy glass panels, securing hardware directly into your walls, and every measurement has to be dead-on. Unlike framed doors that can hide imperfections, this process demands precision down to the millimeter. It’s a challenge, for sure, but the result is a stunning, modern bathroom that's worth every bit of effort.
Your Blueprint for a Perfect Installation
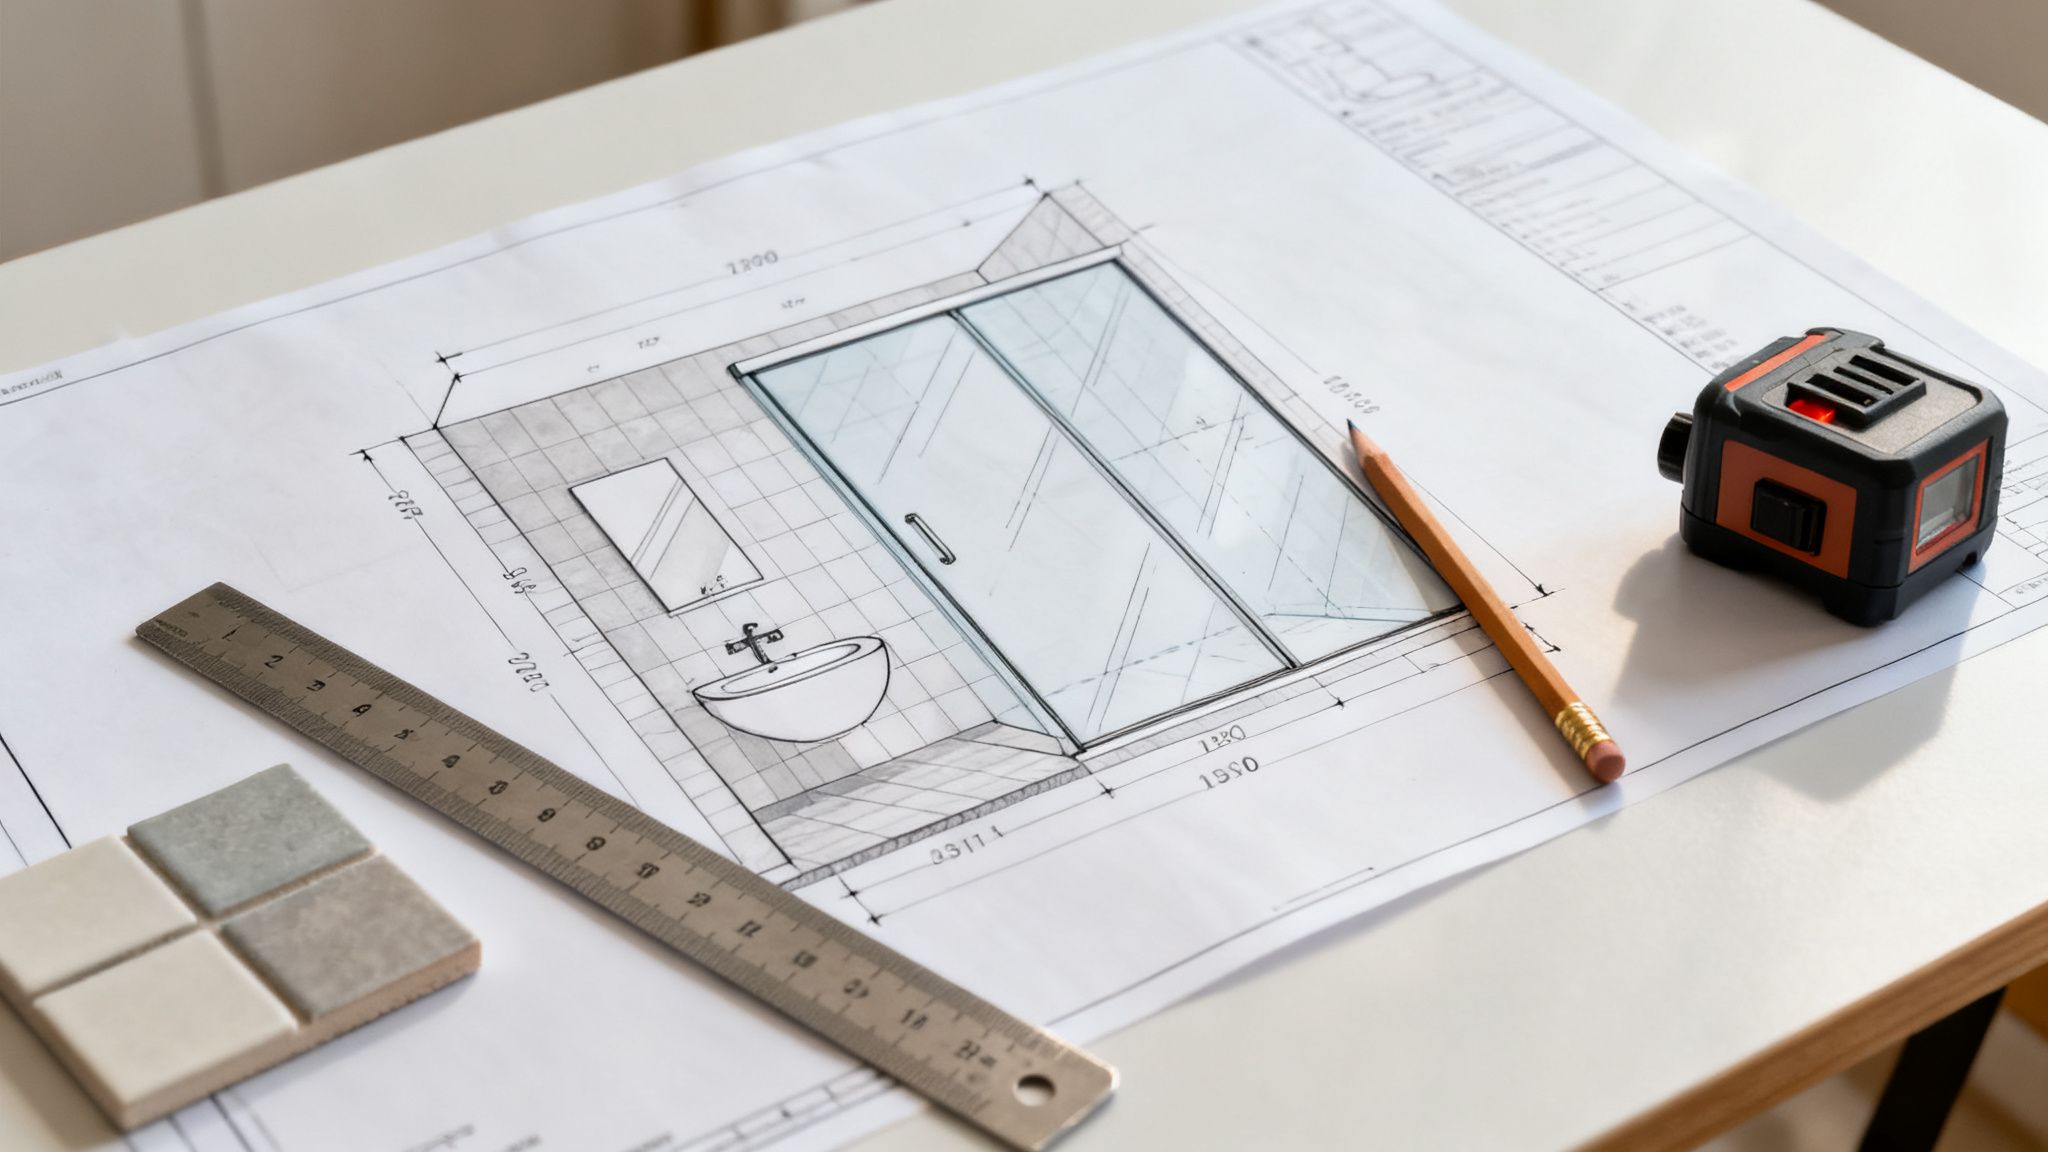
So, you're ready to tackle a frameless shower door installation? Fantastic. Before you even think about picking up a drill, let’s be clear: this is a game of inches—or rather, millimeters. Get it right, and you'll add serious style and value to your home. Get it wrong, and you'll have a mess on your hands.
There’s a reason this sleek design is everywhere. The market for frameless shower doors has exploded, jumping from USD 1.25 billion and on track to hit USD 2.15 billion by 2033. Here in Southwest Florida, from Naples to Fort Myers, homeowners are all about that clean, open look. But with heavy tempered glass panels tipping the scales at 50-100 pounds, there is absolutely no margin for error.
Here's a quick look at the major stages you'll go through. Think of it as a high-level roadmap to keep you on track.
Frameless Shower Door Installation Phases at a Glance
| Phase | Key Objective | Critical Action |
|---|---|---|
| Measurement & Prep | Establish a perfect foundation for the glass. | Verify walls are plumb and the curb is level; take precise opening measurements. |
| Hardware Mounting | Create a rock-solid support system for the door. | Locate and drill into wall studs or solid blocking for all hinges and clamps. |
| Glass Handling | Position the heavy glass panels safely and accurately. | Use suction cups to move glass; set panels on blocks and secure to hardware. |
| Sealing & Finishing | Ensure a watertight seal and polished look. | Apply clear silicone to fixed panels and attach vinyl seals and the door handle. |
Each phase depends entirely on the one before it. A small miscalculation in the prep stage can throw the whole project off course.
This guide answers the question, "How do you install a frameless shower door?" by walking you through the process with a professional’s eye. We’re aiming for a secure, leak-proof, and beautiful finish that truly elevates the space. It's this level of detail that shows you how a glass company can make your home feel luxurious.
A frameless shower door installation is less about construction and more about craftsmanship. The absence of a frame means every edge is exposed, and every measurement must be exact. Think of it as custom-fitting a piece of art that also has to be perfectly functional and safe.
This is a project that demands patience and the right tools. While the DIY spirit is admirable, the sheer weight of the glass and the need for absolute accuracy often make calling a professional the smarter move. We’ll cover every detail, giving you a complete blueprint for success, whether you tackle it yourself or decide to bring in an expert.
Gathering Your Tools and Preparing the Space
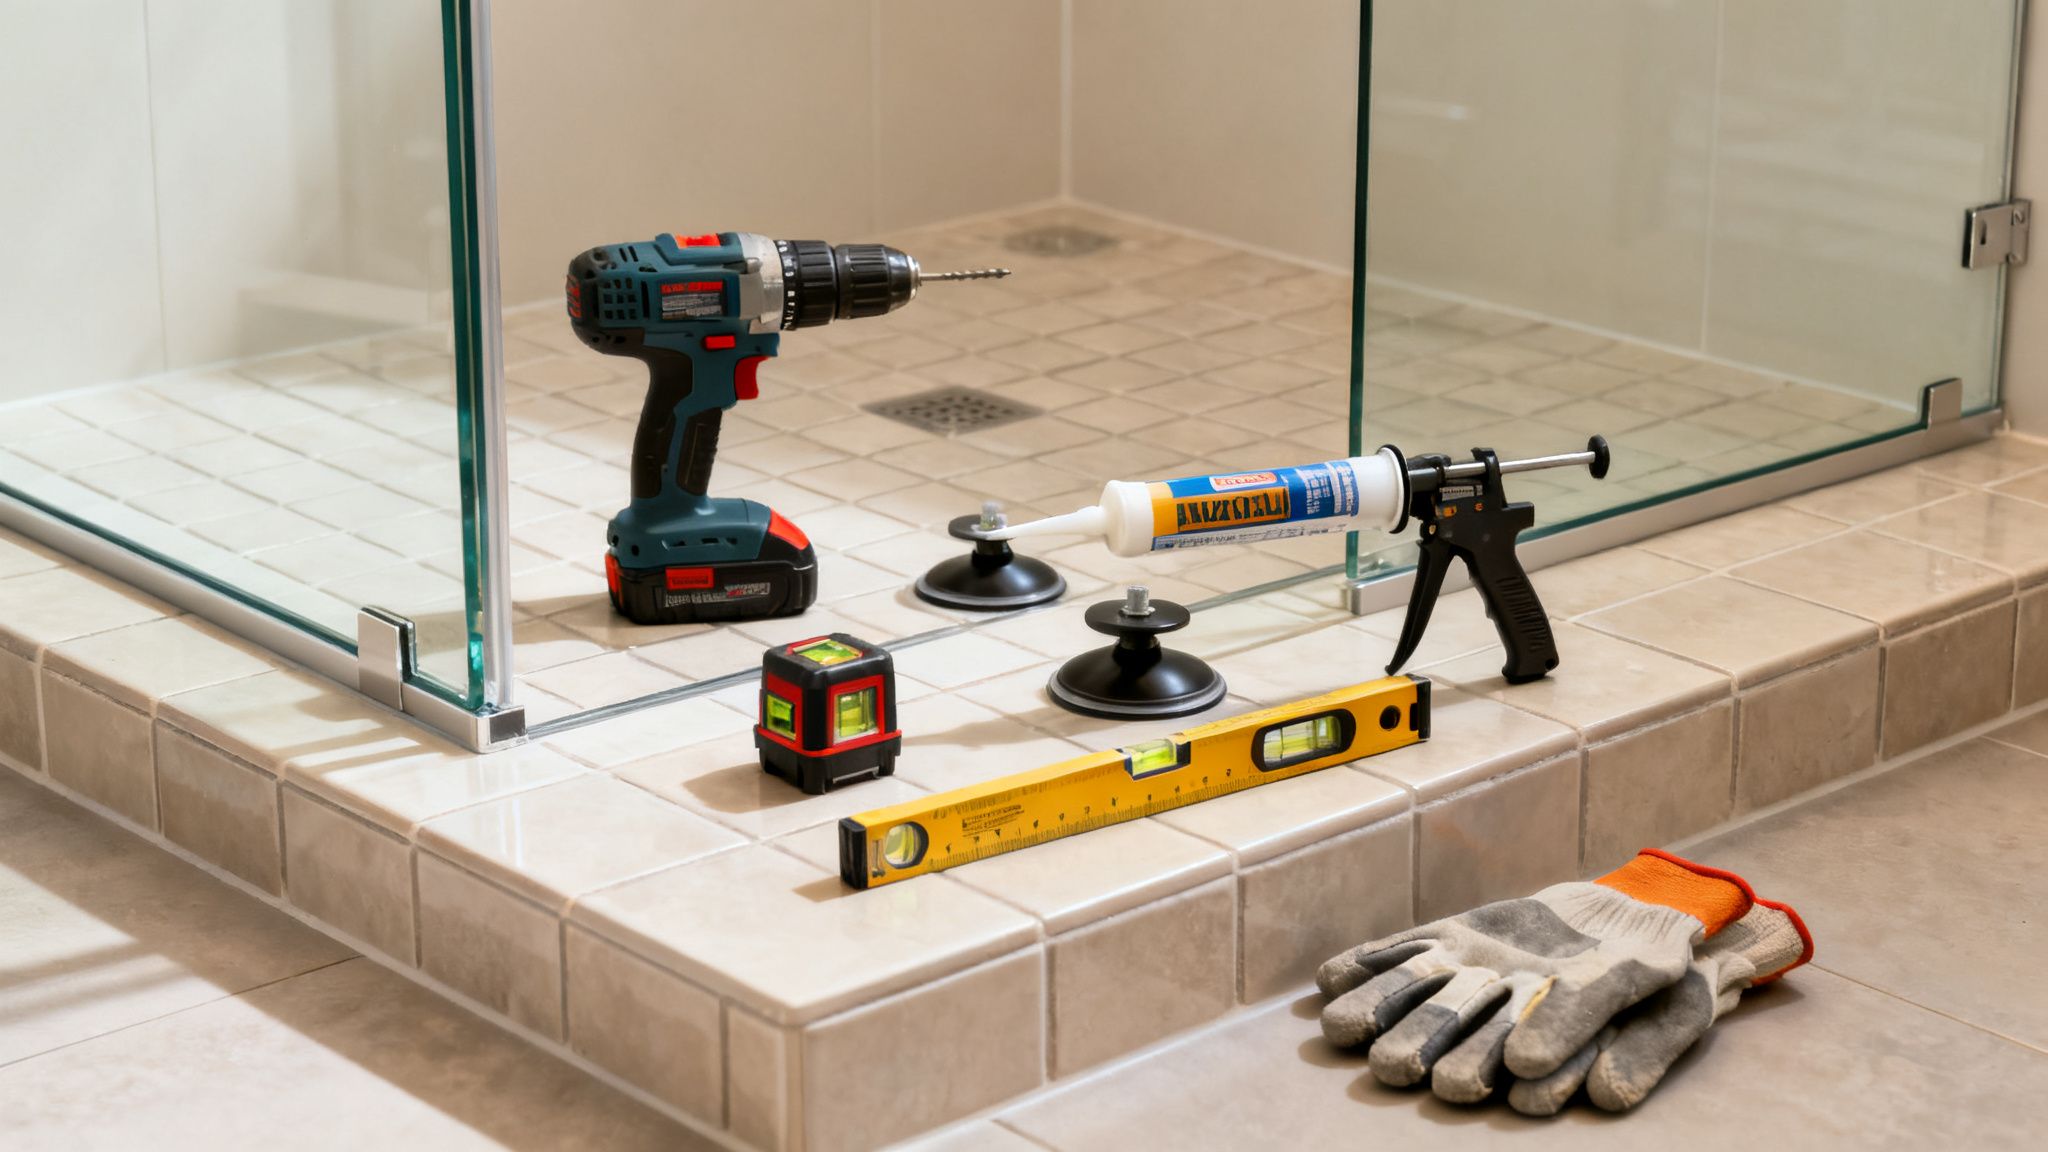
A top-notch frameless shower door installation is won or lost before you even unbox the glass. It all comes down to careful prep work and having every single tool you need right at your fingertips. If you think you can tackle this project with a basic home toolbox, I'd urge you to reconsider—this is precision work, and it demands precision tools.
Think of this part of the job as your pre-flight checklist. Missing one item or glossing over a prep step can derail the entire project. This is where you lay the foundation for a rock-solid, gorgeous, and—most importantly—leak-free shower enclosure.
Your Essential Tool and Material Checklist
Your everyday toolkit is a good start, but installing frameless glass requires some specialized equipment. A cheap tape measure or a wobbly level just won’t do when your measurements have to be accurate down to 1/16 of an inch. Let's get into exactly what you’ll need.
Core Installation Tools:
- High-Quality 4-Foot Level: This is your truth-teller. It's essential for confirming your walls are plumb and your shower curb is dead-level before you even think about ordering glass.
- Variable-Speed Drill with Clutch: You need total control here. Too much power and you can over-tighten a screw or, even worse, crack an expensive tile.
- Diamond-Tipped Drill Bits: Don't even try drilling through tile without these. They are non-negotiable for creating clean, perfect holes in porcelain or ceramic without shattering them.
- Laser Level: While a spirit level works, a laser level is a game-changer. It projects perfectly straight lines for aligning hinges and clamps, making your life infinitely easier.
- Stud Finder: One of the biggest mistakes DIYers make is mounting heavy glass panels directly to drywall. A reliable stud finder is your only way to locate the solid framing needed for a secure and safe installation.
Glass Handling & Sealing Gear:
- Heavy-Duty Glass Suction Cups: These are not a suggestion; they are a requirement. A single pane of 3/8-inch glass can easily weigh over 70 pounds. These tools give you the grip you need to handle it safely.
- Caulking Gun and Clear Silicone: Go for the good stuff. You need a high-quality, mold-resistant 100% silicone sealant to create a lasting, watertight barrier.
- Rubber or Plastic Setting Blocks: These tiny shims are your best friends. They protect the bottom edge of the glass panel from the hard tile surface and help you dial in the perfect spacing.
An installer’s most valuable tool isn’t in their toolbox—it’s patience. Rushing through the preparation or drilling process is where most errors happen. Double-check every measurement and every mark before you make a permanent change.
Preparing the Shower Enclosure
With your tools laid out, it's time to turn your attention to the shower itself. The mission here is to create a clean, stable, and perfectly true foundation for your new door. An unprepared space is the number one cause of leaks and alignment problems later on.
First things first: the entire area needs to be absolutely spotless. Get rid of every trace of soap scum, hard water deposits, and old caulk from the tile and curb. For the new silicone to bond correctly and create that waterproof seal, the surface has to be pristine. A final wipe-down with denatured alcohol will remove any remaining residue.
Next up is a crucial structural check. Grab your stud finder and locate every stud where you might install hardware. I can't stress this enough—the hinges for a frameless door must anchor directly into solid wood blocking or a stud. Anything less is a major safety hazard.
Of course, prepping the space is also about aesthetics. Now is a great time to explore some transformative bathroom shower tile ideas to ensure you have the perfect backdrop for your new glass. Just remember, all tile work must be finished and the grout fully cured before you take your final measurements.
Finally, protect your workspace. Lay down some heavy cardboard or old blankets in the bathroom and on the shower floor. This will save your tub or tile from getting scratched or chipped if you drop a tool. Proper prep isn't just about the install; it’s about protecting your bathroom. Once the job is done, you’ll have a better feel for the shower door maintenance needed to keep it looking brand new for years.
Mastering Measurements for a Perfect Fit
When it comes to frameless shower doors, your tape measure is everything. This isn't like installing a pre-hung interior door where a little caulk can hide your sins. Framed shower doors have forgiving metal channels that cover up minor mistakes, but with a frameless system, you have zero room for error. A miscalculation of even a quarter-inch can mean ordering a new, very expensive piece of custom glass.
This is where you have to think like a pro. You're not just measuring a hole in the wall; you're creating the exact blueprint for a custom-made product. Every single number has to be spot-on, which is why we measure everything three separate times before we even think about placing an order.
The Three-Point Measurement Technique
Let me tell you a secret: walls are almost never perfectly straight. Even in high-end new construction, you'll find bows and dips. To account for these imperfections, you absolutely have to use the three-point measurement technique. This is how you find the true dimensions of your opening.
For the Width:
- First, measure across the very top of the opening, from wall to wall.
- Next, take a measurement right across the middle.
- Finally, measure along the bottom, right on top of the shower curb.
For the Height:
- Measure the vertical height on the left side, from the curb up to where you want the top of the glass.
- Do the same thing right in the center of the opening.
- And one more time on the right side.
Here's the critical part: always use the smallest of the three width measurements when you order the glass. This guarantees the panel will actually fit. Don't worry about the small variations; those tiny gaps get filled with a clean bead of clear silicone later on.
Are Your Walls Plumb and Your Curb Level?
Getting the width and height is only half the battle. Now you need to grab a good 4-foot level to check if your walls are plumb (perfectly vertical) and your curb is level.
Press the level vertically against each wall where the glass or hardware will sit. If that bubble isn't dead center, your wall is "out-of-plumb." You need to note exactly how much it leans and in which direction. For example, you might find the wall leans in 1/8-inch over the 4-foot length of the level. This detail is crucial for the glass fabricator—they may need to cut the glass at a slight angle to match the wall perfectly. Do the same for the shower curb to make sure it's perfectly flat.
Pro Tip: When you make notes about an out-of-plumb wall, be specific. Don't just write "off by 1/4 inch." Instead, write "Hinge wall leans in at the top by 1/4 inch." This kind of clear communication is what prevents costly mistakes.
This level of precision is why frameless doors are the premium choice in what has become a massive $8.2 billion global market. The quality of the installation, starting with these measurements, is what makes them last. These doors often use heavy 6mm-8mm tempered glass, and a true professional will even check that the subfloor is flat to within 1/8-inch to avoid the alignment problems that ruin about 25% of DIY jobs. To get a better sense of the industry, you can see some interesting trends in the growing shower enclosures market at dataintelo.com.
Map Out Your Hardware Locations
With your measurements triple-checked and recorded, it's time to plan your hardware. Grab some painter's tape or a pencil and mark the exact spots for your hinges and any fixed panel clips. Double-check that your hinge locations line up with the wall studs or solid blocking you found earlier.
Creating this visual map lets you see the finished product in your mind's eye and confirms that your layout is both beautiful and structurally sound. To truly make your hard work pop, think about the glass itself. You can learn more about ultra-clear glass options that let in more light and make the whole space feel brighter and more open. This is the kind of meticulous planning that separates a good result from a great one.
Installing the Glass and Hardware
Alright, with all the prep work behind you and those measurements checked (and re-checked!), it’s time for the main event. This is where your careful planning really shines as you start putting everything together. We'll walk through this step-by-step, starting with the fixed panels, then moving on to mounting the hinges, hanging that heavy glass door, and finally, adding the seals that make it all watertight.
Frameless showers are more than just a design trend; they're the heart of a massive $13.7 billion global industry that's expected to climb to $22.7 billion by 2030. That growth is all about achieving that clean, minimalist look. Here in Southwest Florida, though, we know the real secret is in the installation. A true professional install starts by leveling the threshold to a tight 0.125-inch tolerance before a single piece of 10-12mm thick glass is even touched.
We also anchor brackets with #12 screws driven straight into solid blocking—a critical step that contractor surveys show DIYers get wrong 35% of the time, often leading to wobbly doors or even cracked glass. If you're interested in the market drivers behind these high-end installations, you can dig into the full report from psmarketresearch.com.
This flowchart gives you a great visual on the measurement process, highlighting why checking width, height, and plumb at multiple points is so critical.
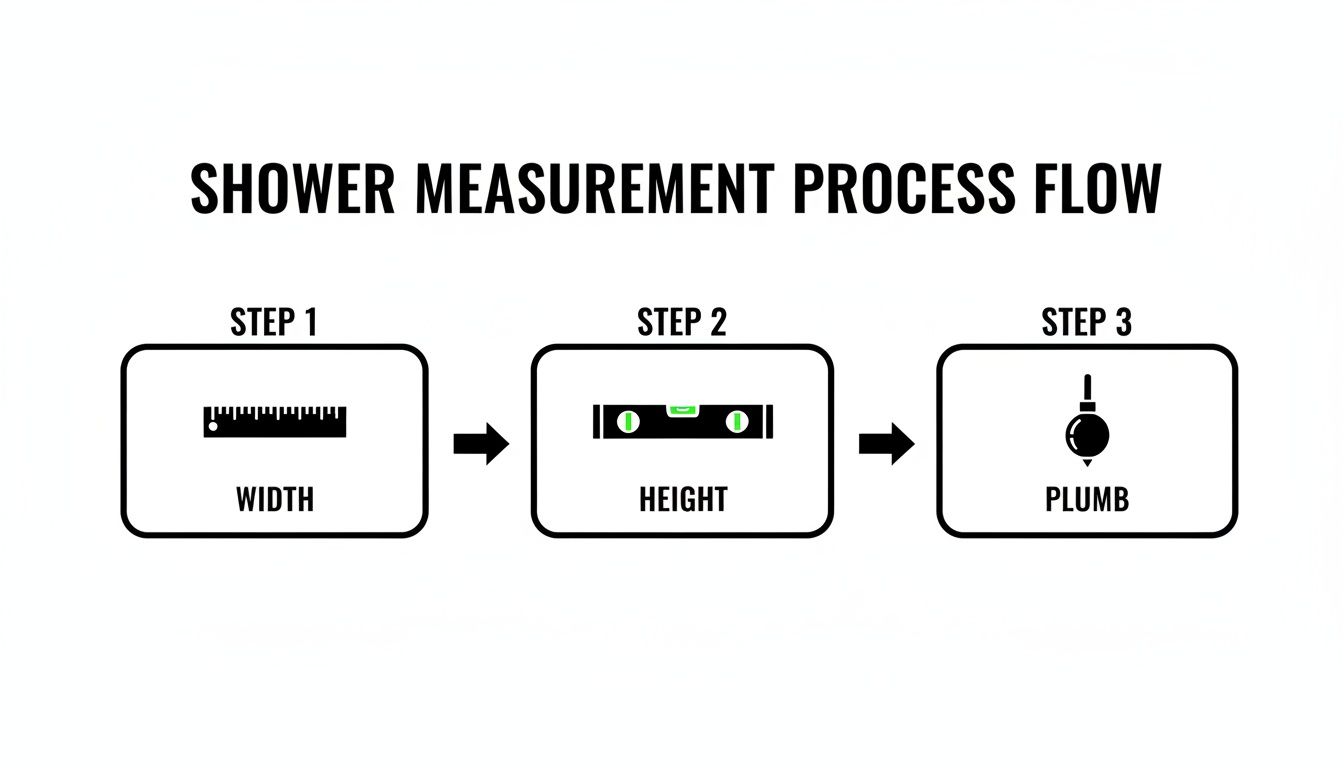
It really drives home the importance of accounting for any subtle imperfections in your shower stall before you order the glass.
Securing Fixed Glass Panels
The first piece of glass to go up is typically a fixed panel. Think of it as the anchor for your entire enclosure. This panel will be held in place by either a U-channel for a seamless look or a series of small, discrete clamps.
If you're going with a U-channel, you’ll cut it to the right length, secure it to the wall and curb with screws, and run a thin bead of silicone inside. For clamps, it’s a matter of marking and drilling your holes, popping in wall anchors, and then loosely attaching the clamps themselves.
Now, place a few plastic or rubber setting blocks—about 1/4-inch thick—on the curb right where the glass will rest. These little guys are essential; they create a protective gap and help you get the height just right. With a helper, carefully lift the panel using your suction cups and gently set it onto the blocks. Once it’s in place, grab your level and make absolutely sure it's perfectly plumb before you tighten the clamp screws or fully seat it in the U-channel.
Mounting the Door Hinges
Next up are the hinges, and this is where you can’t cut corners. These small pieces of metal will be holding up the entire weight of your heavy glass door, so they need to be rock-solid. The hinges must be anchored directly into wall studs or the solid wood blocking you identified earlier.
Hold the first hinge against the wall at your pre-marked location and use your level to get it perfectly vertical. Mark your drill holes with a pencil. Now for the tricky part: drilling through tile without cracking it.
Pro Tip: To keep your diamond-tipped drill bit from "walking" across the slick tile surface, stick a small piece of painter's tape over your mark. Start drilling at a very low speed with minimal pressure. Once you've etched a small divot in the tile, you can slowly increase the speed and drill all the way through into the stud.
Once you’ve drilled your holes, insert the provided wall anchors and screw the hinges securely to the wall. Before moving on, double-check that they are perfectly aligned and plumb.
Hanging the Glass Door
I can't stress this enough: this is a two-person job. No exceptions. That glass door is not only heavy but also awkward to handle and incredibly vulnerable on its edges. Trying to hang it by yourself is just asking for trouble.
With your helper, get a firm grip on the door with your suction cups. Carefully maneuver it into position, placing setting blocks on the curb beneath it to align the height perfectly with the fixed panel.
Now, guide the door so the pre-cut notches in the glass slide neatly into the wall-mounted hinges. Have your partner hold the door steady while you insert the hinge hardware and gaskets. Tighten the screws according to the manufacturer's directions, but don’t crank them down too hard—overtightening can put dangerous stress on the glass.
After the door is secured, you can carefully slide out the setting blocks. Give the door a gentle swing to test its motion. It should move smoothly without any sagging or catching on the curb.
Installing the Handle and Seals
You’re in the home stretch now! The door handle is usually a simple install. Just align the two pieces on either side of the pre-drilled holes in the glass and tighten the set screws.
Finally, it’s time to install the vinyl seals that will keep the water inside the shower. These clear polycarbonate strips are designed to be pressed right onto the edges of the glass. You’ll likely have a few different types:
- A sweep seal runs along the bottom of the door to block water at the curb.
- A strike seal goes on the vertical edge of the door where it meets a fixed panel or wall.
- A hinge-side seal closes the small gap on the other side of the door.
Cut each seal to the exact length you need and snap it into place. If any feel a bit loose, a few dabs of clear silicone will hold them securely. With the seals on, you’re done. Step back and admire the beautiful and functional new centerpiece of your bathroom.
Common Mistakes and When to Call a Professional
Even when you follow every instruction to the letter, a project of this scale can throw you a curveball. Installing a frameless shower door isn’t just about the steps for a perfect outcome; it’s about knowing the pitfalls that can turn a weekend project into a costly disaster. Let’s be real—the stakes are high here.
Knowing where others have gone wrong is your best defense. More importantly, it helps you spot the red flags that mean it's time to put down the drill and call in a pro. There’s no shame in it. In fact, it’s the smartest move you can make to protect your home and your investment.
Pitfalls That Can Derail Your Installation
I’ve seen a handful of recurring issues trip up even the most confident DIY installers. These aren't just minor hiccups; they're foundational mistakes that can compromise the safety and function of your entire shower.
Here are the big ones we see all the time:
- Inaccurate Measurements: This is the original sin of a frameless install. Being off by a mere 1/4 of an inch can create ugly, unsealable gaps. Worse, it could mean your custom-ordered glass panel simply won't fit, period.
- Missing Wall Studs: Trying to anchor a 70-pound glass door into drywall is a recipe for catastrophic failure. The hardware absolutely must be secured into solid wood studs or proper blocking. No exceptions.
- Drilling into Plumbing: This is every homeowner’s nightmare. Without knowing precisely what’s behind your tile, a misplaced drill hole can puncture a water line, leading to an emergency call to a plumber and massive water damage.
- Improper Silicone Application: This is an art form. Too much silicone looks sloppy and amateur, but too little guarantees a persistent leak. Getting that clean, watertight bead takes a practiced hand.
When you're tackling something this complex, it pays to understand the risks. The same principles that apply to other trades apply here—knowing your limits is critical, as explained in articles like these 5 Reasons DIY Plumbing Often Makes Things Worse.
Knowing When It's Time to Make the Call
So, when do you throw in the towel? Recognizing that point of no return is everything. Calling for backup isn't admitting defeat; it’s a strategic decision to ensure a safe, beautiful result that lasts.
Calling a professional is the ultimate quality control measure. It’s an investment in getting the job done right the first time, preventing expensive repairs, and guaranteeing the safety of your family.
You should stop what you’re doing and call an expert if you hit any of these roadblocks:
- Your Walls Are Seriously Out of Plumb. If you put a level on the wall and it's leaning more than 3/8 of an inch over a six-foot span, standard glass panels are not going to work. A professional will need to order custom-tapered glass to fit that angle perfectly.
- You Can't Find a Solid Anchor Point. Is your stud finder giving you weird readings? Do you suspect there’s nothing solid behind the tile where a hinge needs to go? Stop immediately. A pro has the right tools and experience to locate secure mounting points or create them if needed.
- You've Cracked a Tile. Drilling through porcelain or ceramic is delicate work. If a tile cracks, it’s a sign you’re using the wrong bit or applying way too much pressure. Pushing forward will only lead to more broken tiles and a much bigger headache.
- The Glass Just Doesn't Seem to Fit. If you're wrestling to get the door aligned or you’re seeing large, uneven gaps, it’s a sure sign the initial measurements were off. Trying to force it into place puts immense stress on the glass and hardware, risking total failure down the road.
Before you find yourself in too deep, it's wise to weigh the real costs and risks.
DIY vs. Professional Installation Cost and Risk Analysis
This table breaks down the reality of what you save versus what you risk by taking on this project yourself.
| Factor | DIY Approach | Professional Service (e.g., AmeriGlass) |
|---|---|---|
| Upfront Cost | Lower. You only pay for materials, tools, and hardware. Potential savings can seem significant. | Higher. You are paying for materials, expert labor, insurance, and warranty. |
| Hidden Costs | High potential. Cost of replacing a broken glass panel ($500+), repairing water damage ($1,000+), or hiring a plumber can wipe out any savings. | Minimal. All costs are quoted upfront. Professionals are insured against accidental damage. |
| Time & Effort | Significant. Expect to spend 8-12 hours or more, factoring in multiple trips to the hardware store and learning curves. | Minimal. An experienced crew can typically complete an install in 2-4 hours. |
| Risk of Injury | High. Handling heavy, large panes of glass is dangerous. Risk of deep cuts, strains, or dropping and shattering the panel. | Very Low. Professionals use specialized equipment (like suction cups) and are trained in safe glass handling techniques. |
| Final Quality | Variable. May have unsealed gaps, messy silicone, or misaligned hardware. No warranty on your own labor. | Guaranteed. Precise fit, clean finish, and professional-grade sealing. Backed by a workmanship warranty. |
While the initial savings of a DIY approach can be tempting, the potential for costly mistakes and safety hazards is very real.
Here in Southwest Florida, from Naples to Bonita Springs, our team at AmeriGlass Industries has seen it all. We have the specialized tools and decades of hands-on experience to navigate these exact challenges flawlessly. If you’re feeling the least bit unsure about any part of your installation, it’s always best to get a professional opinion.
You can easily request a free estimate and expert consultation to ensure your project is finished to the highest possible standard.
Your Frameless Shower Door Installation Questions Answered
Even with the best guide in hand, you’re going to have questions. When it comes to something as precise as a frameless shower door installation, that’s not just normal—it's expected. Getting the details right on glass weight, wall imperfections, and proper sealing is what makes the difference between a frustrating weekend and a flawless, professional-looking result.
We get calls all the time from homeowners in Naples, Fort Myers, and across Southwest Florida asking these very same questions. Let’s tackle some of the most common ones we hear, so you can feel confident moving forward or know when it’s time to call in the pros.
How Heavy Is a Frameless Shower Door and Can One Person Install It?
This is easily one of the most critical safety questions, and for good reason. A standard frameless door, usually made from 3/8-inch or 1/2-inch thick tempered glass, can weigh anywhere from 70 to a whopping 120 pounds. The final weight all comes down to its specific height and width.
Given that heft, coupled with how fragile glass is on its edges, trying to install one by yourself is something we never recommend. It's not just a matter of muscle; it’s about having total control. You absolutely need a capable helper to lift, position, and hold the heavy panels perfectly steady while you meticulously secure every piece of hardware. Professional teams always work in pairs—it’s the only way to prevent injury and avoid a very expensive accident.
What Happens if My Walls Are Not Perfectly Plumb?
First off, don't panic. Discovering your walls aren't perfectly straight is an incredibly common find in just about every home, new or old. In fact, this is exactly why professional, multi-point measurement is so critical before any glass is ordered.
If a wall is out-of-plumb and you try to install a standard rectangular piece of glass, you'll end up with ugly, tapering gaps that are impossible to seal. The professional solution is simple: the glass is custom-cut at a slight angle to perfectly trace the slope of the wall. This is how you get that seamless, tight fit from top to bottom. The same goes for a shower curb that isn’t perfectly level—custom-sized vinyl sweeps can be used to create a watertight seal. Ignoring these little imperfections will only lead to leaks and put uneven stress on the hinges and clamps, risking failure down the road.
An out-of-plumb wall isn't a deal-breaker; it's a data point. A professional installer sees this not as a problem, but as a specific instruction for how the glass needs to be fabricated for a perfect, custom fit.
What Is the Best Way to Seal a Frameless Shower Door?
A truly leak-proof shower isn't achieved by just one thing. It's a combination of the right materials applied in the right places. It’s a methodical process where you can't take shortcuts.
High-Quality Silicone Caulk: A thin, clean bead of 100% mold-resistant clear silicone is your best friend. But here’s the key: it should only be applied along the exterior edges and bottom of any fixed glass panels. The goal is a discreet, waterproof barrier where the glass meets the tile.
Polycarbonate and Vinyl Seals: These clear, press-on seals do the rest of the heavy lifting. A flexible "sweep" snaps onto the bottom of the door to seal against the curb, while clear vertical seals close the tiny gap between the door and a fixed panel or wall.
This two-part approach is the industry gold standard. Precisely applied silicone on the stationary glass and custom-fit vinyl seals on the moving door will guarantee a beautiful, watertight enclosure that lasts for years. If you want to dive deeper, you can always find more expert answers on our comprehensive FAQ page.
Can I Install a Frameless Door on Any Wall Surface?
The short answer is a hard no—not without proper support behind it. The single most important factor for a safe, secure installation is having solid structural blocking behind your finished wall. Think about it: that heavy glass door is constantly pulling on its hinges, and they absolutely must be anchored into solid wood studs or dedicated blocking.
Trying to attach heavy hardware to just tile and drywall is a recipe for disaster. It’s only a matter of time before the anchors pull loose, causing the door to sag, get misaligned, and eventually fail completely. That's a huge safety hazard. If you're building a new shower, plan ahead and install wood blocking between the studs right where you intend to mount the hinges. For a retrofit into an existing bathroom, you’ll need a good stud finder to locate the framing and design your door layout around those solid anchor points.
At AmeriGlass Industries, we navigate these challenges every single day, making sure every installation is safe, secure, and perfectly fitted to your unique bathroom. Transform your space with confidence by choosing our expert team for your project. https://ameriglassindustries.com