

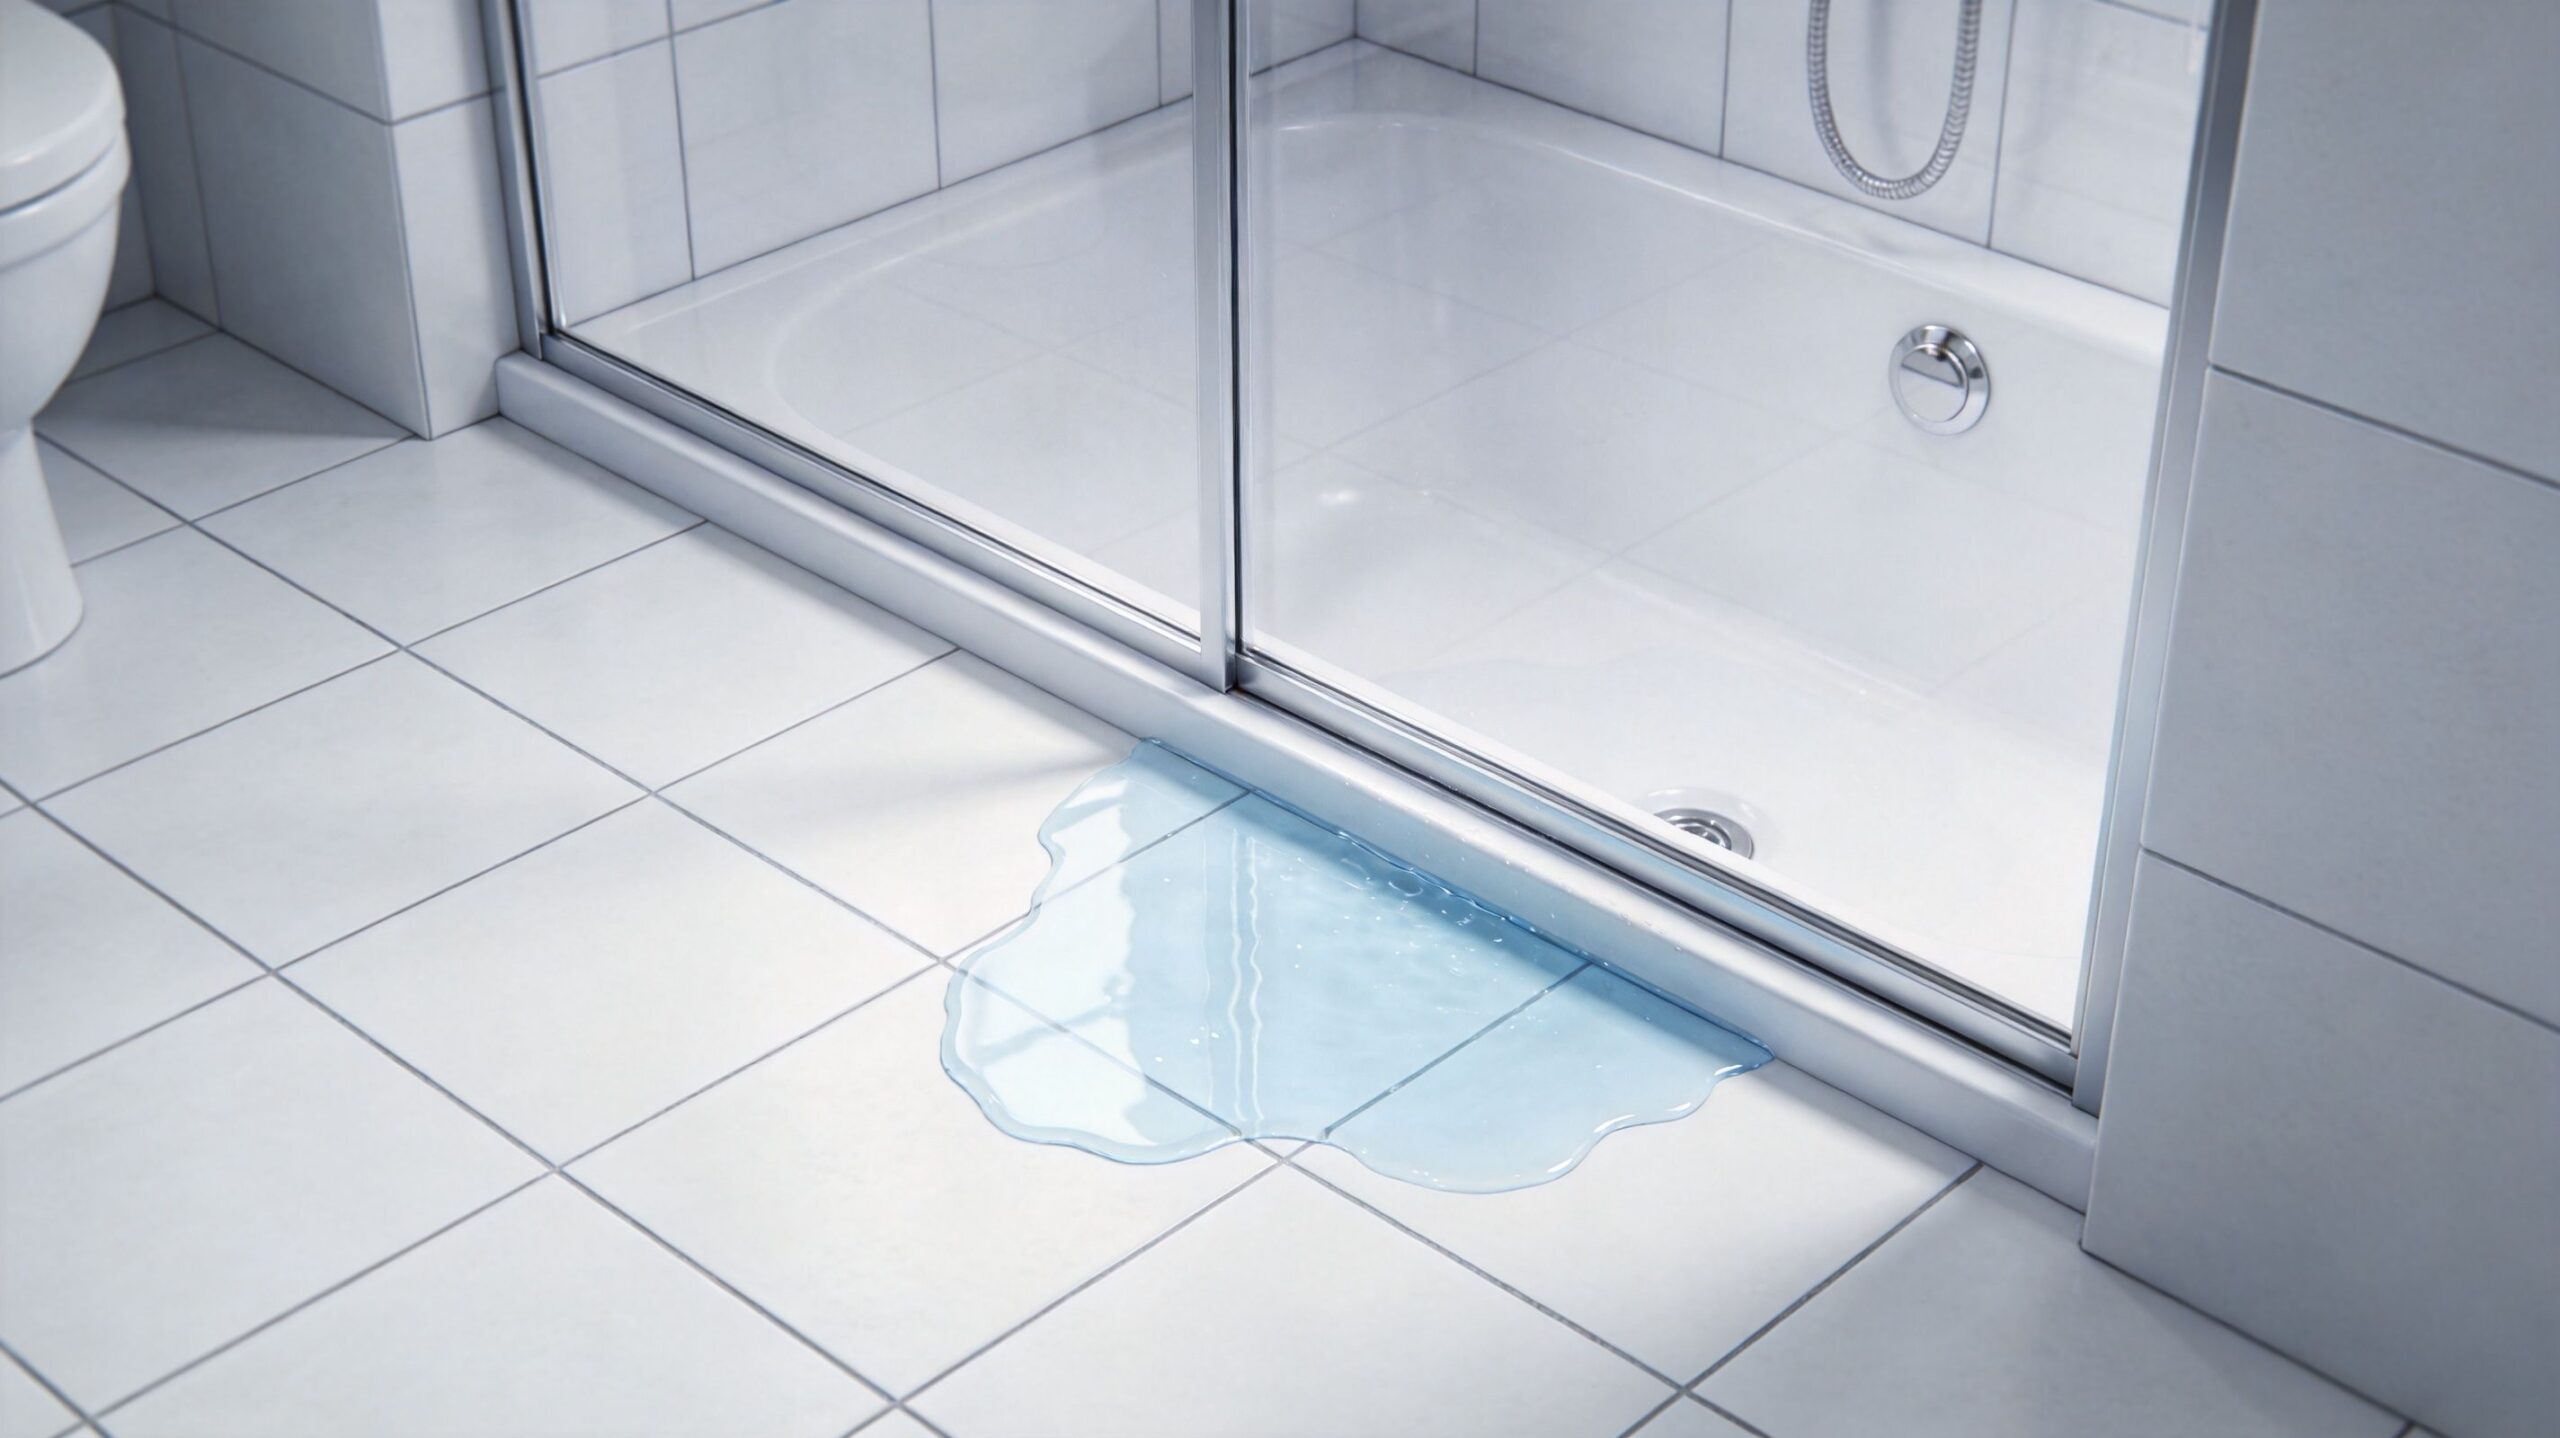
You step out of the shower, reach for the bath mat, and feel water where it shouldn't be. Not a flood. Just that thin puddle along the outside edge of the door that keeps coming back no matter how carefully you close it.
In Naples and across Southwest Florida, that usually points to one small part doing a big job poorly: the frameless shower door sweep. When it wears out, fits the wrong glass, or sits crooked over an uneven tile curb, water finds the gap fast. The fix is often straightforward, but only if you choose the right sweep and install it with the actual conditions of a Florida bathroom in mind.
Why That Puddle Appears and How to Fix It
That puddle rarely starts because the whole shower failed. More often, the bottom seal stopped directing water back into the enclosure. On frameless doors, the sweep is the piece that hangs on the bottom edge of the glass and helps keep runoff from slipping under the door.
Frameless showers are common for a reason. The U.S. shower enclosure industry was valued at approximately $2.5 billion in 2023, with frameless designs capturing over 40% of the market, according to Dulles Glass on shower sweep replacements. That same source notes that improper sweep fit contributes to 70% of reported shower leaks, and those leaks are part of water damage costing U.S. homeowners $5 billion annually.
What the sweep is really protecting
A worn sweep doesn't just leave a wet tile floor. It can soak grout lines, swell trim, and keep moisture where mildew likes to show up first.
There's another point homeowners often miss. Sometimes the leak under the door is only part of the issue. If water is also showing up around the drain area, it helps to compare symptoms against this guide on shower drain maintenance so you don't replace the wrong part first.
Practical rule: If the water line starts under the door and follows the swing path, inspect the sweep first. If water appears farther inboard near the drain or below the shower base, look beyond the door.
One common Naples-area pattern
In remodels around Southwest Florida, I see this combination often: a clean frameless door, older tile work, and a bottom gap that isn't perfectly even from one end to the other. The original sweep may have worked for a while, then hardened, shrank, or stopped contacting the curb consistently.
When that happens, a simple replacement can solve it. If the leak is splashing outward at the panel edge instead of only under the door, fixed glass protection matters too. A properly placed fixed splash guard option can help control that runoff where the door sweep alone won't.
Selecting the Right Sweep for Your Shower and Climate
Purchasing a replacement online based on appearance alone is a frequent mistake. A frameless shower door sweep must correspond to glass thickness, door width, bottom gap, and how water behaves in your bathroom. In Southwest Florida, humidity and salt air make that choice more significant because lower-quality material tends to stiffen, haze, or lose shape faster.
The profiles that matter most
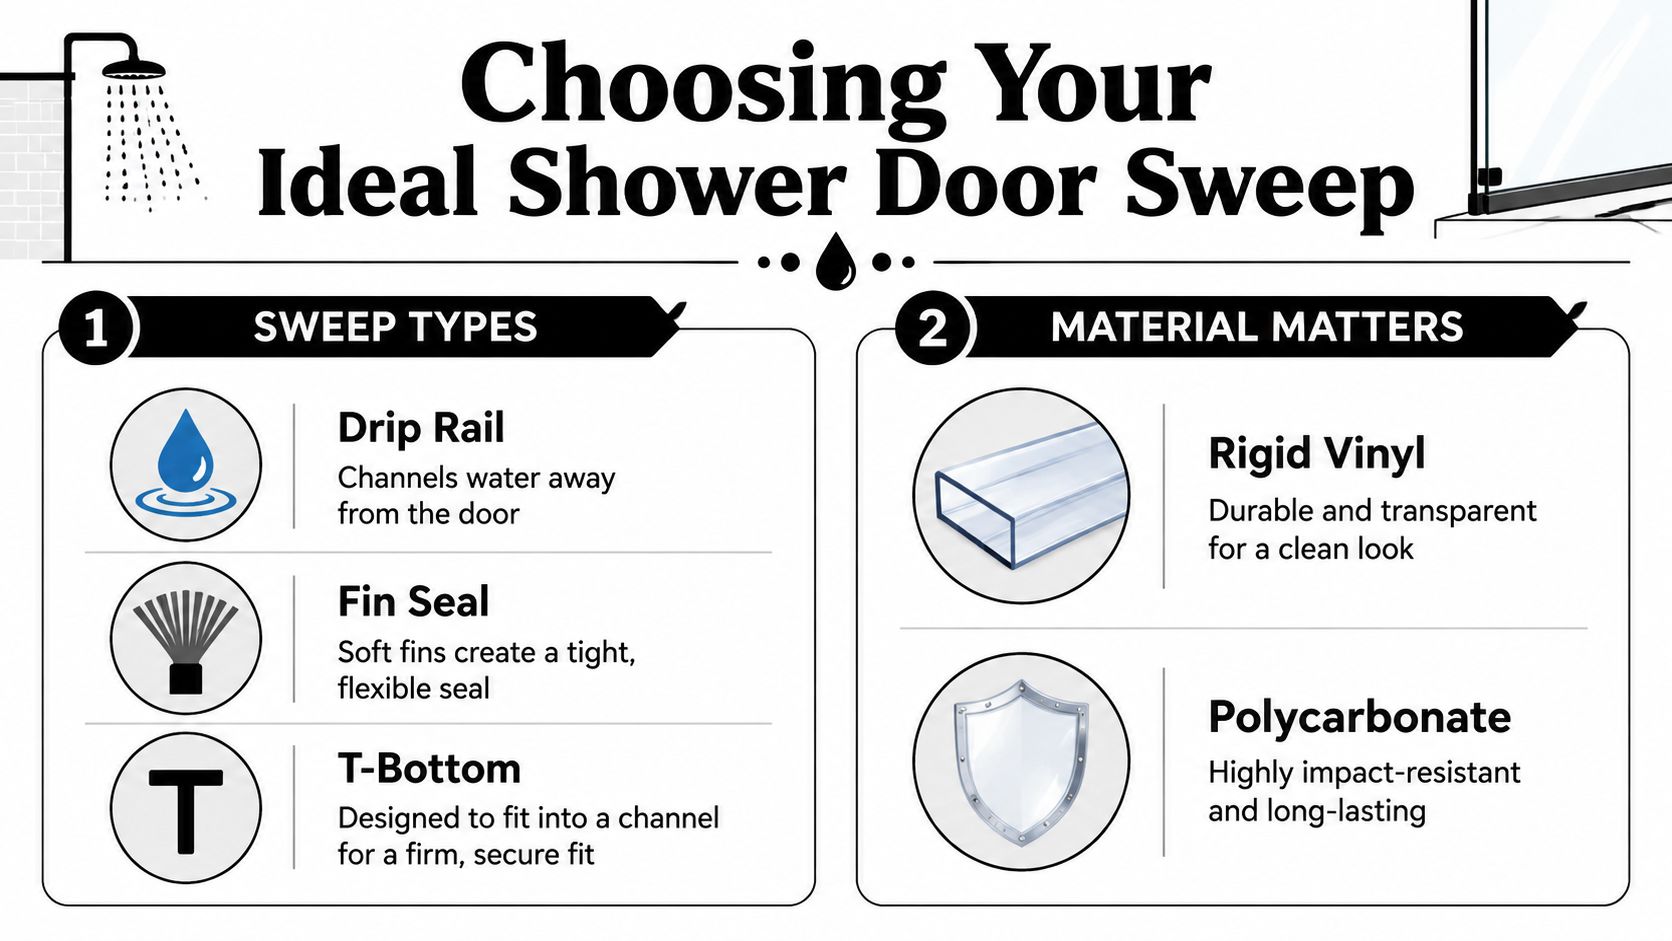
Some sweeps are built mainly to wipe. Others are built to deflect water back inside. For frameless doors, the profile matters as much as the material.
| Shower Door Sweep Comparison | Best For | Fitment Notes |
|---|---|---|
| Drip Rail | Doors that shed water straight down the glass face | Works best when the deflector points inward properly and the curb is reasonably true |
| Fin Seal | Small irregularities where a softer contact helps | Can be forgiving, but the wrong fin length may drag or miss the curb |
| T-Bottom | Doors designed for a channel-style bottom connection | Must match the receiving channel correctly or it won't seat firmly |
Material isn't a minor detail
In this climate, I'd be careful with bargain flexible vinyl. It's easy to install, but it's also the material homeowners replace again and again because it loses memory, curls, or turns brittle.
According to Oasis Shower Doors on drip-edge sweeps, standard sweeps often fail in high-humidity climates like Southwest Florida. The same source says rigid acrylic sweeps can outperform flexible vinyl in longevity, lasting 7 to 10 years versus 3 to 5, and that an inward-facing 45° drip edge is essential for water containment.
Don't shop by “universal fit.” Shop by exact glass thickness and the shape of the bottom profile.
How to measure without guessing
A lot of replacement mistakes start with measuring the door length but ignoring the glass thickness. Frameless doors commonly use different glass sizes, and the sweep has to grip that thickness correctly.
Check these points before you buy:
- Glass thickness first: Look for whether your door is built for 1/4-inch, 3/8-inch, or 1/2-inch glass. If the sweep is loose on the glass, it won't stay put.
- Door width second: Measure the installed sweep length or the actual width across the bottom of the door edge that needs coverage.
- Gap shape third: Check whether the space under the door is consistent or wider at one end. Uneven tile often changes the answer.
- Drip edge direction: The lip should direct water back inward, not toward the bathroom floor.
For homeowners comparing parts and hardware styles, it helps to review actual shower door product options so you can match the sweep style to the enclosure design instead of ordering a generic strip that only looks similar.
Gathering Your Tools for a Clean Swap
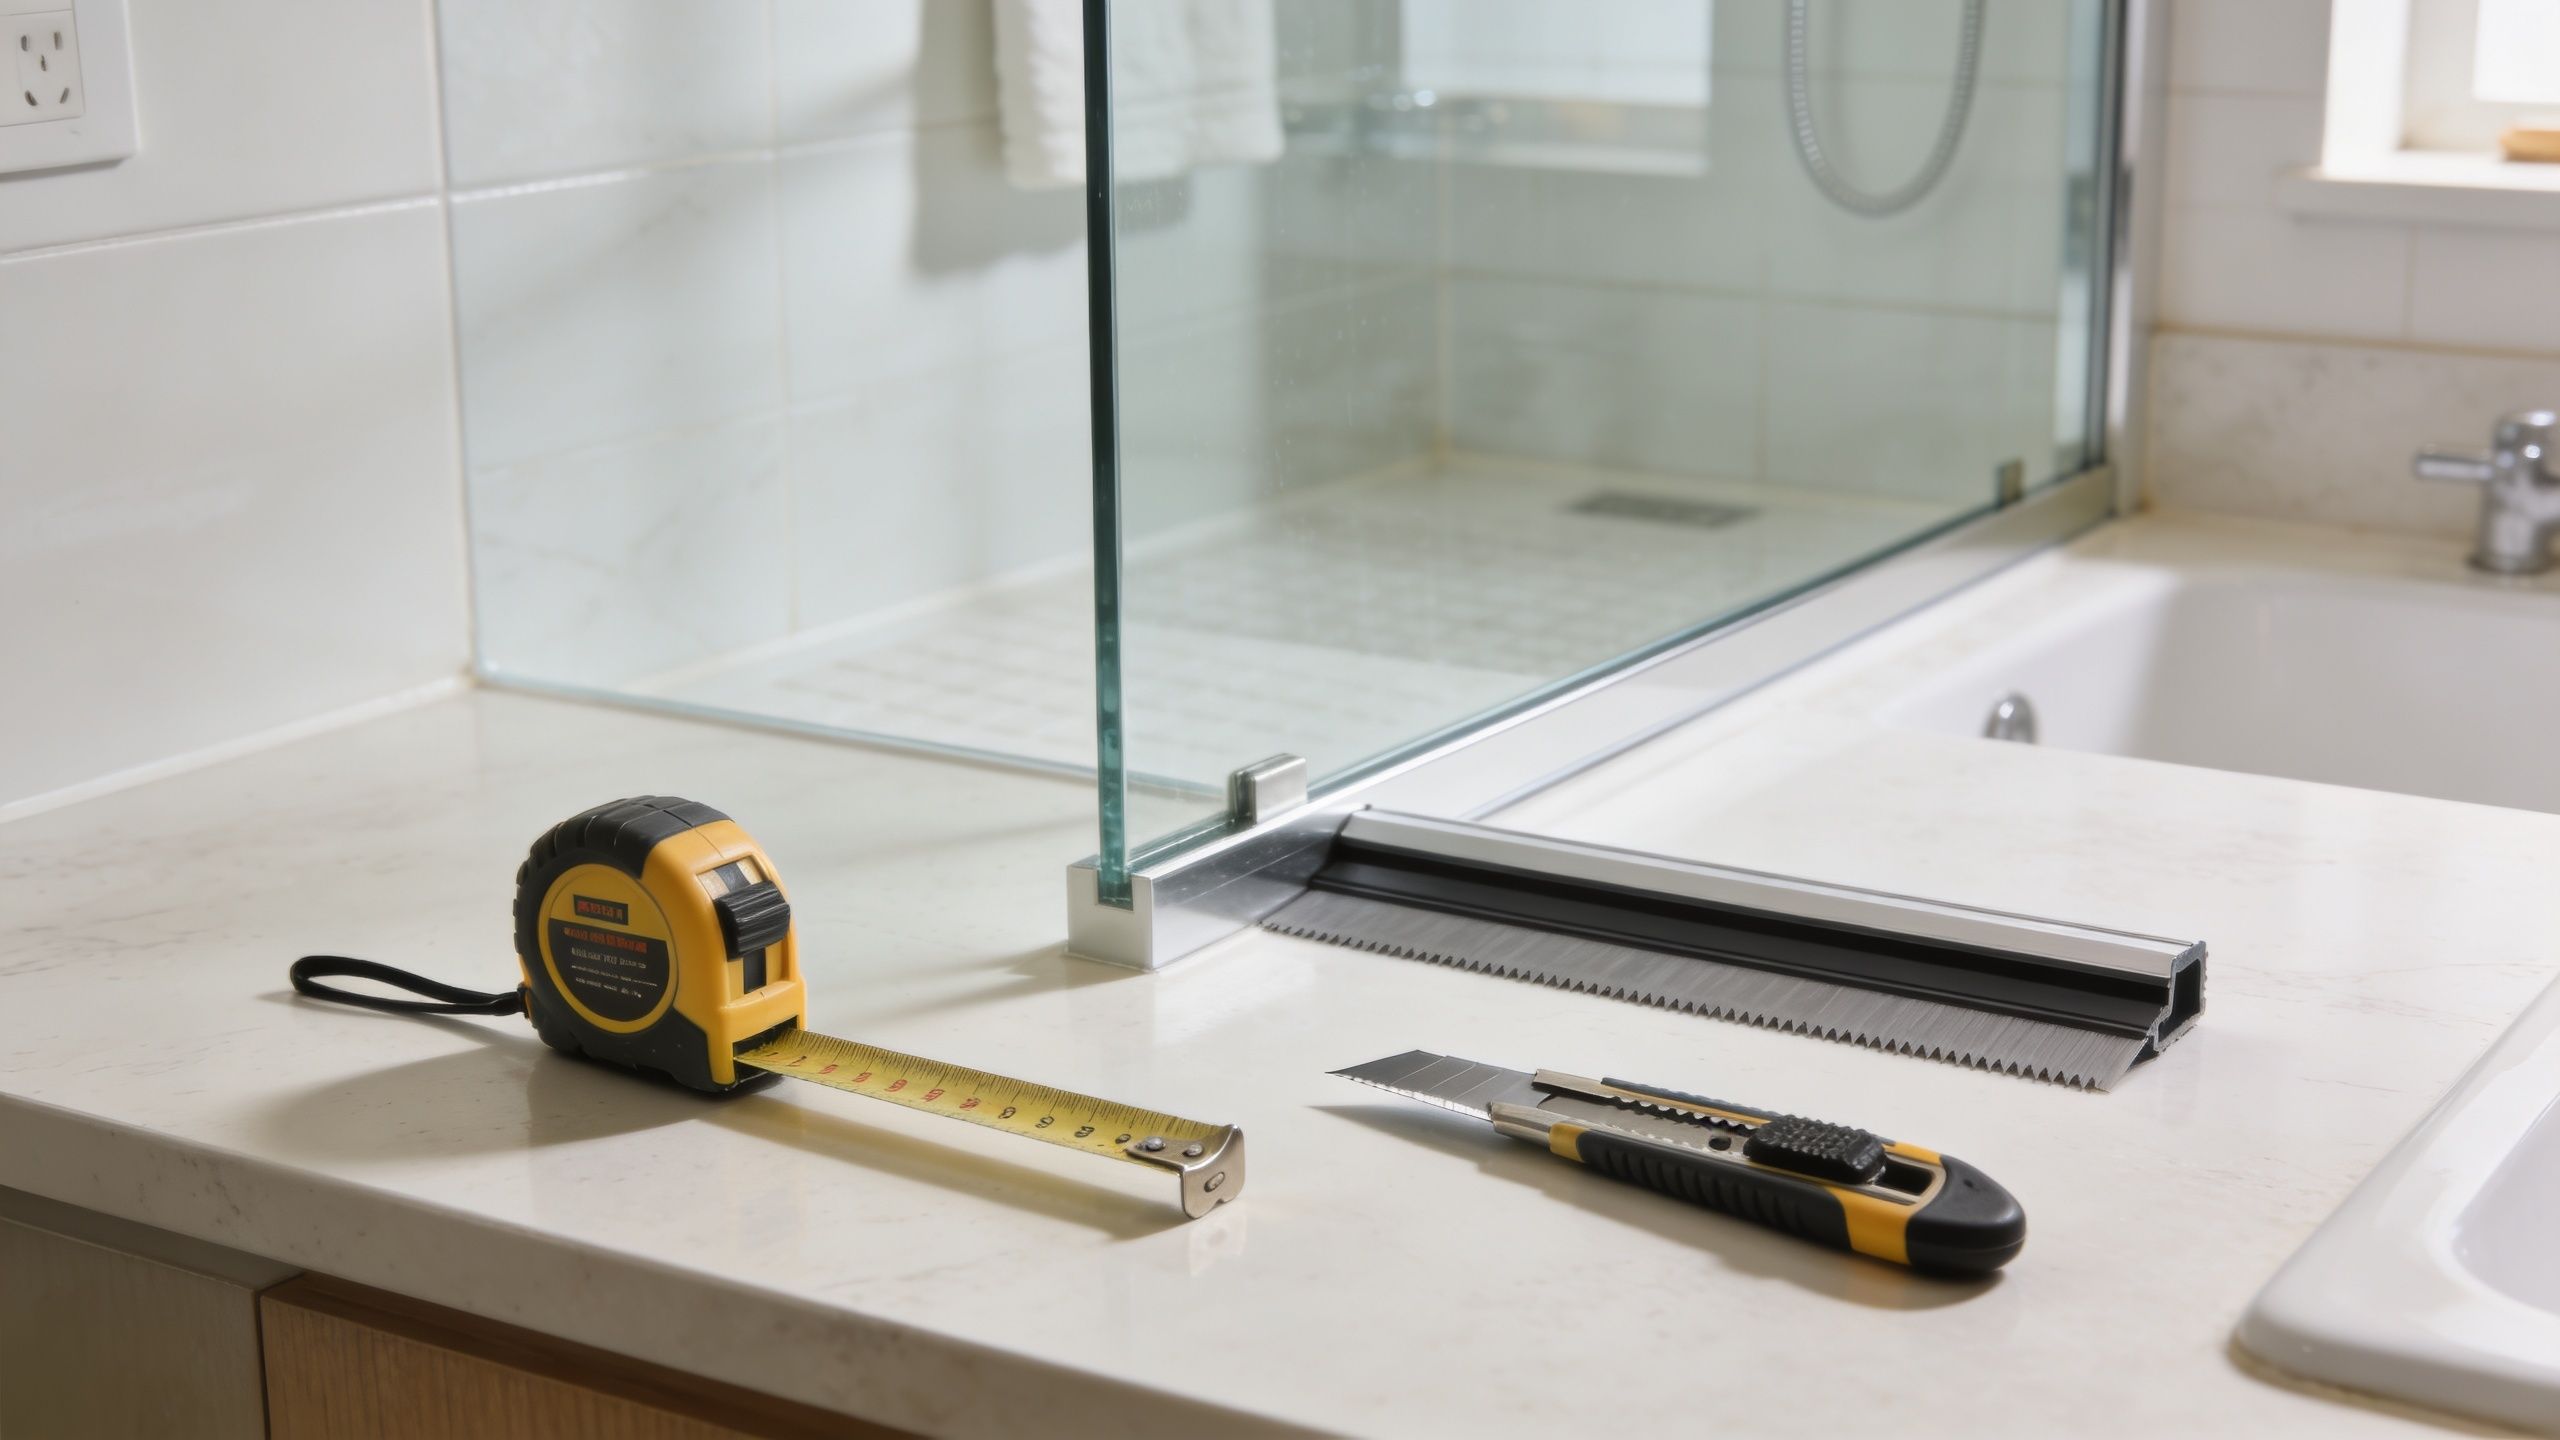
You don't need a full shop setup for this job. You do need the right basics, laid out before you start, because once the old sweep is off, you don't want the door sitting half-finished while you hunt for a blade or a cloth.
What to have on the counter
- Tape measure: You need the full bottom length and, just as important, a quick check at both ends if the tile or curb isn't perfectly even.
- Utility knife or dedicated cutter: A clean cut helps the sweep seat flat. Ragged cuts leave corners that snag or leak.
- Rubbing alcohol: This is the cleanup step people skip. Soap film and hard-water residue keep a push-on sweep from gripping the glass properly.
- Clean lint-free cloth: Use it with the alcohol to wipe the bottom glass edge dry and clear.
- Pliers: Helpful for trimming some rigid profiles or pulling off a stubborn old strip.
- Marker or painter's tape: Mark your cut line clearly before you trim.
Why prep matters
The bottom edge of a shower door collects invisible residue even when the glass looks clean. If you push a new sweep onto that residue, the fit can feel snug at first and still slide later.
Shop habit: Clean the glass edge until the cloth comes away clean, then let it dry fully before the new sweep goes on.
That step takes a minute and saves rework.
Your Guide to Removing and Installing a New Door Sweep
Most shower door sweeps are wear items. According to pFOkUS on frameless shower door sweeps, industry standards suggest replacing shower door sweeps every 6 to 24 months. The same source says a high-traffic primary bathroom may need replacement every 6 months, while a secondary bath might last up to 24 months, and that standard sweep lengths are typically 36 inches, which can be cut to size.
That replacement cycle makes sense in Florida. Heat, moisture, and cleaning chemicals work on these parts every day.
Easing off the old seal
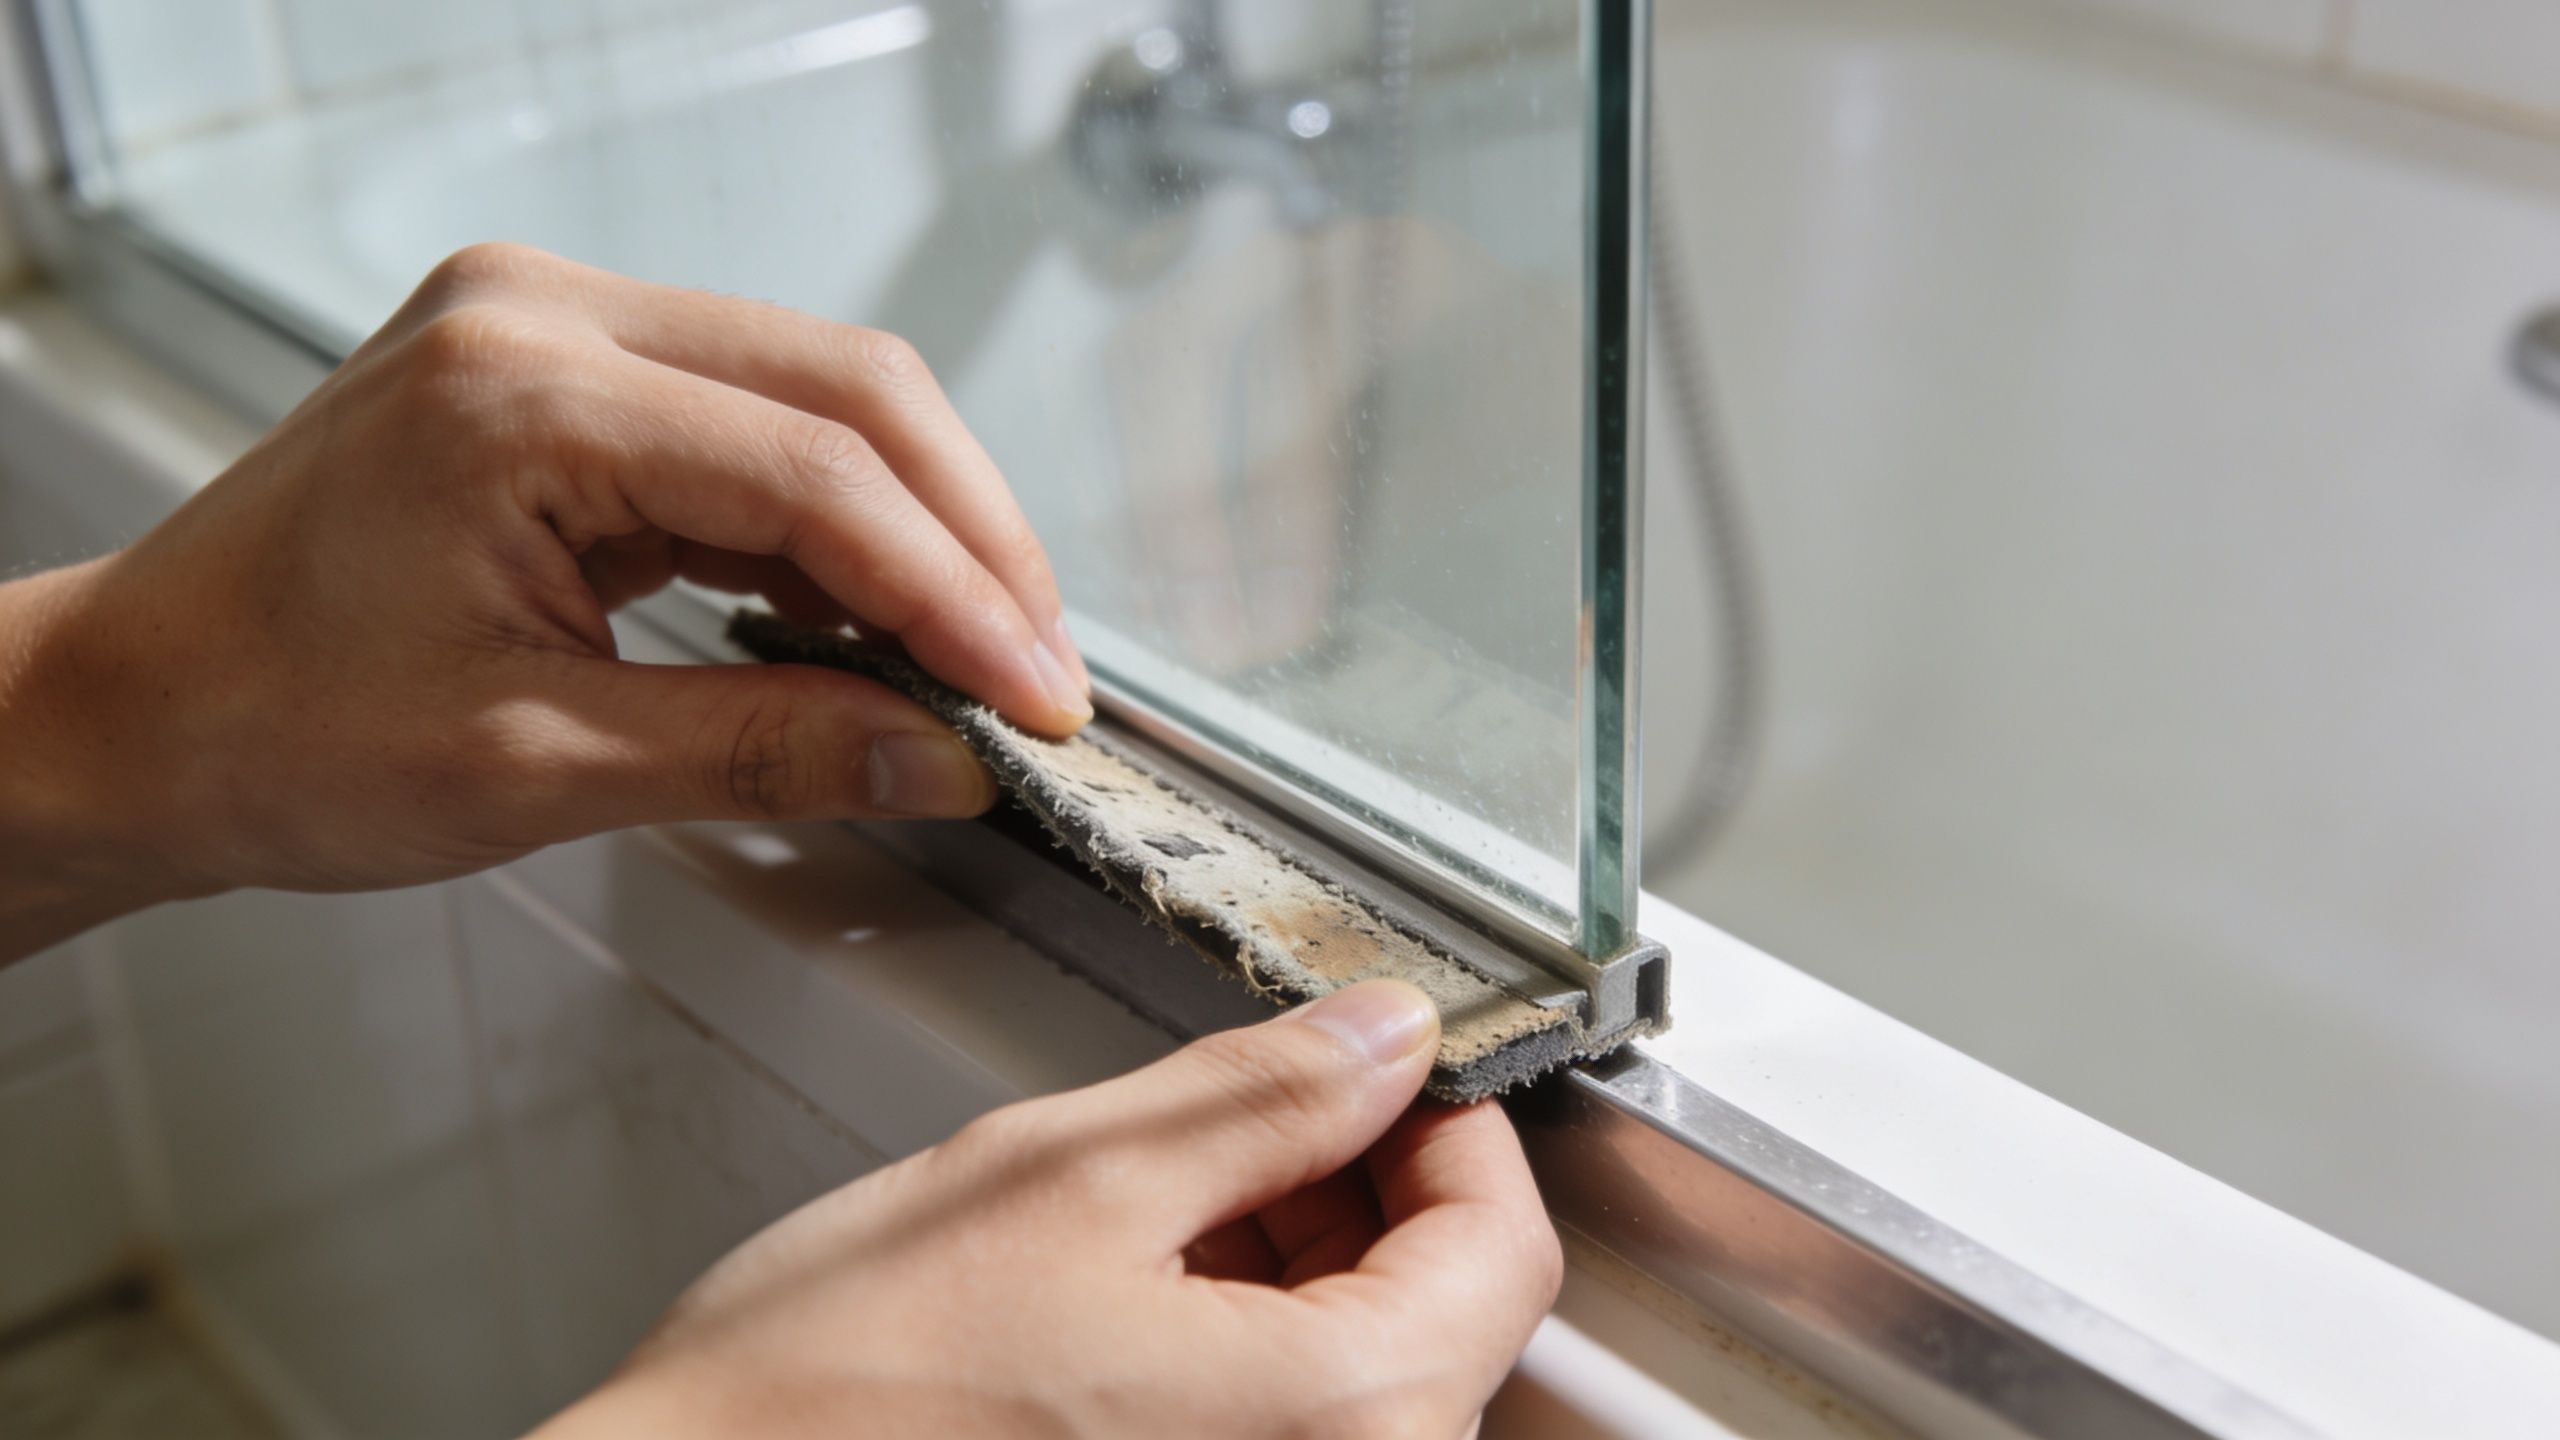
Start with the door dry. Grip one end of the old sweep and pull it along the glass edge rather than straight down if it's tight. Older sweeps can harden and cling to the glass.
If it won't move easily, warm it gently with a hairdryer for a short time. That softens the material enough to remove it without forcing the glass or stressing the bottom edge.
Cleaning the glass edge properly
Once the old piece is off, wipe the bottom edge with rubbing alcohol and a clean cloth. Pay attention to the corners, where soap residue often builds up most.
Don't install over old grime. A push-on sweep depends on direct contact with the glass channel.
Measuring and making the cut
Measure the old sweep if it fit correctly, but don't trust it blindly if it leaked. Also measure the actual door width.
For a clean result:
- Set the new sweep against the door and mark the trim point.
- Double-check which end should align with the hinge side or latch side.
- Cut slowly with a sharp blade or suitable cutter.
- Test the fit before pressing it fully into place.
A slightly short sweep can leave a leak path at the corner. A long one can buckle and sit unevenly.
Snapping the new sweep into place
Most modern replacements are push-on profiles. Start at one end and work across the bottom edge evenly with your hands. Don't hammer it on.
If your shower has an uneven tile floor, fit the sweep and close the door slowly to check contact from end to end. Some installations benefit from small shims to fine-tune the gap where the floor varies.
This video gives a helpful visual for the basic replacement motion and fit check:
Final check before you call it done
Run the shower and watch the bottom edge from outside the enclosure. You're looking for where the runoff goes, not just whether the floor stays dry for a few seconds.
A new sweep should sit straight, stay secure on the glass, and guide water back inward without making the door drag hard across the curb.
If you're replacing the sweep because the whole enclosure fit has become questionable, it's smart to look at a fully custom shower door design approach rather than forcing another standard strip onto a non-standard opening.
Solving Common Problems After Installation
A lot of homeowners assume a new sweep should solve every leak immediately. That's not always true. The sweep may be new, but the problem can still be the floor, the alignment, or the wrong profile.
If the sweep feels loose
A loose fit usually means one of two things. Either the sweep was made for a different glass thickness, or the channel profile is too wide for the door edge.
If it slides by hand after installation, don't trust it. Replace it with the exact fit instead of trying to make up the difference with improvised fillers.
If a small leak still shows up at one corner
That's often a clue that the door opening isn't even from side to side. In Naples remodels, I see this with tile curbs that look level but vary enough to create a small daylight gap at one end.
Try these checks:
- Close the door slowly: Watch whether one corner touches while the other stays open.
- Inspect the sweep line: A crooked cut can create a leak path at the edge.
- Check nearby seals: Water may be escaping from the strike side or fixed panel and only appearing at the bottom.
- Look at spray direction: A showerhead aimed directly at the door seam can overwhelm a marginal seal.
When the problem isn't the sweep
If the leak comes from the hinge side, the latch side, or around a fixed panel, replacing the bottom sweep won't solve it. That points to alignment or another seal profile.
The best troubleshooting move is to follow the water path, not the wet spot where it finally lands.
If you're dealing with a stubborn leak pattern, detailed frameless shower door FAQs can help you narrow down whether you need a sweep, another seal, or a hardware adjustment.
Extending Sweep Life and When to Call the Pros
After the new sweep is installed, maintenance is more critical than many homeowners realize. In Florida bathrooms, plastic parts age faster when they stay coated in cleaner residue, hard-water film, and constant moisture.
What helps the sweep last longer
Use simple habits that reduce stress on the material:
- Wipe the bottom edge dry: Less standing moisture means less haze and stiffness over time.
- Use gentler cleaners: Avoid harsh chemicals that can make plastic brittle.
- Check for drag: If the sweep starts scraping too hard, inspect it before it tears or pulls loose.
- Clean the glass regularly: Better glass care also reduces buildup on the sweep. This guide on how to clean your shower doors is a useful reference for keeping residue under control.
When DIY stops making sense
Call a professional if the door is sagging, the gap changes noticeably from one side to the other, the glass is chipped, or the enclosure leaks from more than one area. Those jobs usually involve alignment, custom fitment, or safety concerns around heavy tempered glass.
If the issue goes beyond a basic replacement and you need a full enclosure evaluation, review local options for frameless shower door installation in Fort Myers, Florida and surrounding Southwest Florida service.
If your frameless shower door sweep keeps leaking, won't stay on, or the gap under the door just doesn't look right, AmeriGlass Industries can help. Their team handles precision measurement, custom-fit frameless shower solutions, and professional installation across Naples and Southwest Florida, so your shower looks clean and seals the way it should.
Leaking at the bottom? AmeriGlass Industries replaces sweeps and seals through our shower door repair service across Naples, Fort Myers, Bonita Springs and Cape Coral. Call (239) 426-6884.