
So, you're looking at your old shower pan and thinking, "Can I just tile over this?" The short answer is yes, you can. But the real question is, should you? This isn't a simple weekend makeover; it's more like performing open-heart surgery on the most water-sensitive area of your home.
Getting it right is entirely possible, but it demands an expert's touch and a serious respect for the risks. One wrong move and you're not just looking at a cosmetic flaw—you're looking at a catastrophic failure waiting to happen.
Quick Guide to Tiling Over a Shower Pan
Before you even think about picking out new tile, take a look at this table. It breaks down the non-negotiable factors you have to get right. Mess up any one of these, and your project is doomed from the start.
| Factor | Why It's Critical | Key to Success |
|---|---|---|
| Proper Adhesion | If the new layers don't stick permanently, they will lift and crack, allowing water to get underneath. | The existing pan surface must be mechanically abraded or "scarified" to create a rough texture for the new mortar to grip. |
| New Waterproofing | You cannot rely on the old pan. A brand-new, modern waterproofing membrane is the only thing standing between your shower and thousands in water damage. | A liquid-applied or sheet membrane must be installed over the old pan to create a fresh, seamless, and completely independent waterproof barrier. |
| Correct Slope | Water must flow directly to the drain. Any flat spots will create puddles ("ponding"), leading to mold, mildew, and grout stains. | The new mortar bed must be perfectly sloped at a minimum of ¼ inch per foot toward the drain. No exceptions. |
| Drain Integration | The drain must be extended and integrated flawlessly with the new tile and waterproofing layers to create a watertight seal. | Using a specialized drain extender or bonding flange designed for this exact purpose is absolutely essential. |
Think of these as the four pillars of a successful tile-over project. If even one is weak, the whole structure will eventually come crashing down.
Why Is This So Tricky?
At its core, the challenge comes down to one thing: water management. A shower is engineered as a totally sealed system, designed to guide every single drop of water safely down the drain. When you tile over an existing pan, you're introducing a whole new set of layers and seams, each one a potential point of failure.
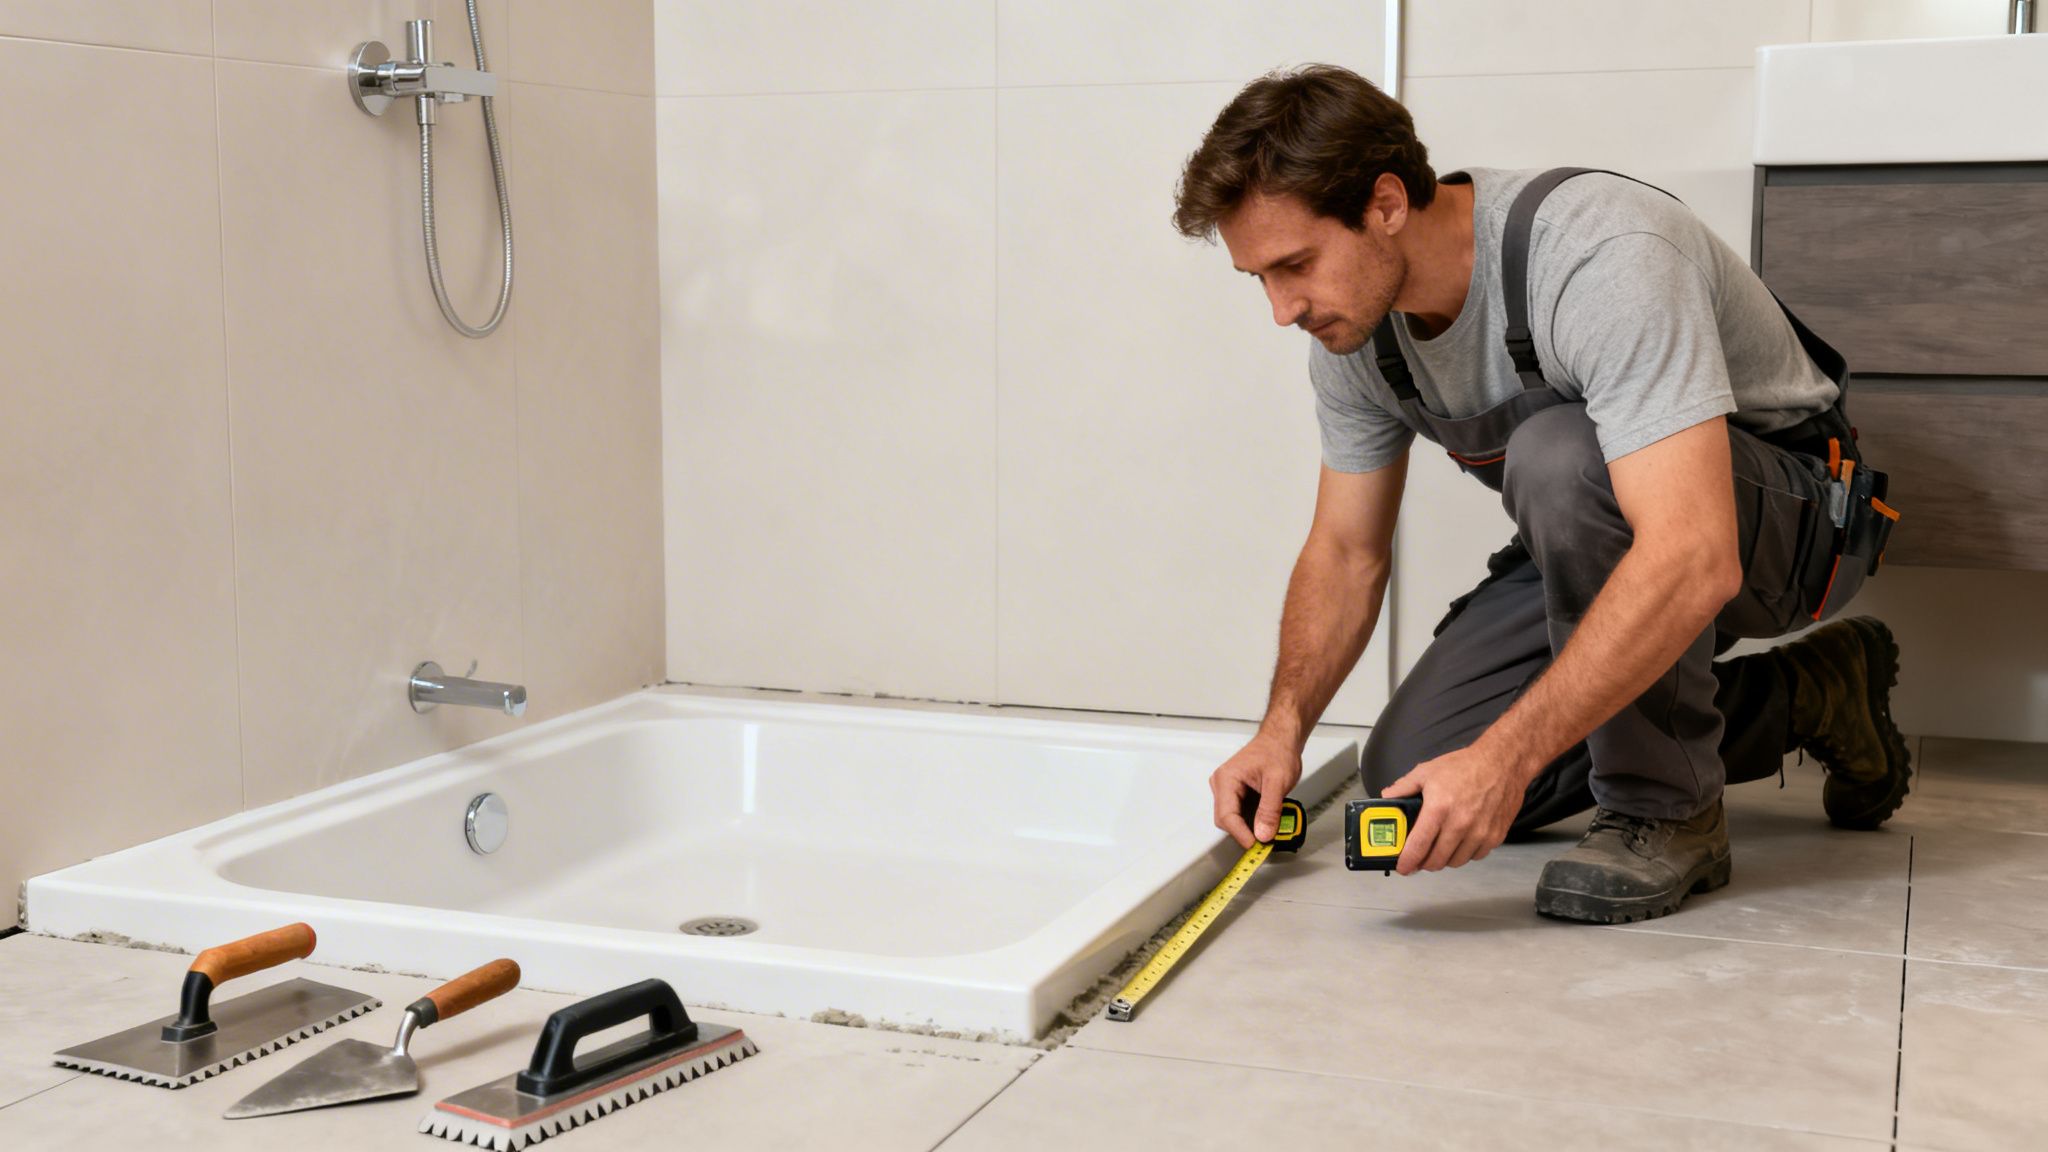
This isn't just about sticking new tiles onto an old surface. You're essentially building a second, completely separate waterproof system on top of the original one. Any mistake—a poor bond, a pinhole in the new waterproofing membrane, or an incorrect slope—can trap water between the old and new layers. You’ve just created a hidden swamp inside your floor, and it will silently rot your home’s structure from the inside out.
The Pro vs. The Amateur Approach
A weekend warrior might see this as a simple job: just slap down some mortar and stick on the tile. They’d be dead wrong. A seasoned professional knows that success lies in a meticulous, multi-layered process that tackles several critical hurdles head-on:
- Adhesion: That old, slick shower pan surface won't hold onto new mortar. It has to be mechanically roughed up—or scarified—to create a tenacious bond. Skip this, and your new tile floor will eventually just peel right off.
- Waterproofing: This is the make-or-break step. A new, top-of-the-line waterproofing membrane, like a liquid-applied product from a company like Schluter Systems, must be installed over the prepared pan. This creates a fresh, impenetrable water barrier.
- Drainage: The new tile surface absolutely must have a perfect, uninterrupted slope of at least ¼ inch per foot. This ensures water moves efficiently to the drain instead of forming stagnant ponds.
- Height & Transitions: You're adding layers, which means the shower floor and the curb are going to be higher. This can create a new trip hazard and will almost certainly affect how your shower door fits and functions.
A botched tile-over job is a ticking time bomb. It might look fantastic for six months, but hidden leaks can cause thousands of dollars in mold remediation and structural repairs before you ever spot a single drop of water. The rules are this strict because the consequences are that severe.
Matching Your Pan Material to Your Remodel Goals
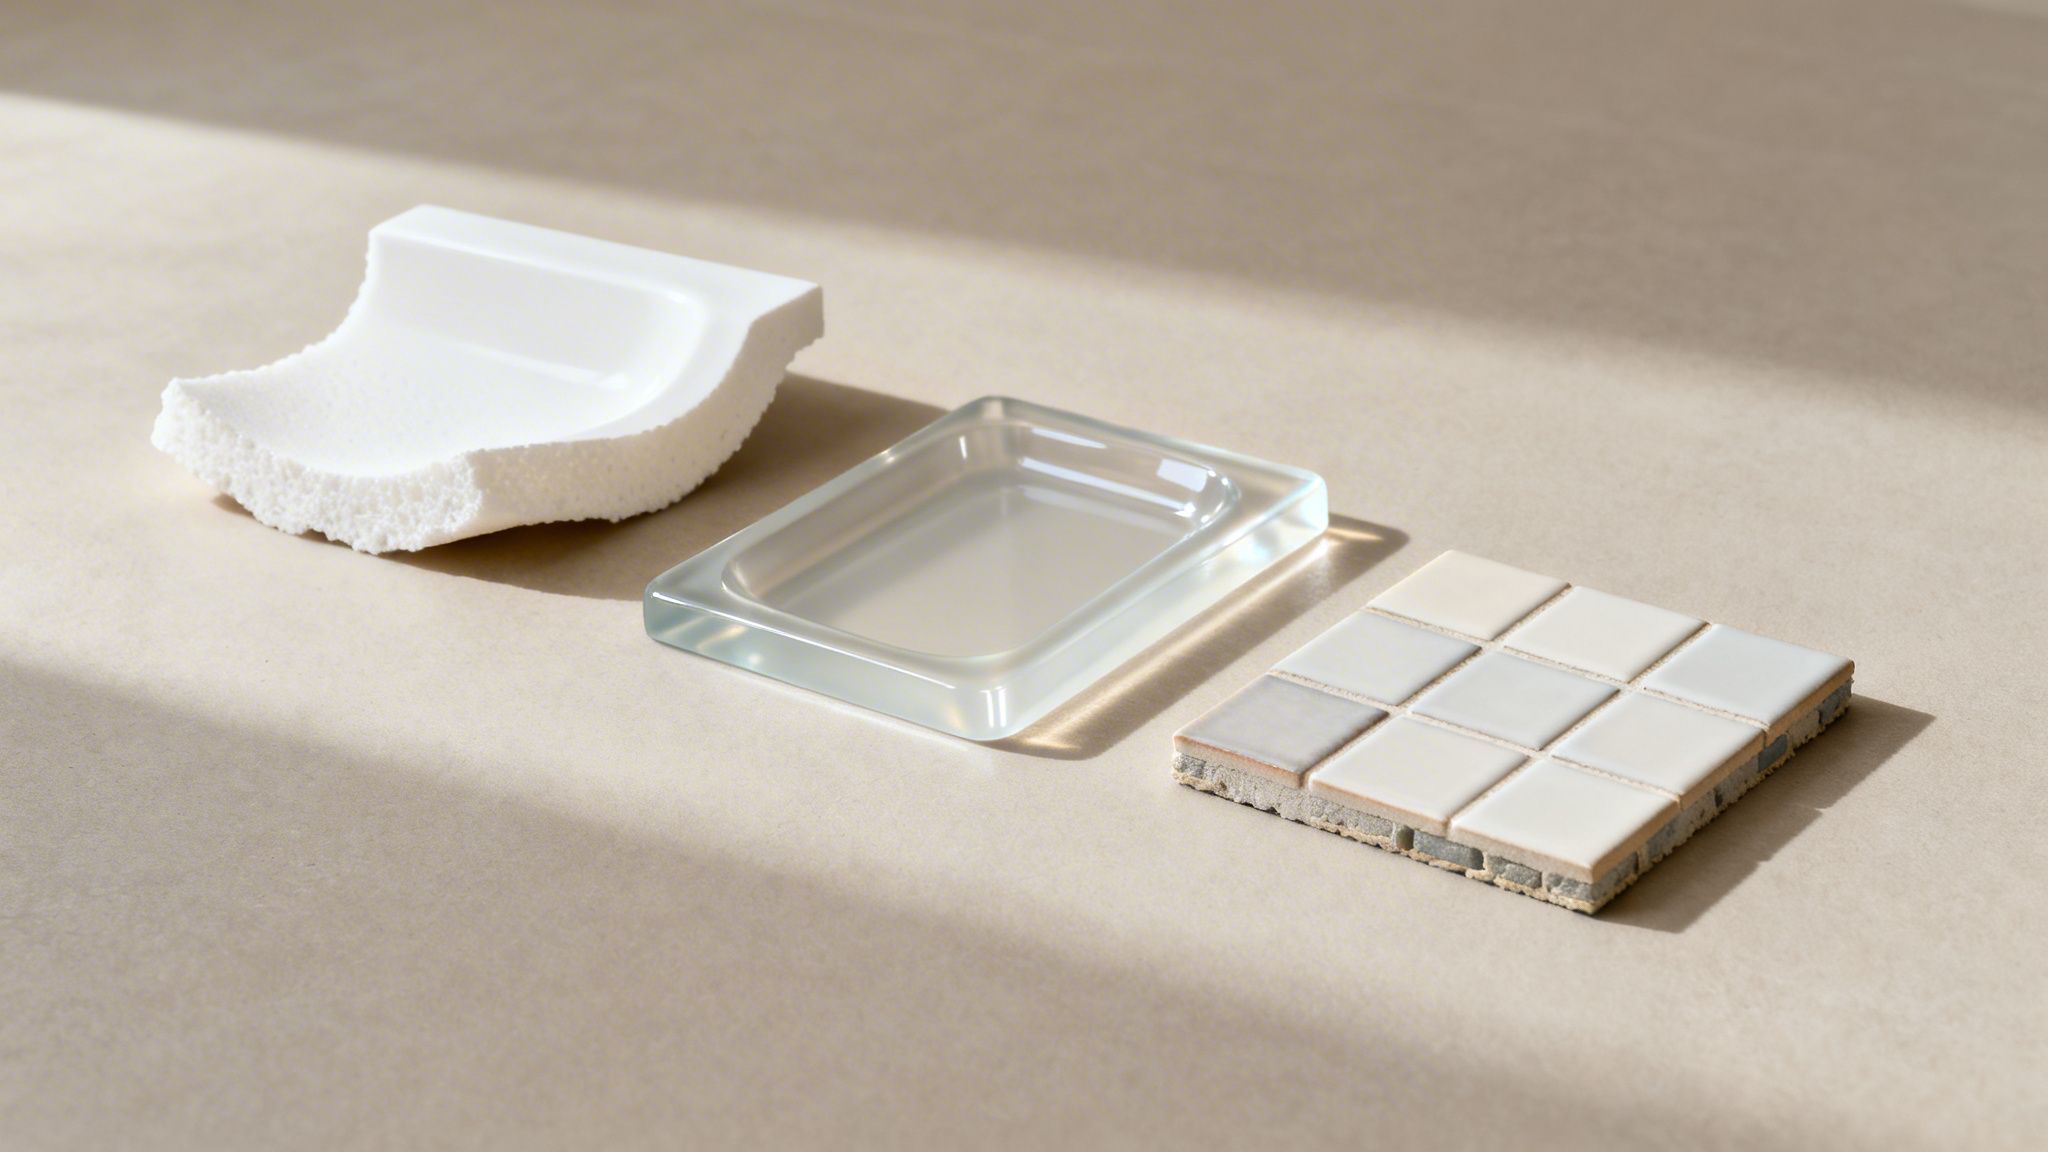
Before you fall in love with a specific tile, we have to talk about something far more important: what’s your current shower pan made of? The answer to that question will make or break your entire project.
Think of your shower pan as the foundation of a house. You simply can't build something rigid and solid, like a tile floor, on a base that's designed to bend and move. This is the exact reason why most common, off-the-shelf shower pans are immediately off-limits for tiling over.
The Problem with Fiberglass and Acrylic
Most prefabricated shower pans are made from fiberglass or acrylic, and they are engineered to have a certain amount of flex. This slight give is perfectly fine when you're just standing on the surface. But that same flexibility becomes the number one enemy of tile and grout, which have zero give.
Every time you step into the shower, a tiled-over acrylic pan will flex beneath your weight. The tile and grout above, however, can't. This constant, invisible stress creates tiny, hairline cracks in the grout.
Water always finds a way. As soon as those cracks appear, moisture will work its way between the old pan and your new tile. Before you know it, you've got a hidden swamp festering under your beautiful new floor, leading to mold, rot, and serious structural damage you won't see until it’s way too late.
This is why you'll be hard-pressed to find any reputable professional willing to tile over these materials. It’s a job that’s guaranteed to fail, creating a huge liability for the contractor and a nightmare for you.
The Only Time Tiling Over Might Work
So, is there ever a situation where you can tile over an existing shower floor? The only scenario where an expert would even consider it is a tile-over-tile job. If your current shower floor is already properly tiled, that solid base provides the rigid, stable surface you absolutely need for another layer of tile.
But even then, it's not a simple go-ahead. The existing tile floor has to be in perfect shape.
- Totally Sound: It must be completely free of cracks, loose tiles, or any hint of water damage underneath.
- Properly Built: The original work has to be top-notch, with no underlying moisture problems to begin with.
- Sufficient Height: Adding new tile and mortar will raise your shower floor and curb. This new height is a critical detail, especially when planning for a new glass enclosure. You can design your shower door to fit the new dimensions, but you have to plan for it from the start.
In the end, your pan's material isn't just a minor detail—it’s the single factor that decides your entire remodeling plan. If you have a flexible pan, the answer is a hard no. If you have a rock-solid tile base, you might have an option, but it requires careful evaluation.
Understanding the Risks of a Botched Job
It’s tempting to look at an old shower pan and think, "I'll just tile right over it." It seems like a quick cosmetic fix, but getting it wrong can unleash a slow-motion disaster behind your walls. We're not just talking about a crooked tile or two—a botched job can cause thousands in hidden structural damage.
When a tile-over project fails, the leak isn't always a dramatic drip you can see. Instead, it’s a silent, constant saturation. This creates the perfect environment for black mold to flourish inside your walls and subfloor, which is a serious health concern. At the same time, that moisture is slowly rotting the very wood framing that holds up your home.
The True Cost of Technical Errors
These failures almost always boil down to a few critical technical mistakes. The biggest culprit we see? Standing water. In the industry, we call this "ponding," and it's the number one enemy of any shower installation.
Ponding is more than a puddle you have to squeegee away. That stagnant water is a breeding ground for mildew and bacteria, and it relentlessly attacks your grout and sealants, looking for a way through. Sooner or later, it will find one.
This is exactly where most DIY attempts fall short. They miss the single most important detail: a perfect, uninterrupted slope to the drain. Every shower floor must have a minimum slope of ¼-inch-per-foot to ensure every last drop of water is guided away. No exceptions.
A botched tile-over job isn't just a bad project; it often creates immediate building code violations. This can sink your home's resale value and give your insurance company a perfect reason to deny your claim when the inevitable water damage shows up.
When Tiling Over Is the Solution, Not the Problem
Here's the interesting part: in the hands of a true professional, tiling over a pan can actually be the solution to these exact problems. An experienced tile setter can use a new layer of tile to correct a flawed shower pan that already has ponding issues.
For instance, one certified pro documented a repair where they fixed a chronically ponding foam shower pan by tiling over it. Their work saved a Florida homeowner from a complete tear-out and a staggering $12,000 bill. This kind of expert fix is especially critical in humid climates, where an estimated 55% of shower leaks are traced back to an insufficient slope. You can see how an expert rescued this shower in this detailed video walkthrough.
Ultimately, the line between a successful repair and a complete catastrophe is expert execution and a deep knowledge of water management. Without it, you’re basically setting a ticking time bomb in your bathroom. While routine shower door maintenance is crucial, it won't help if the very foundation of your shower is failing.
The Professional Method for Tiling Over Tile
Let's get one thing straight: when a pro talks about tiling over an existing tile shower floor, they are not talking about just sticking new tile on top of the old. That’s a recipe for disaster. What they’re describing is a meticulous, multi-layered system that essentially builds a brand-new, completely independent shower floor right on top of the old one.
Think of the old tile as nothing more than a stable, flat foundation for a completely new assembly. This is a job that demands precision. Every single step is non-negotiable if you want a shower that will last for decades without leaking.
The Five Critical Steps to a Bulletproof Result
When a seasoned tile setter takes on this kind of project, they follow a strict sequence. Cutting corners isn't an option—doing so will almost certainly lead to a catastrophic failure down the road.
Scarify the Existing Tile: First things first, that glossy, smooth tile surface has to go. A pro will take an angle grinder with a diamond blade and "scarify" the entire floor, cutting thousands of deep grooves and scratches into the old tile. This completely transforms the slick surface into a rough, heavily textured base that gives the new mortar an incredible mechanical grip. It's all about creating a surface that the new layers can bite into.
Apply High-Performance Mortar: Next up is a layer of high-performance, polymer-modified thinset mortar. This isn't your average mortar from the local hardware store. It’s a specialized product engineered specifically for bonding to tricky surfaces like scarified tile, creating both a powerful chemical and mechanical bond.
Install a New Waterproofing Membrane: This is the real heart of the operation. A modern sheet membrane, like the industry-standard Schluter-KERDI, gets installed over the fresh thinset. This creates a 100% waterproof and "uncoupled" layer, meaning it can move independently from the substrate below. A true expert will obsess over this step, ensuring every seam is perfectly overlapped and sealed, and that the connection to the drain is absolutely watertight.
Build a New Sloped Mortar Bed: With the new waterproof barrier in place, it's time to build the functional part of the shower floor. A new mortar bed (often called "deck mud") is packed and carefully troweled on top of the membrane. This new bed is meticulously sloped at a minimum of ¼-inch per foot towards the drain, a non-negotiable code requirement that ensures every drop of water makes its way out. No slope, no drainage. It's that simple.
Set the New Tile: Finally, with a new, perfectly sloped, and fully waterproofed bed cured and ready, the new tile can be set. This final layer of tile is installed with another layer of thinset, locking everything together. The result is a completely new shower floor system—independently waterproofed and properly sloped—built on the stable foundation of the old one.
This flowchart shows exactly what happens when water isn't managed correctly, which is precisely what this professional method prevents.
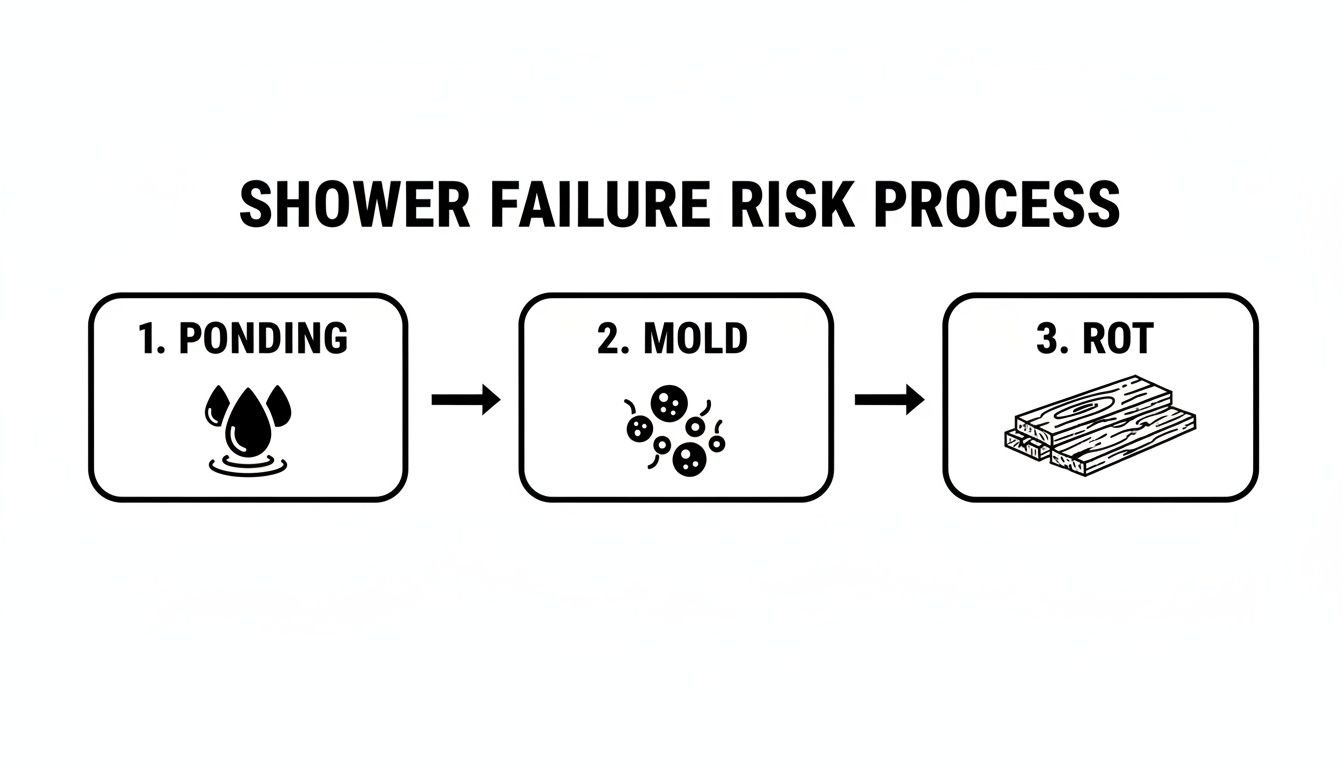
As you can see, what starts as a little bit of standing water (ponding) quickly spirals into mold growth and, eventually, structural wood rot. This is the very risk this method is designed to eliminate.
The Cost-Saving Case for Expert Execution
Doing it this way isn't just about getting a better result; it can also be a savvy financial move. A full tear-out is messy, labor-intensive, and expensive, often running $5,000-$8,000 in markets like Southwest Florida.
In a landmark 2025 case study featured in Fine Homebuilding, master tilesetter Tom Meehan demonstrated this exact method. He showed how it can save homeowners up to 70% on demolition and disposal costs alone. According to industry tests, his technique of aggressive scarification boosts the mortar's adhesion by over 50%. When done right, this isn't a shortcut; it's a smart, professional-grade solution.
Smarter Alternatives That Guarantee a Perfect Shower
Sure, you can tile over an existing tile shower floor in some cases. But the real question is, why would you want to? Settling for a quick fix that might work is a huge gamble when you can have a foundation that’s guaranteed to last. Tiling over old tile is a patch job, plain and simple. It doesn't come close to the performance and total peace of mind you get from modern, professional alternatives.
Instead of trying to work around a failing system, the smart money is always on building a new one from the ground up. Doing it right ensures every component works together perfectly for a flawless, leak-proof shower. It’s the difference between slapping a patch on a bald tire and investing in a brand-new set; one might get you down the road, but the other gives you reliable performance for years to come.
Tear-Out and Custom Mortar Bed
If you want the absolute best, nothing beats a traditional tear-out and a hand-built mortar bed. This is the gold standard for a reason. By ripping out the old pan and subfloor, a true professional can inspect the underlying structure for any hidden water damage, mold, or rot—problems you’d never see otherwise.
This method gives the installer complete control. They build a new mortar base from scratch, shaping it with the perfect slope to ensure water heads straight for the drain, no questions asked. A state-of-the-art waterproofing membrane is then installed over the top, creating an impenetrable fortress against moisture. You’re not just hoping it works; you’re eliminating every single variable to guarantee a perfect foundation.
Tile-Ready Foam Shower Bases
Another fantastic, modern option is a tile-ready foam shower base. These are high-density, pre-formed pans that come out of the box with the correct drainage slope already engineered in. They’re incredibly lightweight, 100% waterproof, and designed to integrate perfectly with the latest waterproofing systems.
These bases give you the precision of a factory-made product but still allow for the custom tile design you want. For a high-end investment like the frameless glass enclosures we specialize in, starting with a perfect foundation isn't just a good idea—it's essential for protecting your investment and ensuring decades of worry-free use.
Of course, a great base is only half the battle. Learning how to choose bathroom tiles that can stand up to a wet environment is critical for a shower that looks great and lasts.
Building a shower with modern methods like a tile-ready base can extend its life to 30-50+ years, blowing past the 10-25 years you'd get from older prefab pans. This approach also slashes leak risks by an incredible 65%. Those numbers are especially important here in Southwest Florida, where 47% of HOA-managed condos have dealt with expensive water damage claims.
Ultimately, whether you choose a full tear-out or a tile-ready base, you're getting unmatched performance. Both options provide total design freedom, integrated waterproofing, and the guaranteed slope you need for a shower that will stand the test of time. You can explore a variety of stunning, modern glass options among our other high-quality products that pair beautifully with these reliable foundations.
So, Where Do You Go From Here?
You've seen the pros and cons, and hopefully, it's clear why tiling over an old shower pan is such a gamble. While it might seem possible if you have an existing tile base, the risks of leaks, mold, and total failure are just too high. It’s time to take what you’ve learned and make the smart move.
Getting the foundation right isn’t just a step in the process; it's the most important step. To get that stunning, durable shower you’re dreaming of, the only real path forward is to start fresh. This ensures your entire project, from the waterproofing you can't see to the beautiful tile you can, is built to last.
Plan Your Dream, Build It Right
It’s always exciting to plan out a new shower. Getting a feel for the final look is a huge help, and you can even explore options with modern AI bathroom design tools to see your ideas come to life. This can really help you lock in the perfect tile and layout.
But a great design needs a flawless execution. This is especially true if you’re aiming for a modern, high-end centerpiece in your bathroom. To see how a professional foundation is critical for a luxury finish, take a look at our guide on frameless shower door installation in Fort Myers, Florida.
The most beautiful shower design will ultimately fail if it's built on a flawed base. Investing in a proper foundation isn't just a recommendation; it's the only way to protect your home and ensure your new shower remains a source of pride for decades to come.
We’re here to help you get it done right the first time. Schedule a complimentary consultation with one of our experts. We'll come out, assess your current shower, listen to your vision, and map out a clear, professional plan for the perfect remodel.
Common Questions, Straight Answers
Let's cut right to the chase. When it comes to tiling over a shower pan, homeowners tend to have the same handful of questions. Here are the direct, no-nonsense answers you need from an expert’s perspective.
Can I Just Tile Directly Over My Fiberglass or Acrylic Pan?
In a word: no. Trying to tile over a standard fiberglass or acrylic shower pan is a guaranteed recipe for failure, and it’s something no professional would ever recommend.
Think about it this way: those pans are engineered to have a little bit of give or flex when you stand on them. Tile and grout, on the other hand, are completely rigid. It’s like trying to glue a sheet of glass to a trampoline. The moment you step in, the pan will flex, and that tiny movement is all it takes to crack the grout and tiles. Once those cracks appear, your "waterproof" floor is compromised, leading to silent, slow leaks that can cause thousands in damage to your subfloor and the ceiling below.
How Much Higher Will My Shower Floor Get?
Tiling over an existing shower floor isn't just a matter of adding a thin layer of tile. You're adding significant bulk. You have to account for the thinset mortar, a critical waterproofing membrane, another sloped mortar bed for drainage, and then the new tile and grout itself.
All said and done, you can easily add 1.5 to 2.5 inches of height to your shower floor and curb. This isn't just a small detail; it can create a new tripping hazard and completely change the required measurements for a shower door.
Key Takeaway: That extra height can dramatically alter the look and accessibility of your shower. It's a crucial factor to consider, especially if you're planning for a modern frameless glass door, which relies on incredibly precise measurements. For more answers to your remodeling questions, be sure to check out our complete FAQs.
Is This a Project I Can DIY to Save Money?
This is one project you should never, ever attempt on your own. This is advanced-level work where the margin for error is zero. Getting the drainage slope wrong or missing a single weak point in the waterproofing can have catastrophic consequences for your home.
A small mistake here won’t just look bad—it will lead to hidden water damage that can rot your home’s structure from the inside out. This isn't the place to learn on the job. For the safety of your home and the longevity of your investment, this is a job that absolutely must be left to a licensed and insured professional.
Your dream shower deserves a foundation that's built to last. For a flawless remodel and total peace of mind, trust the experts at AmeriGlass Industries. Contact us today!
Remodeling your shower? Once the tile is done, AmeriGlass Industries measures and installs custom frameless shower doors across Naples, Fort Myers, Bonita Springs and Cape Coral. Call (239) 426-6884 for a free estimate.