

Building a proper wine cellar is about so much more than just putting up some shelves. You’re creating a perfectly sealed, climate-controlled environment designed to protect a valuable, living investment. Here in Southwest Florida, where the heat and humidity are relentless, getting this right is non-negotiable. Success comes down to three things: robust insulation, a specialized cooling unit, and an absolutely airtight seal. This is how you turn a spare room into a true sanctuary for your collection.
Why a Custom Wine Cellar Is a Smart Florida Investment
Picture this: you step out of the Florida heat into a beautifully lit, perfectly chilled space in your own home, designed from the ground up to protect and display your wine collection. This isn't just a frill; it's a strategic move that enhances both your lifestyle and your property's value. In a place where intense heat and oppressive humidity can destroy fine wines in just a few months, a professionally built cellar isn't a luxury—it's a necessity.
A well-built cellar does one job perfectly: it provides an unwavering environment. We're talking a steady 55°F and 50-70% humidity, the sweet spot that allows your collection to mature gracefully, developing those complex flavors and aromas you paid for. Anything less, and you're gambling with your investment.
To understand just how critical these factors are in our climate, take a look at this quick breakdown.
Critical Factors for a Southwest Florida Wine Cellar
This table highlights the unique challenges we face in this region and the essential solutions required for a successful build.
| Factor | Challenge in SWFL | Solution |
|---|---|---|
| Temperature | Ambient temperatures often exceed 90°F. | A dedicated wine cellar cooling unit is essential, not a standard AC. |
| Humidity | Consistently high humidity (often 80%+) promotes mold and damages labels. | A robust vapor barrier and a cooling system with humidity control are non-negotiable. |
| Insulation | Intense solar gain and heat transfer through walls and ceilings. | High R-value, closed-cell spray foam insulation is the gold standard for creating a thermal envelope. |
| Airtight Seal | Warm, moist air constantly tries to infiltrate the cooled space. | An insulated, exterior-grade door with weather stripping and a proper threshold seal is mandatory. |
As you can see, fighting the Florida climate is the central theme. Every design choice must counteract our environment's natural tendency to destroy what you're trying to preserve.
A Growing Trend in Luxury Homes
The desire for dedicated wine storage is exploding. What was once a niche luxury is now seen as a key feature in high-end homes. The global wine cellar market has already hit USD 3.2 billion, and it's not slowing down. In fact, North America accounts for USD 1.1 billion of that, with residential projects making up a huge 30% slice of the pie.
This trend is especially strong in luxury markets like Naples, Bonita Springs, and Sarasota, where discerning buyers have come to expect these kinds of amenities. A thoughtfully designed wine cellar doesn't just add to your home's appeal—it can genuinely boost its resale value.
A custom wine cellar does more than protect your collection; it creates a focal point for entertaining and adds a distinct touch of elegance that sets your home apart. It's an investment that pays dividends in enjoyment and equity.
Transforming Function into Artistry
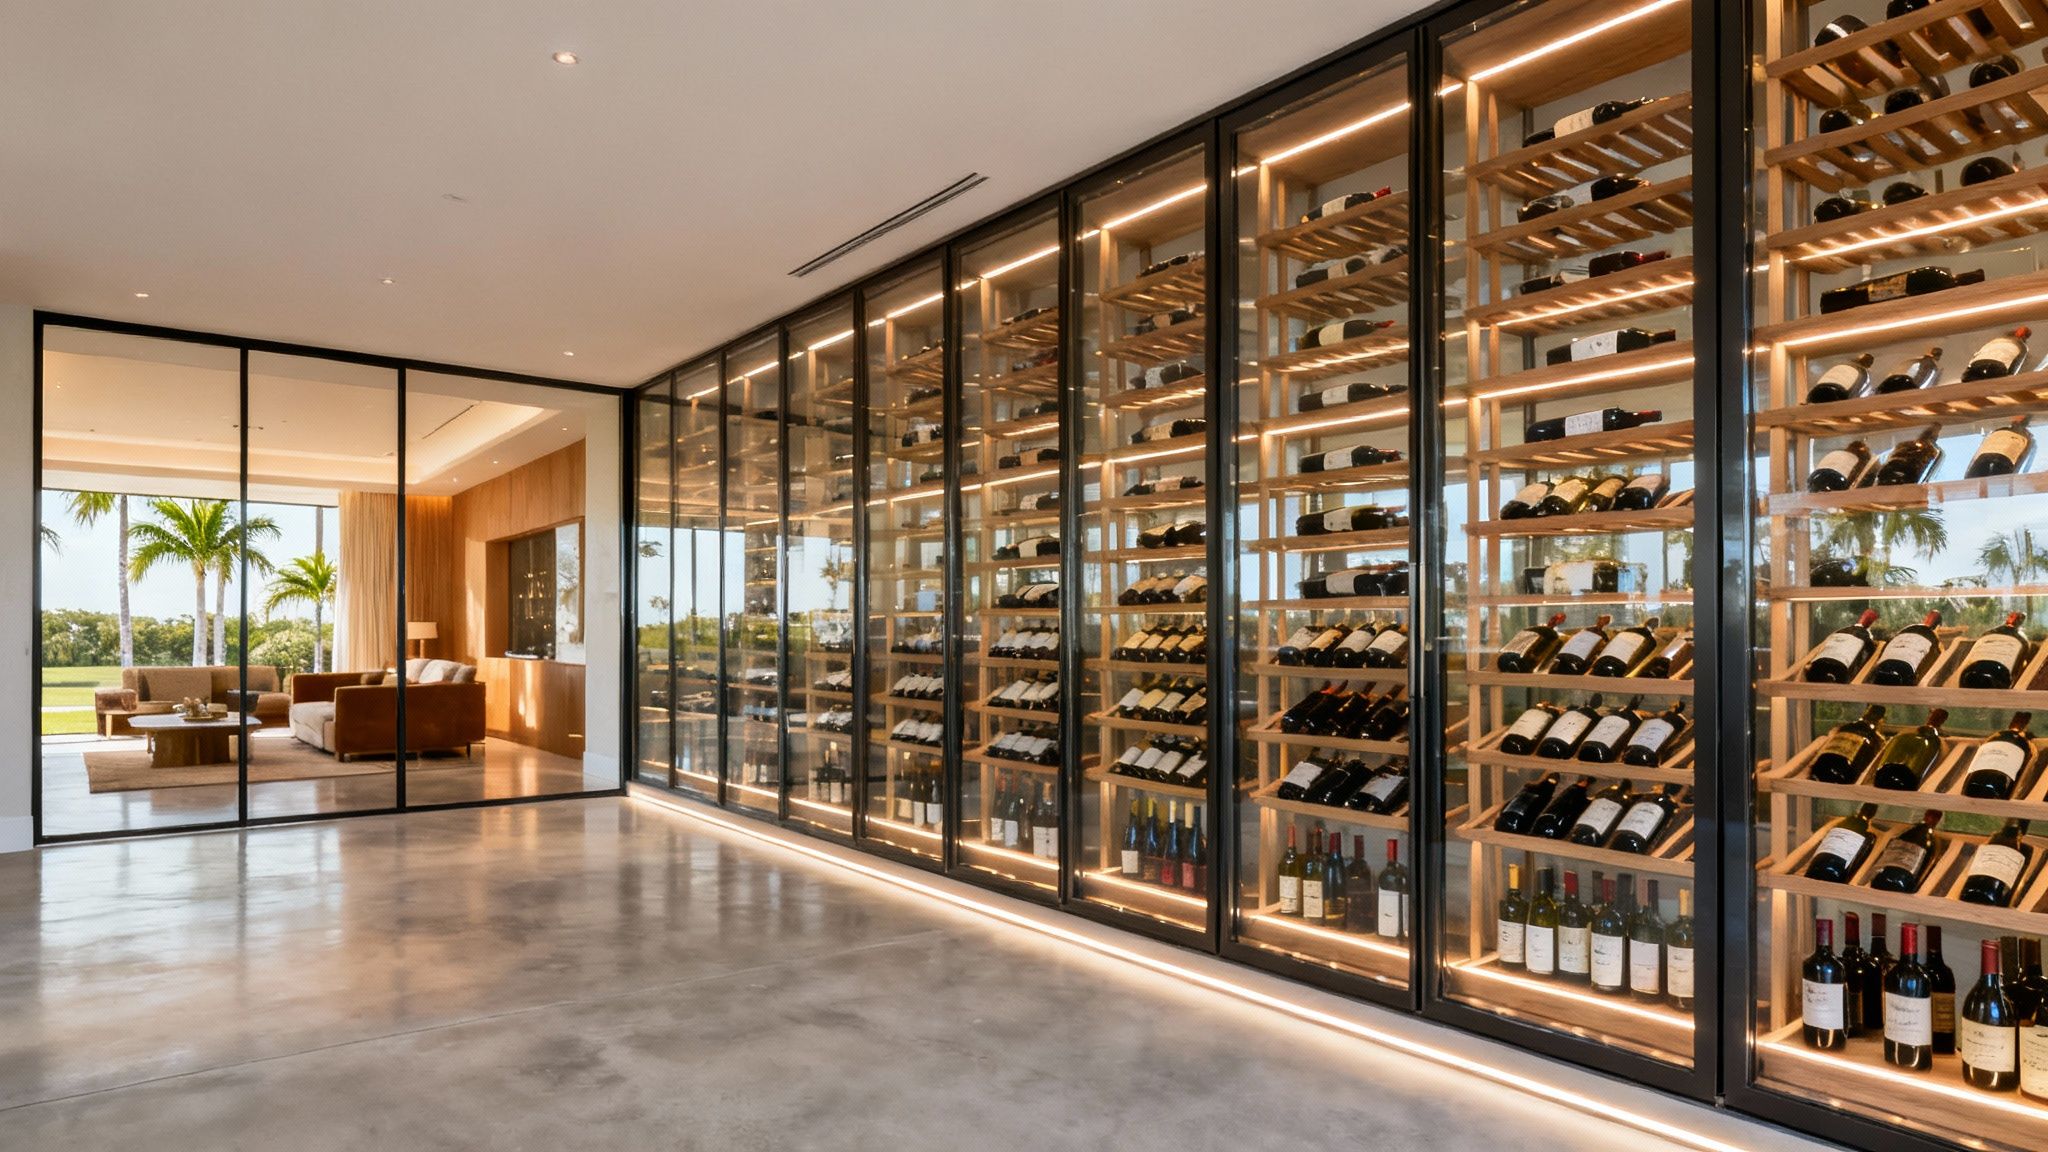
The modern wine cellar has officially moved out of the dusty basement and into the spotlight. It's no longer just a storage closet; it's a showpiece. With the right design choices, this purely functional space becomes a work of art.
Here’s where the magic happens:
- Custom Racking: Forget one-size-fits-all. We can design systems using moisture-resistant woods or sleek metal that cater to your specific collection, blending bulk storage for cases with high-visibility display rows for your prized bottles.
- Strategic Lighting: The right lighting makes all the difference. We use low-heat, UV-free LED systems to create atmosphere and highlight key bottles, all without harming the wine.
- Glass Enclosures: This is where today's cellars truly shine. Frameless, insulated glass walls and doors have become incredibly popular. They provide the critical thermal barrier you need while creating a seamless, open look that integrates the cellar right into your living space. You can discover how a glass company can make your home feel more luxurious with these kinds of custom installations.
By focusing on these details, you create something that is both a high-performance aging environment and a breathtaking feature in your home.
Choosing and Framing Your Cellar's Location and Size
The path to the perfect wine cellar doesn't start with a hammer and nails. It begins with a fundamental decision: where should it live? The spot you pick will dictate nearly everything else, from how hard your cooling system has to work to the overall cost of the project.
In a Southwest Florida home, you’ve got a few solid options, but each comes with its own trade-offs. An unused closet, that awkward space under the stairs, or even a corner of your garage can all be converted into a beautiful cellar. Since basements are a rarity around here, we're on the hunt for interior spaces that are already shielded from the sun and heat.
Finding the Perfect Spot
Your main objective is to find a location that minimizes exposure to the three enemies of wine: heat, light, and vibration. A wall that faces north is always a better bet than one facing south. An interior room is leagues better than one with an exterior wall that gets blasted by the Florida sun all afternoon.
Let's look at the most common choices:
- The Spare Closet: This is usually the path of least resistance. It's an existing enclosed space, which means less new construction. The only real drawback is the limited footprint, making it ideal for smaller, curated collections.
- Under the Stairs: I love this one for its clever use of otherwise wasted space. It can create a really unique, visually interesting cellar. Be warned, though—the odd angles can make framing, insulating, and getting a perfect seal a bit more complex.
- The Converted Room: If you have a spare bedroom or a den you're willing to part with, you've hit the jackpot. This gives you maximum flexibility for a large, walk-in cellar with custom racking and maybe even a small tasting table. It’s a bigger undertaking, but the payoff is a true showpiece.
Building a Strong Foundation: Framing
Once you've zeroed in on the location, it's time to talk about the skeleton of your cellar. Standard 2×4 framing just won't cut it for a high-performance wine room. I always recommend using 2×6 framing lumber for the walls, without exception.
Why go bigger? That extra depth is what allows you to pack in thicker, R-19 insulation, which is absolutely critical for creating a thermal fortress against our ambient heat and humidity. For the ceiling, I'd go even further and use 2×10 lumber to accommodate R-30 insulation. This is your first line of defense against heat seeping down from the floors above. These framing decisions have a direct, measurable impact on how efficiently your cooling unit runs and what you'll pay on your FPL bill every month.
Don't forget, a wine cellar is a seriously heavy space. Racks filled with wine can easily weigh thousands of pounds. Your framing isn't just holding up drywall; it's anchoring your entire collection.
Getting the Dimensions Just Right
Figuring out the size of your cellar is a delicate balance. You have to consider the collection you have now, the collection you want to have in the future, and the physical space you can afford to give up. The single most common mistake I see is people building for today, not for five or ten years from now. You'll quickly find yourself with a cramped, overstuffed cellar.
As a rule of thumb, a small 4-foot by 4-foot closet can hold around 200 bottles if you rack it smartly. A more generous 8-foot by 10-foot room can easily store over 1,000 bottles and still leave space for displays or a small tasting counter. A key part of designing an efficient space is ensuring you have accurate air conditioning unit sizing to perfectly match the cellar's volume.
If you're dreaming of a modern look with seamless glass walls or doors—which is our specialty—the framing and sizing become even more critical. Glass requires incredibly precise structural support to manage the weight and, most importantly, to guarantee a flawless, airtight seal. If a contemporary glass enclosure is part of your vision, getting a professional on board early is a must. You can request a free estimate with us to map out the specific structural needs for your design.
Mastering the Climate Control Essentials
If there’s one place you absolutely cannot cut corners when building a wine cellar in Southwest Florida, it’s climate control. Down here in places like Naples or Bonita Springs, you’re in a constant battle with heat and humidity. A perfectly sealed, insulated, and cooled environment isn’t just a luxury—it’s the very soul of your cellar.
Getting this right is a multi-layered defense. It all starts by creating an airtight envelope to keep that oppressive, moisture-laden air outside where it belongs. This takes some serious planning and execution, as you can see in these foundational steps.
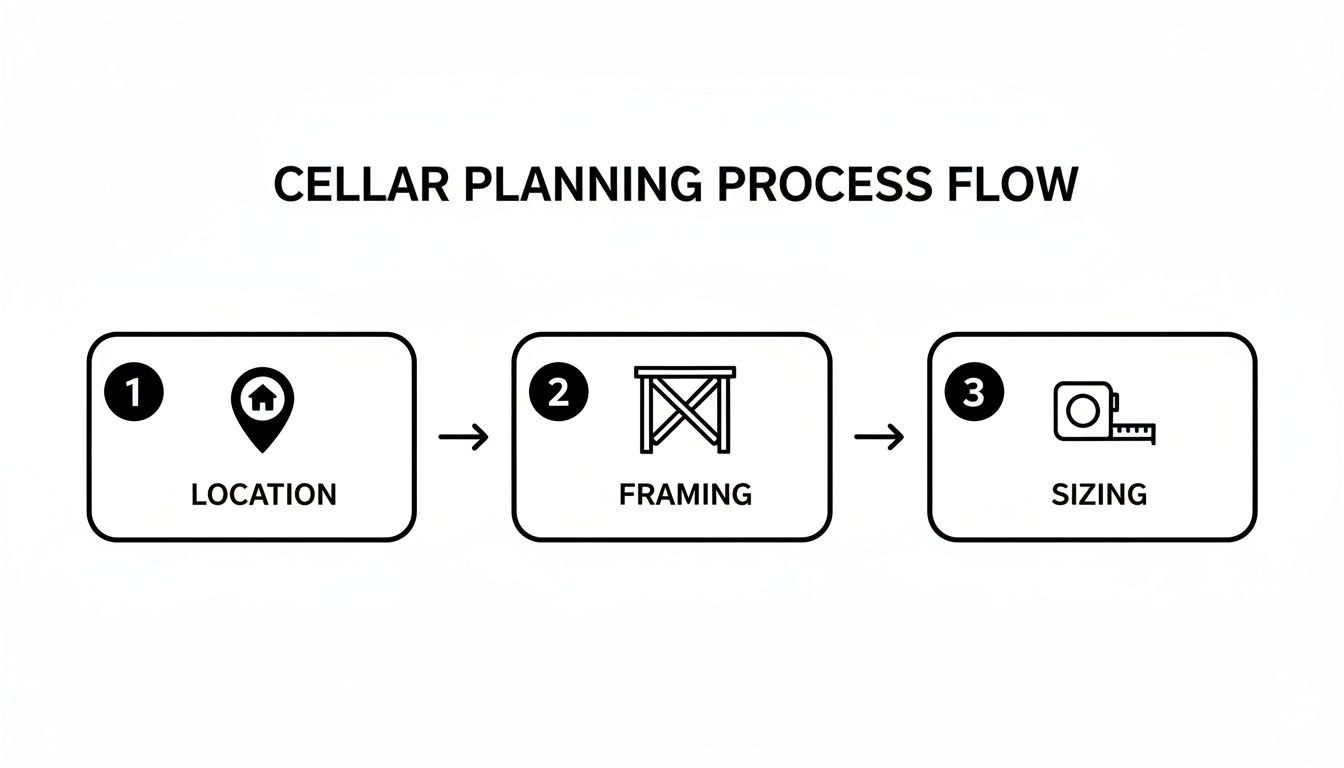
These initial decisions have a massive impact on how well your climate control system will work. Nail down a solid plan before a single 2×4 goes up.
The Critical Role of a Vapor Barrier
Think of your cellar as a refrigerated box. Now, imagine that box is sitting inside a sauna. That's Southwest Florida. The warm, humid air in your home is always trying to force its way into the cool, dry space of your cellar. When it gets in, it hits a cold surface and condenses. Suddenly you’ve got moisture, frost, and eventually, mold.
This is exactly where a vapor barrier saves the day. A continuous sheet of 6-mil polyethylene plastic, installed on the "warm" side of your cellar walls (that means just behind the exterior drywall, outside of your insulation), is your first and most critical line of defense. It literally stops water vapor in its tracks, preventing it from ever getting to your insulation and interior walls.
I can't stress this enough: Never skip or improperly install the vapor barrier. It’s an inexpensive material that prevents thousands of dollars in potential damage from moisture and mold.
High-Performance Insulation Is Non-Negotiable
Right after the vapor barrier, insulation is your next most important weapon. Its entire job is to create a thermal break between the ambient heat of your home and the cool 55°F you're aiming for inside the cellar. We measure insulation's effectiveness by its R-value—the higher the number, the better it fights off heat transfer.
For a Florida wine cellar, you should be looking for a minimum of R-19 in the walls and R-30 in the ceiling. Two materials really shine here:
- Closed-Cell Spray Foam: This is the gold standard, hands down. It expands to fill every single crack and crevice, creating a seamless seal that works as both a top-tier insulator and its own vapor barrier. With a high R-value of around R-7 per inch, you get incredible performance even in standard 2×4 framing.
- Rigid Foam Board: This is a more budget-friendly route that still gets the job done well. Rigid foam boards offer solid R-values and moisture resistance. The catch? You have to be meticulous about taping and sealing every single seam to stop air leaks. You'll also still need that separate 6-mil poly vapor barrier we just talked about.
Choosing the Right Wine Cellar Cooling Unit
This is where so many DIY projects fall apart. A standard air conditioner is designed to make a room comfortable by removing humidity—the exact opposite of what your wine needs to age gracefully. Using one will dry out your corks, letting oxygen in and spoiling your collection.
You must invest in a purpose-built wine cellar cooling unit. These machines are specifically engineered to maintain both temperature and humidity. Poor temperature control spoils billions of dollars' worth of wine every year. Here in humid Southwest Florida, where amateur cellars can be devastated by mold, keeping the humidity locked in at around 60% is just as critical.
You’ll generally run into three main types of systems:
- Self-Contained Units: These are the simplest and most affordable. They mount right through the wall, kind of like a window AC unit, making them great for smaller cellars or closet conversions.
- Split Systems: With these, the evaporator (the cold part) is inside the cellar, but the noisy condenser (the hot part) is located somewhere else, like a utility room or even outside. They're much quieter, more powerful, and give you more flexibility in your design.
- Ducted Systems: This is the most seamless, high-end option. A ducted system hides all the mechanical equipment completely. Cool air is delivered into the cellar through insulated ducts, giving you the quietest possible operation and a clean, polished look. This is the go-to choice for larger cellars or when looks are a top priority—especially for stunning glass wine enclosures where you don't want any hardware ruining the view.
Designing a Showpiece with Racking, Lighting, and Glass
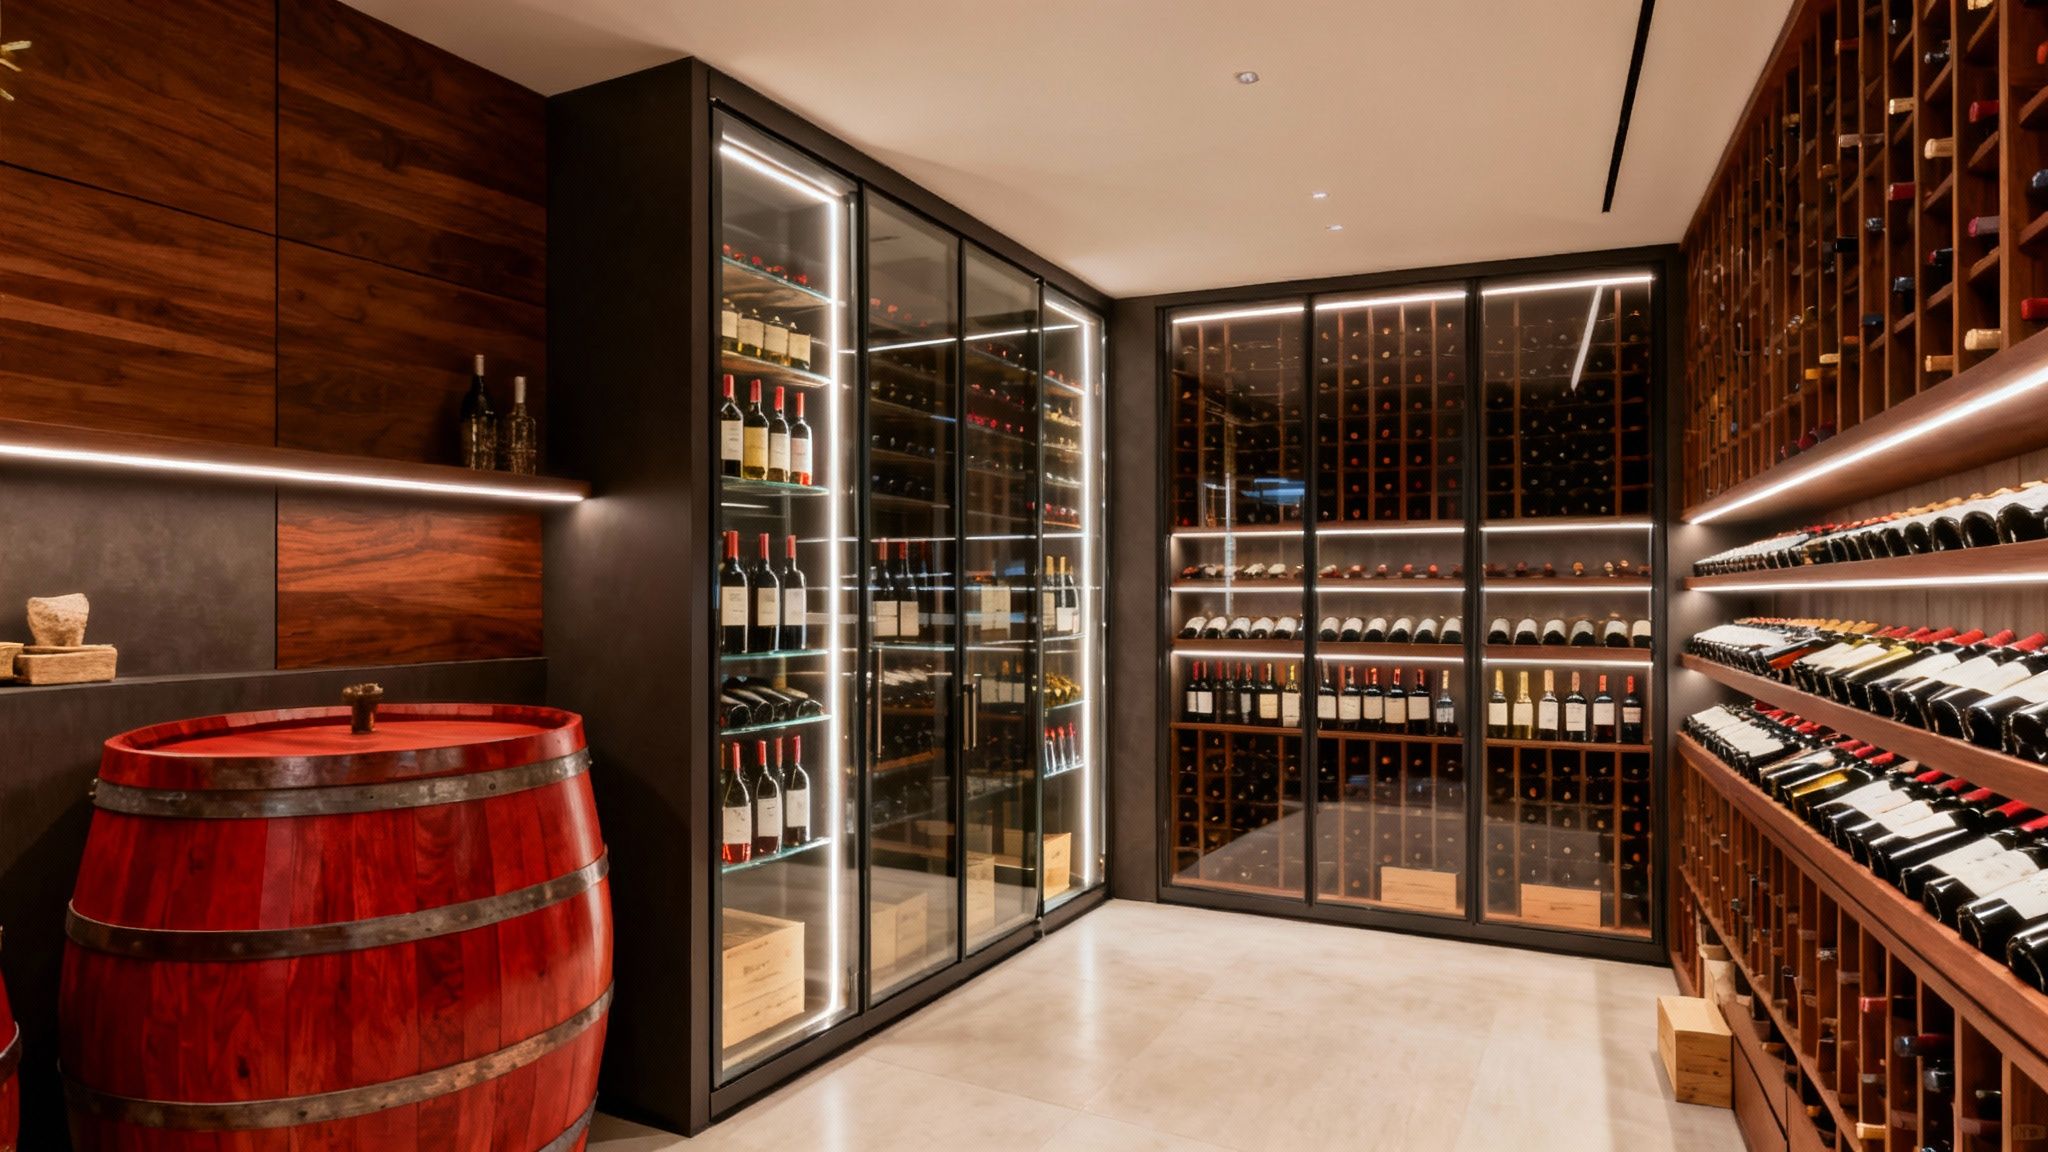
Now for the fun part. Once the bones of your cellar—the insulation, vapor barrier, and climate control—are in place, it’s time to give it a personality. This is where we transform a high-performance storage space into a true showpiece that reflects your taste and collection.
The journey starts with the wine racking. Think of it as the furniture of your cellar; it’s far more than just shelving. The right racking dictates the cellar's entire aesthetic and its ultimate bottle capacity. If you're looking to really nail down the design, exploring different architectural rendering software options can be a game-changer, letting you see exactly how it will all come together.
H3: Choosing Your Racking Style and Material
The days of boring, uniform racks are long gone. Today’s options can accommodate any style imaginable.
For that classic, old-world library feel, you really can't beat wood. I always recommend moisture-resistant species like Redwood, Mahogany, or Walnut. They not only look gorgeous but are tough enough to handle the constant humidity of a cellar environment without warping or degrading.
But if your home leans more contemporary, metal and acrylic systems are incredibly popular right now. They often create a minimalist "floating bottle" look that's perfect for making the wine itself the star of the show. This modern approach is fantastic for cellars that are integrated into a larger living or dining area.
The best designs I've seen almost always mix and match different styles to maximize both form and function:
- Bulk Storage: Diamond bins or simple case storage are perfect for stashing everyday drinkers or full cases you’re not ready to open.
- High-Reveal Display Rows: This is your "wow" factor. A single row of bottles, tilted label-forward at a 15-degree angle, creates a stunning visual centerpiece.
- Cubes and Individual Slots: These are the workhorses, offering a great blend of capacity and organization for the heart of your collection.
A well-designed racking system tells a story. It balances high-density storage for your aging workhorses with elegant displays for your prized vintages, making your collection both accessible and beautiful.
Before settling on a material, it’s crucial to understand how each one performs in Florida's demanding climate.
Wine Cellar Material Comparison
| Material | Pros | Cons | Best For |
|---|---|---|---|
| Wood (Redwood, Mahogany) | Classic look, natural insulator, durable | Higher cost, can be bulky | Traditional, elegant cellars; long-term aging |
| Metal (Aluminum, Steel) | Modern aesthetic, space-efficient, durable | Can be expensive, less insulating | Contemporary designs, minimalist looks |
| Acrylic | Ultra-modern, creates a "floating" effect | Prone to scratching, requires more cleaning | Statement cellars, high-impact visual displays |
| Frameless Glass Doors | Maximizes visibility, sleek and modern | Requires dual-pane, more expensive | Open-concept homes, showcasing the collection |
Ultimately, the right choice depends on your budget, your home's style, and how you plan to use the space.
H3: Illuminating Your Collection with Strategic Lighting
Lighting can make or break your cellar's atmosphere, but you have to be incredibly careful. Wine's number one enemy is ultraviolet (UV) light, which can permanently damage its delicate compounds in a process called "light strike."
This is why low-heat, UV-free LED lighting is the only way to go. Period. LEDs produce almost no heat and emit zero damaging UV rays, making them completely safe for your wine. Plus, they are incredibly versatile.
I love integrating LED ribbon or tape lighting directly into the racking. When you place it along display rows or under a tasting counter, it casts a soft, dramatic glow that highlights your best bottles without overwhelming the space. And don't forget the dimmers—they are non-negotiable for giving you full control over the mood.
H3: The Centerpiece: Custom Glass Enclosures
Without a doubt, the biggest trend in wine cellar design is the move toward expansive glass walls and doors. What was once a dark room tucked away in a basement is now a stunning, visible feature of the home.
The numbers don't lie. Built-in wine cellars with custom glass fronts are on track to become a $3.8 billion industry by 2032. Smart cellars, often featuring UV-blocking glass, are part of a market growing at an impressive 8.53% CAGR. The best installations use premium glass that blocks 99% of UV rays, which is critical when you consider that 'light strike' can ruin up to 30% of exposed white wines each year.
But to make this work in Florida, you can't just use any old glass. It absolutely must be insulated, dual-pane (or even triple-pane) tempered glass. This construction provides a critical thermal break, preventing condensation and stopping the relentless Florida heat from seeping in. Using single-pane glass would be like leaving a window wide open—your cooling unit would never shut off.
Frameless designs are the go-to choice today. By using minimal hardware, you create a seamless, unobstructed view of your collection, turning it into a piece of living art. You can also get creative and explore various specialty glass styles and mirror finishes to give your showpiece a truly one-of-a-kind look.
The Finishing Touches and Long-Term Upkeep
The heavy lifting is done. Your cellar is framed, insulated, and the climate control system is humming away. Now it's time for the details that transform it from a cold room into a true wine sanctuary. These finishing touches aren't just for looks; they’re the final line of defense in protecting your wine for the long haul.
Sealing the Deal: The Right Door and Flooring
Let's talk about what's underfoot. The floor in your cellar has to stand up to a consistently cool and humid environment without becoming a problem. I’ll tell you right now, the single worst thing you can put down is carpet. It’s a guaranteed invitation for mold and mildew.
Instead, you need a hard, non-porous surface. My go-to recommendations are usually sealed concrete, porcelain tile, or even natural cork. They’re all fantastic at resisting moisture, they’re a breeze to keep clean, and they help maintain that perfect, stable cellar environment. Whatever you land on, make sure it's sealed professionally against any moisture intrusion.
Now, for the door—this is arguably the most critical moving part of the entire cellar. A standard interior, hollow-core door is completely useless here. It has zero insulation and will leak air like a sieve. You absolutely must install a solid, exterior-grade door with full insulation and, just as importantly, premium weather stripping all the way around.
Here's a pro tip: A properly sealed wine cellar door should be a little tough to push closed because of the air pressure. When you pull it open, you should hear a satisfying "whoosh." That’s the sound of a perfect, airtight seal breaking. That’s the sound of your collection being properly protected.
Commissioning Your Cellar and Getting Organized
Before you even think about moving a single bottle in, you need to "commission" the space. It’s a simple but non-negotiable step to make sure your investment is ready.
- Give It a Test Run: Let that brand-new cooling system run continuously for at least 72 hours. This gives the unit plenty of time to pull down the temperature, stabilize the humidity, and essentially "cure" the room.
- Verify the Vitals: Don’t just trust the thermostat on the unit itself. Get a good, calibrated digital thermometer and hygrometer and place sensors in a couple of different spots. You're looking for consistent readings and no major hot or cold spots.
- Plan Your Layout: Once you've confirmed the environment is rock-solid, it’s time for the fun part. Think about how you want to organize your collection before you start loading the racks. Whether you sort by region, varietal, or a "drink-by" date, a little planning now will save you from hunting for a bottle with the door wide open later.
Simple, Smart Maintenance for the Years Ahead
You’ve put a lot of work and money into this project, and a little bit of routine care will make sure it performs flawlessly for decades. This isn't complicated stuff, just a few key tasks to stay on top of.
A simple quarterly checklist is really all it takes:
- Inspect the Seals: Every few months, run your hand around the door's weather stripping. Look for any cracks, signs of drying out, or spots where it looks compressed. That airtight seal is your number one defense against Florida’s oppressive humidity.
- Clean the Coils: Your cooling unit’s condenser coils are a magnet for dust, which chokes the system and makes it work harder. A quick, gentle vacuuming every three or four months is all it takes to keep it breathing easy and running efficiently.
- Keep an Eye on Things: Glance at your thermometer and hygrometer regularly. If you notice any sudden changes or a gradual drift in temperature or humidity, it’s an early warning that something might be up with your cooling unit or the cellar's seal.
By dialing in these final details and sticking to a simple maintenance plan, you’re not just building a wine cellar—you’re creating a legacy for your collection to age gracefully.
Answering Your Top Wine Cellar Questions
Even the most detailed plan can leave you with a few nagging questions. When it comes to building a custom wine cellar, especially here in Southwest Florida, we hear the same concerns from homeowners time and time again. Let’s tackle the big ones head-on, drawing from our direct experience designing and building these incredible spaces.
What's the Real Cost of a Custom Wine Cellar in Naples?
This is always the first thing people ask, and the truth is, the investment can range quite a bit.
If you’re thinking about a simple DIY project, like converting a small closet, you could get started for around $5,000 to $10,000. That budget typically covers the basics: decent insulation, a straightforward self-contained cooling unit, and some off-the-shelf racking.
For a professionally designed and built cellar, the picture changes. When you bring in custom millwork, a more sophisticated split cooling system, and our signature seamless glass enclosures, you’re looking at an investment more in the $20,000 to $75,000 range, and sometimes higher. The final number really boils down to the cellar's size, the technology you choose to protect your wine, and the luxury finishes that make it uniquely yours.
Remember, a beautifully crafted wine cellar isn't just a space for your collection—it's a significant home improvement. In the competitive Southwest Florida luxury market, it can seriously boost your property's appeal and resale value.
Can I Just Use a Regular AC Unit to Cool My Cellar?
Please don't. This is one of the most common and costly mistakes we see. It’s an understandable attempt to save money, but it will ruin your wine.
Standard air conditioners are designed to make a room comfortable for people, and they do that by stripping humidity out of the air. That’s the absolute last thing you want for your wine. Dry air makes corks shrink and crack, allowing oxygen to seep in and spoil the contents of the bottle.
A dedicated wine cellar cooling unit is non-negotiable. It’s engineered specifically to hold that perfect 55°F temperature while also maintaining the crucial 50-70% humidity your collection needs to age gracefully.
Will I Need a Building Permit in Florida?
It really depends on the scale of your vision.
For a small-scale conversion of an existing closet with no new electrical wiring, you might not need to involve the county. It's simple and self-contained.
However, the moment your plans include new framing, running a new electrical circuit for the cooling system, or making any structural changes, you’ll almost certainly need a permit in places like Collier or Lee County. The best way to avoid future headaches is to work with a professional contractor from day one. They’ll make sure everything is up to code and fully compliant, so you can just focus on enjoying the finished product.
You can find more detailed answers on our full FAQ page.
At AmeriGlass Industries, we specialize in creating stunning, high-performance glass wine enclosures that turn your collection into a work of art. Contact us today for a free estimate and let's design the showpiece your home deserves.